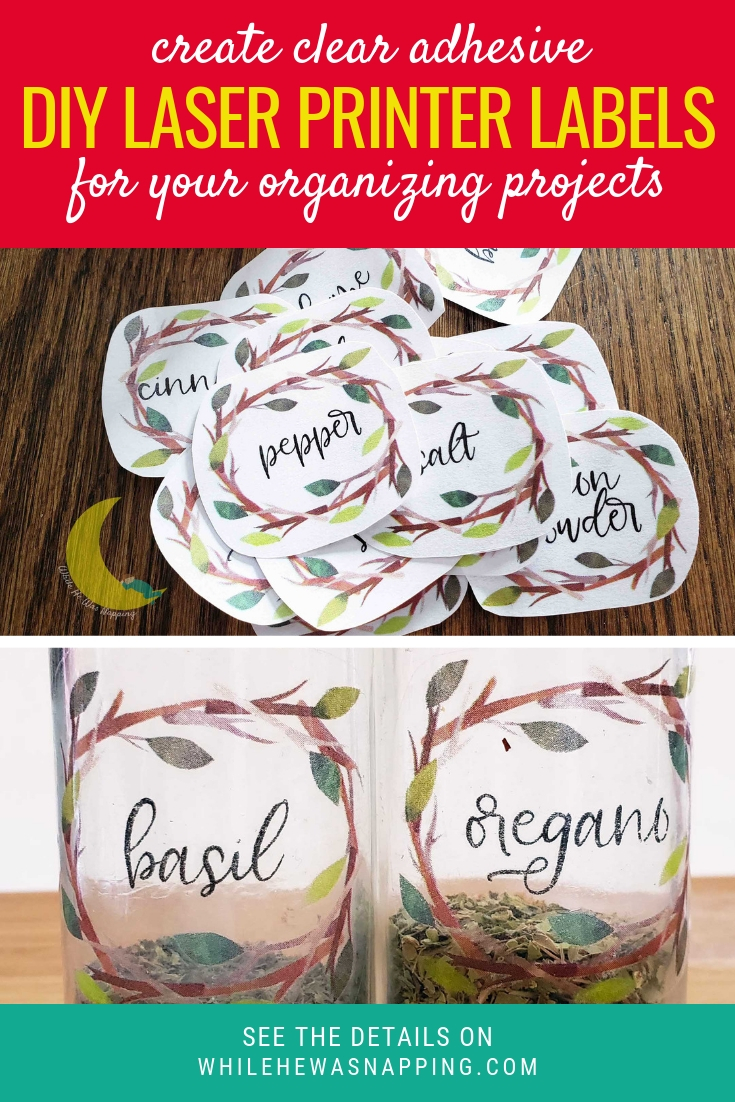
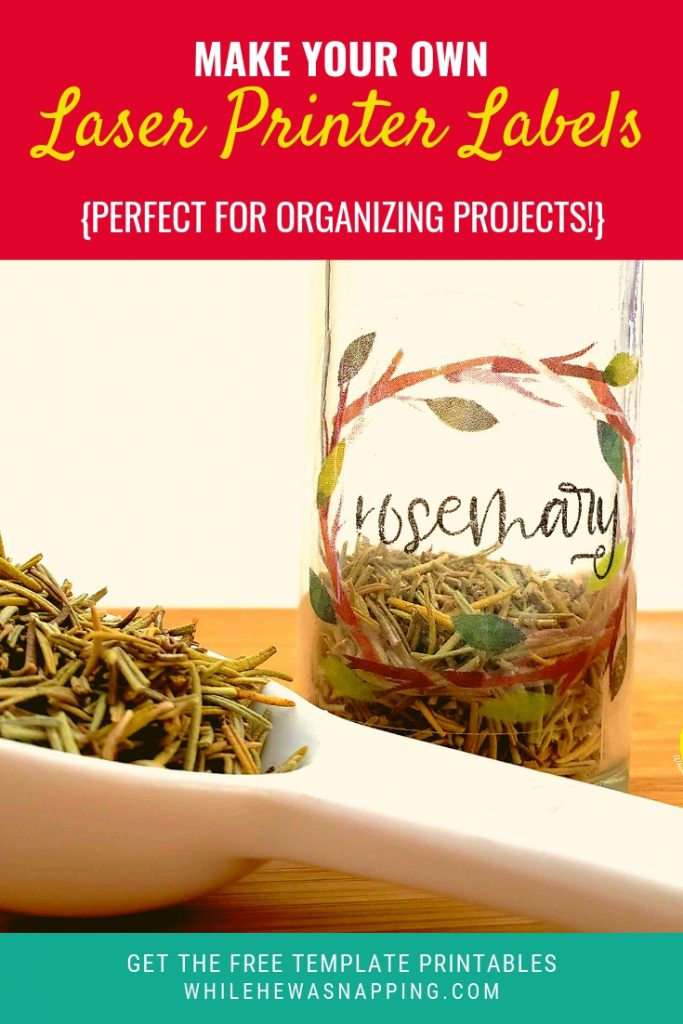
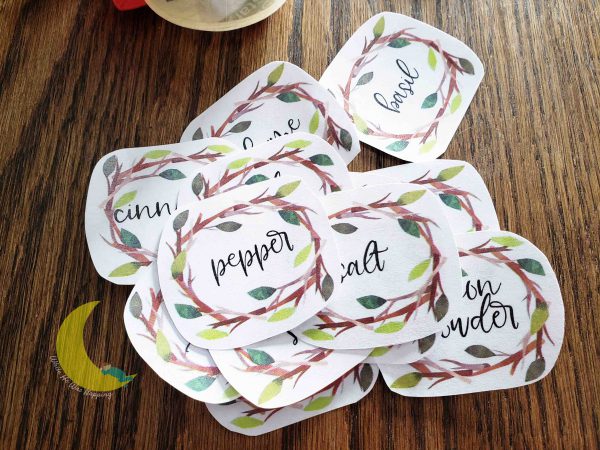
Welcome! I’m so glad you stopped by today! Have you ever been organizing something and thought, this sure could use a cute label!? Or maybe you’ve wished for something cuter than a sticky note. If you’ve ever wish organization could be easier, cuter and functional then these DIY Laser Printer Labels are just what you need. Simple, inexpensive, cute and actually useful! Just how organizing should be!
ORGANIZE SIMPLY, EFFECTIVELY AND INEXPENSIVELY WITH DIY LASER PRINTER LABELS
Organizing supplies can get costly quickly. But it doesn’t have to be a choice between chaos and cash. Keep your things in order with a quick print job and this easy DIY project. These labels will make it easier to calm the chaos in the kitchen, the toy room, the craft room, the bathroom, or anywhere else you might need a little more calm and a little less chaos.
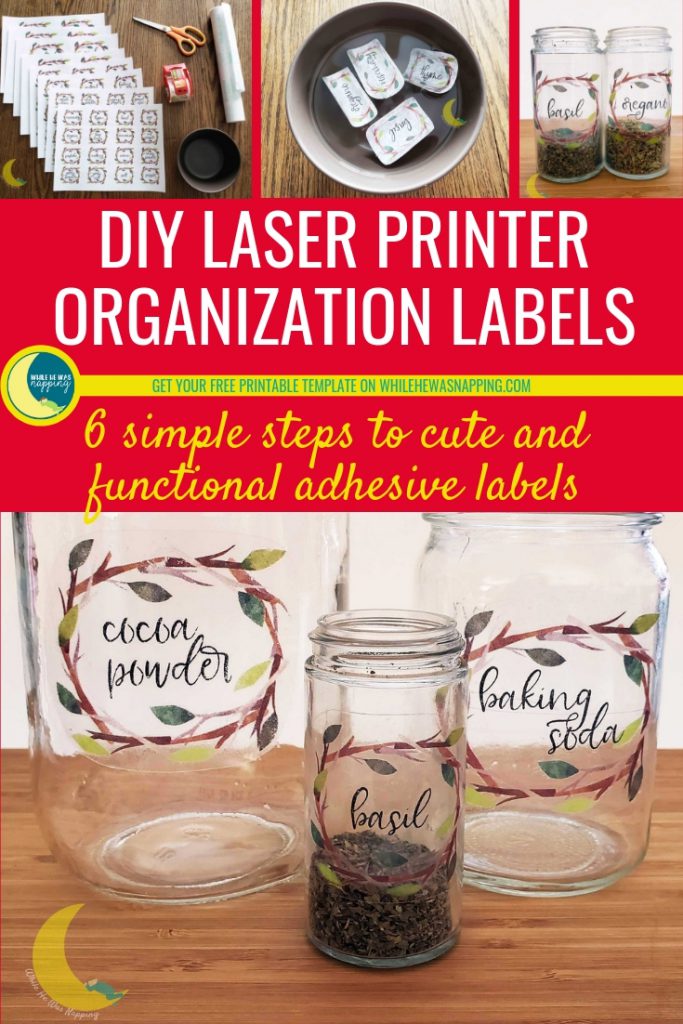
ORGANIZE YOUR SPACE FOR FUNCTION AND FORM WITH THESE EASY DIY LASER PRINTER LABELS
- Does your spice cupboard look like a disaster zone?
- Do you buy foods in bulk?
- Do your kids have toys with lots of little pieces? (Lego bricks and Shopkins, I’m looking at you.)
- Is your home office or command center a jumble of pencils, pens, sticky notes, markets and other paraphernalia?
You need some containers, my friend. But what good is a container if you don’t know what goes in it? And that is where your super easy, oh-so-cute DIY Laser Printer Labels will come to the rescue!
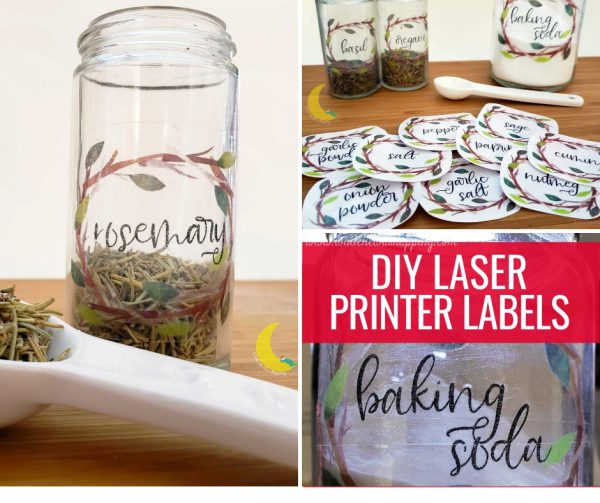
GET ORGANIZED WITH DIY LASER PRINTER LABELS IN JUST 30 MINS
Now that you know why you need some super useful DIY Laser Printer Labels, are you ready for the best part of this little project?
These only take 30 minutes to make. Seriously.
In 6 super simple steps, you’ll be ready to organize ALL. THE. THINGS.
Ready? Let’s calm that chaos!

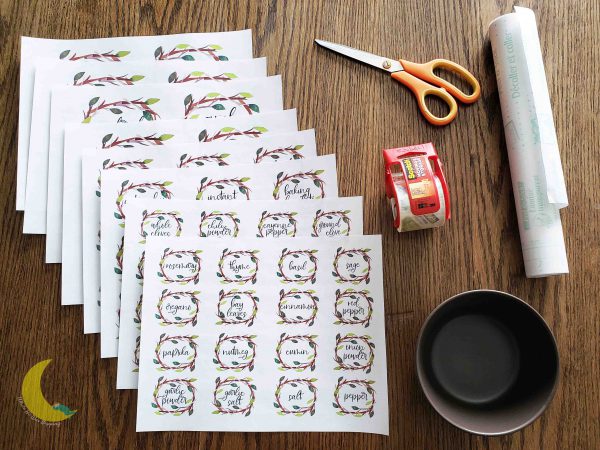
DIY LASER PRINTER LABELS SUPPLIES:
- Labels. You can download my blank farmhouse-inspired wreath labels HERE and fill them in with an image editor before you print them. Or grab my set of Ready-to-Print Spice, Baking and Pantry Labels with editable templates from my Etsy Shop. The editable templates will make it super easy to quickly make labels for anything you might need.
- Laser printer. No, unfortunately, ink jet won’t work for this project, as the ink is water based. I personally own a Brother Laser Printer and it does a decent job, as long as you aren’t looking to do photos. You can also get your files printed at an office supply store for just a few dollars, if you don’t have access to a laser printer.
- Copy paper. Any standard copy paper will work. In fact, the cheaper, the better.
- Box packing tape or contact paper. I personally prefer the packing tape. The ink tends to transfer better with the tape than with the contact paper. More info on this is below, at the bottom of the directions.
- Scissors.
- Bowl and water.
DIY LASER PRINTER LABELS DIRECTIONS:
PRINT YOUR LABELS
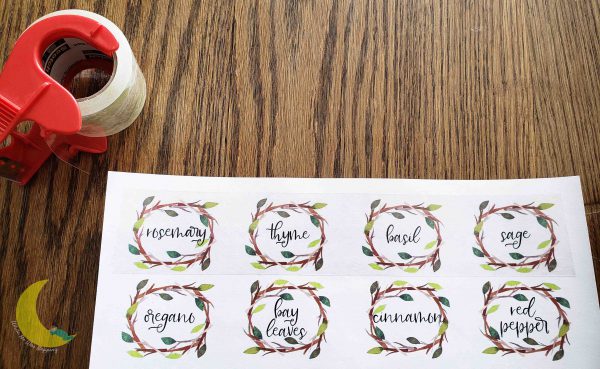
Step #1: Print your labels on a laser printer. You can download my blank labels from the links below. If you choose to use them, you will need to edit the image files before you print them. Any image editor will work.
2-inch Spice Labels | 2.75-inch Baking Labels | 4-inch Pantry Labels

Or get the pictured Ready-to-Print Labels and editable templates in my Etsy shop.
COVER YOUR LABELS
Step #2: Cover your labels with packing tape. If the label is too large for the packing tape, you have 2 choices:
- Layer with strips of tape to cover the entire label or
- Use contact paper to cover the label.
I personally prefer to layer the tape than to use contact Paper. The ink transfers better with the tape If you use tape, you’ll have to overlap the layers of tape a little or your label will fall apart. The overlap lines are barely noticeable. There is a photo below of a layered label so you can see if it bothers you or not.*
CUT OUT YOUR LABELS
Step #3: Use the scissors to cut out your label. The shape of the tape is more important than the shape of the paper. I typically just cut around the perimeter of the label. If you want a specific shape for your label, make sure you cut it out of the tape, not just the paper.
SOAK YOUR LABELS
Step #4: Fill your bowl with water. Regular old tap water at room temperature is my preference. Your hands will be in the water, so super hot or super cold water is not recommended.
Step #5: Place the labels in the bowl. Push them under the water so they are completely submerged. Let the labels soak in the water for 10-15 mins.

PEEL YOUR LABELS
Step #6: Peel the paper backing off the tape. Rub your fingers lightly, but firmly, over the back of the label until all the paper is rubbed away. The ink should remain on the tape.
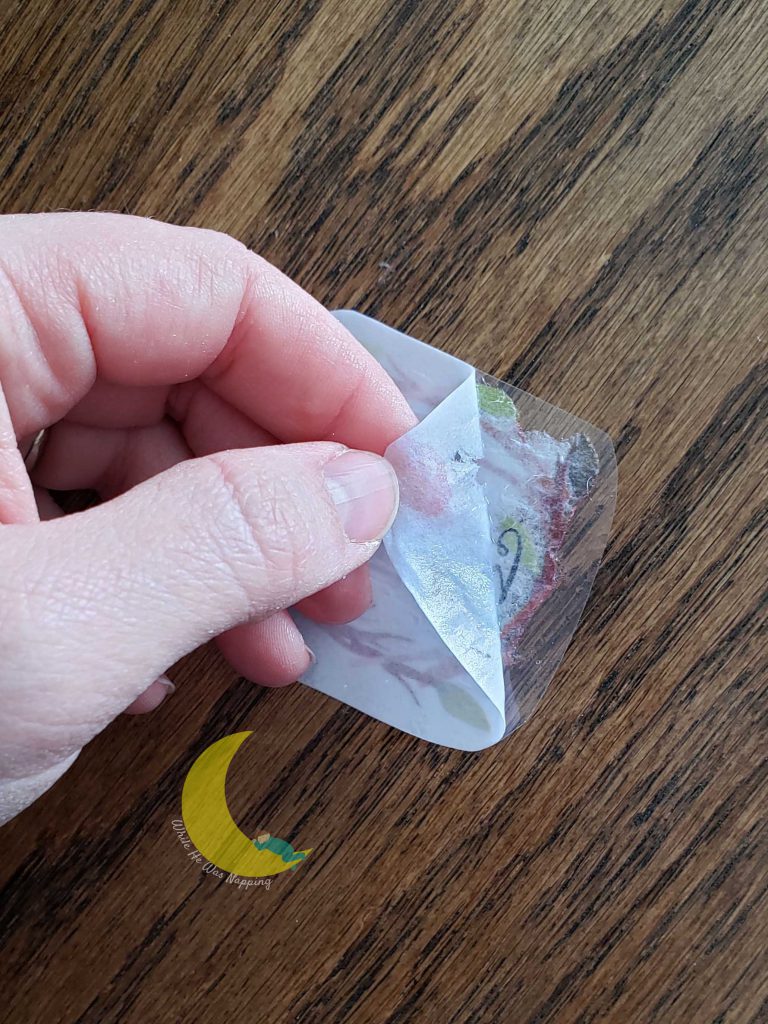
It’s a little easier to rub the paper away while the label is in the bowl, submerged in the water. You’ll need to inspect it to make sure all the paper comes off. Pay particular attention around the ink, it tends to stick there more.
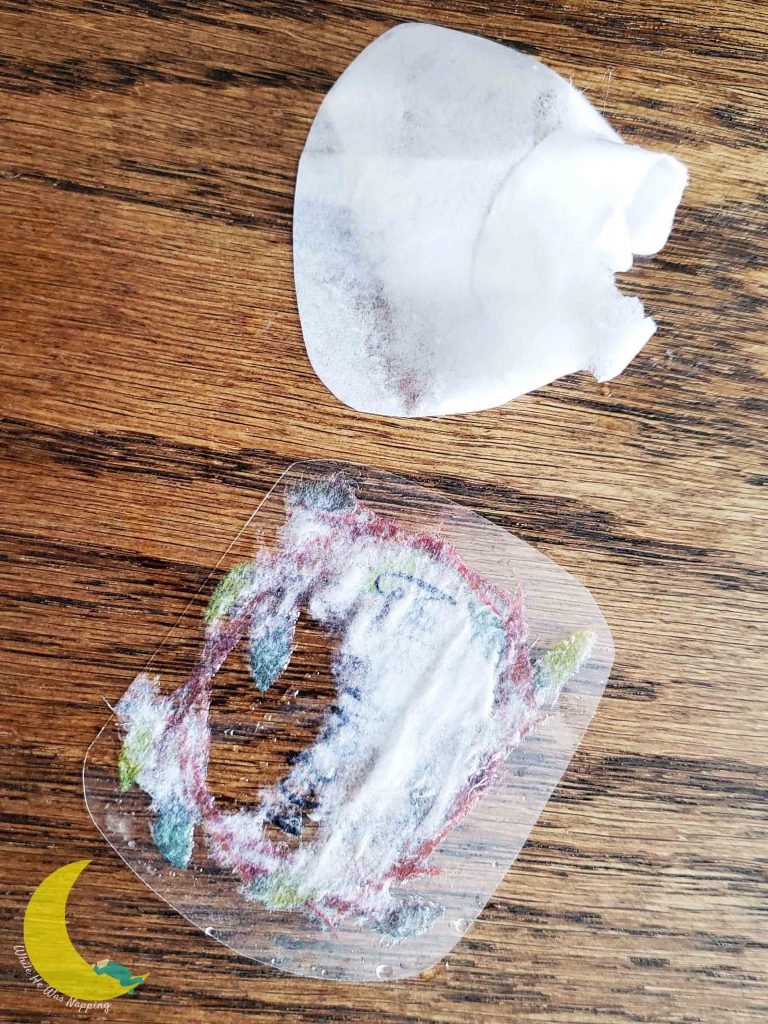
Once all the paper is peeled from the tape, let your label dry completely. You can blot with a paper towel to speed this up a little.
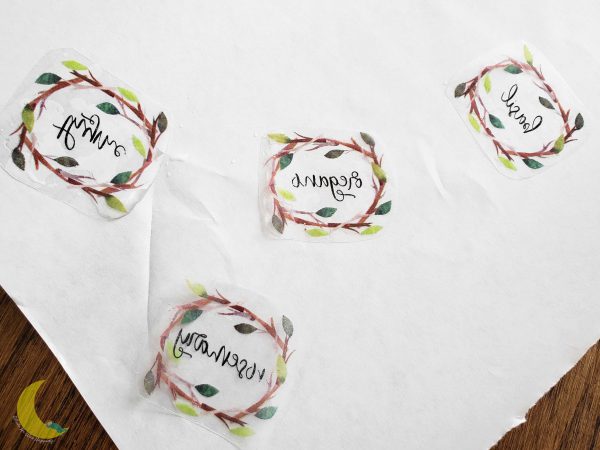
STICK YOUR LABELS
Yep that’s it. Once your labels are dry, they are ready to use! The adhesive will be sticky again as soon as it is dry. So start sticking those labels and organize all the things!
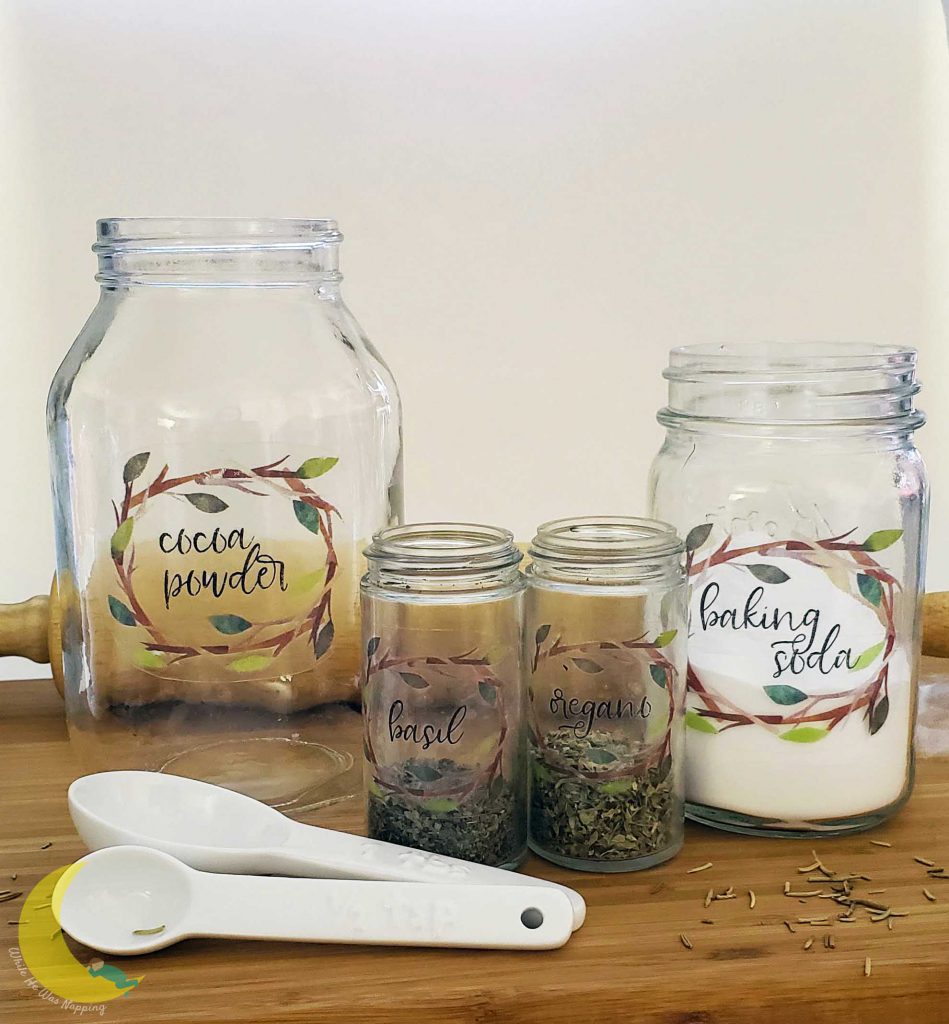
CONTACT PAPER VS. PACKING TAPE
So, remember when I talked about the layering of tape for larger labels? In the photo above, the baking soda label is a layered label. Can you see where the pieces of tape overlap? Check out the close up below. The layer lines go through the word “soda”.
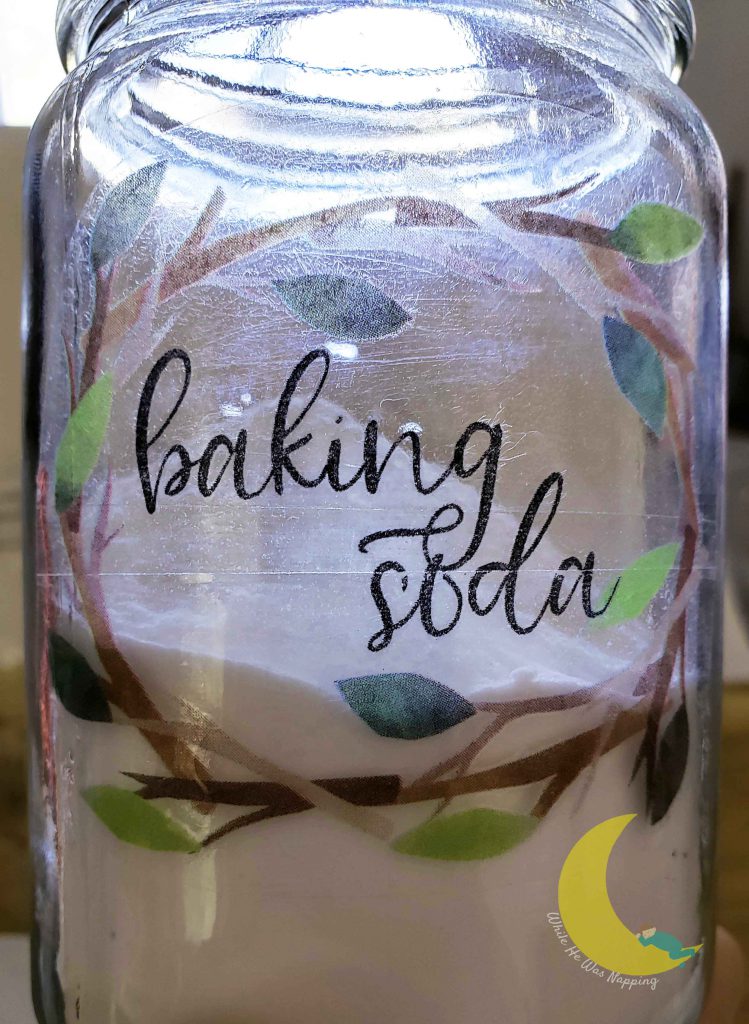
The cocoa powder label in the first photo above is a contact paper label. And that one actually came out really good. Most of them were more like the photo below, which is why I prefer to layer the tape than to use contact paper.
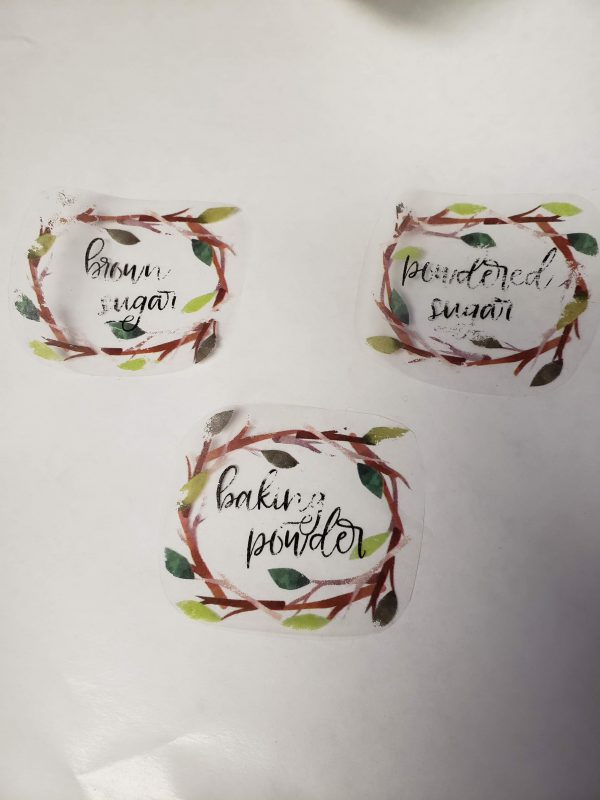
If you do decide to use contact paper, make sure you give the ink the best chances of transferring to the contact paper adhesive by rubbing it firmly with a plastic card (like a bank card or library card) or another hard item after you’ve covered the labels with the contact paper.
GET ORGANIZED WITH DIY LASER PRINTER LABELS
Sure, you could spend a small fortune on organizing supplies and custom labels. Or you could make some adorable, functional labels yourself in less than half an hour.
Label your bulk foods, your spice cupboard, your baking ingredients, your kids toys, your office supplies and anything else you might need or want a label on.
So, what are you waiting for? Calm the chaos and organize your life with some totally cute, totally functional, totally inexpensive and easy DIY Laser Printer Labels.
