A few months ago, I saw these on the Pottery Barn Kids site:
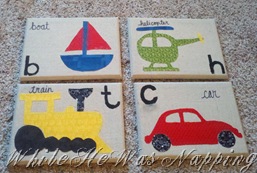
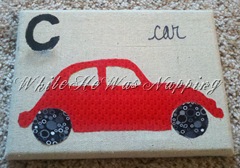
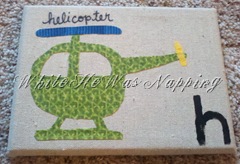
I was instantly in love. I’ve been wanting to do Little Monkey’s room in primary colors with cars, trucks, trains, planes, and all things that go. But I about fell out of my chair when I saw the price tag on these puppies! $69 a piece! That is not a price I can handle. That’s over $200! For three little (well, not so little) wall hangings. So, what’s a budget-strapped momma to do? Make her own, of course. It’s taken me a while to get on the ball with this project, but they are finally done and I’m smitten with the results. And even more with the less than $10 price tag. Take that, Pottery Barn. That’s a 95% savings. I’m one happy momma. They aren’t perfect, but I think it lends a hand to the “playful child” that Little Monkey is and his room should be an expression of that. (Or so I’ll tell myself…)
Wanna make your own awesome set? Here’s the How:
Oh, and I apologize for the lack of process photos. I swear I took them, but I can’t find them ANYWHERE. This mommy/pregnancy-brain is killing me. I’ll keep looking for the photos, but it’s fairly easy to figure out. Sorry again!
1) Supplies:
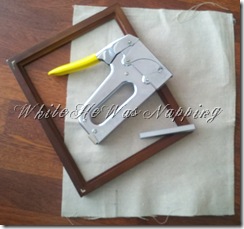
– Stretched canvases (one for each mode of transportation you’d like to do).
– Fabric (I used about a quarter each of five different fat quarters. But, if you have fabric scraps, they’d be perfect).
– Modge Podge
– Black acrylic paint
– Permanent marker
2) First, I made my own stretched canvases using this method I showed you. I made mine 5×7”.
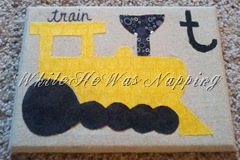
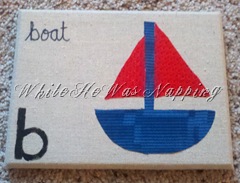
3) Then I cut some printer paper down to 5×7” so I would have an idea of how the shapes would compare to the canvas size. I then drew, free-hand, the train, the helicopter and the boat onto printer paper. I had a bit of trouble getting a car shape I liked, so I found a fun car clip art on the internet and printed it off. I just used the outline, so it doesn’t have to be perfect. Then I cut those out and pinned the templates to my fat quarters.
4) Cut out the shapes by following your templates. Lay the shapes out on your stretched canvases so you know where you want to put them.
5) Use a foam sponge brush to apply a thin layer of Modge Podge to the back of your fabric shapes. Position them on the canvases and press all the bubbles out.
6) I used my Cricut to cut a letter stencil of “t”, “h”, “c” and “b”. I cut them from cardstock and used that to stencil on the letters. (Hint: Use some spray adhesive to get the cardstock to stick so your paint doesn’t seep under the stencil.) Let the paint dry well.
7) Use your permanent marker to write the name of each mode of transportation on the canvas. Hang and admire your amazing (and super frugal) very own transportation knock off.
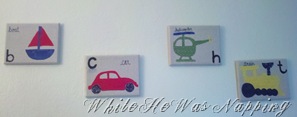
Swoooon! I love it.
P.S. There’s a poll on the sidebar that I’d love for you to participate in… What kind of stuff would you like to see here in the feature? Go vote!
Krista

