My father-in-law has a piece of property that is kinda his pride and joy. He has spent countless hours fixing and repairing and clearing and mowing and building and in all ways improving this piece of property. On this property is an old train station he has turned into restrooms (which makes camping on this property a whole lot more inviting). In this train-station-turned-restroom building were some old windows. Yeah? See where I’m going with this? So, he gave me a handful of them and I have wanted to put one in our bedroom. Above our bed. But… there where a few issues. One of which is the paint that is one them… It’s probably lead-based. That’s a no-no for pregnancy, so they’ve been off limits since the end of May. Also, they are HEAVY! I have this (irrational?) fear that it would fall on our heads in the middle of the night. That’s not an awakening I want to experience… so, I concocted an idea…
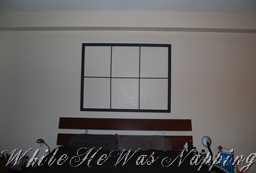
I’ve had the materials for this project for a few months now and it finally got done after I tripped over them one too many times. It was the kick-in-the-pants (bruise on my shin) that I needed to find the motivation to get this done. I love how it turned out! And it’s secured to the wall, so I’m worry free. Now, I just need to figure out what to put in this awesome faux window.
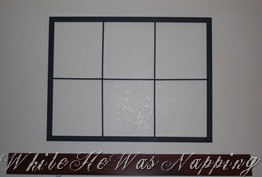
Here’s the How:
1) As mentioned above, this was a “just get it done” project. I don’t have a lot of process photos. I apologize if this ends of being confusing. If you have any questions, please feel free to ask me. You can click on the photos and view them larger.
Supplies:
These will make a 3×4’ window.
– One piece of 8ft pre-primed moulding board
– One piece of 6ft pre-primed moulding board
– Four 3/8”x36” square wooden dowels
– paint in your desired color
– nails and hammer
– staple gun and staples
– wood glue and wood filler
2) Begin by cutting both moulding boards in half and then cut the corners to 45 degree angles, so they form a square when put together. The photo illustrates how the moulding pieces should fit together.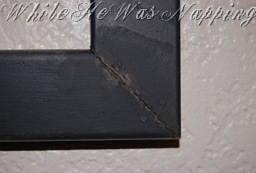
3) Paint the moulding your desired color and let them dry well. I did three coats of paint.
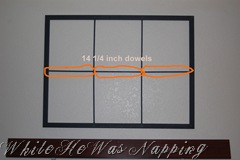
4) Measure the inside length of the short side. Mine was about 30” long. You’ll need to divide that in half and then subtract the width of your dowels. I had two dowels, so 3/8+3/8=3/4. So, I cut two of the dowels into 14 and 1/4 inch lengths. Leave the other two alone.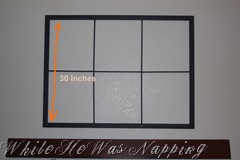
5) Flip the boards over and use the wood glue to glue the corners of the moulding together. I actually ended up using LocTite glue. It held the weight better and dried faster. But, that’s your call. Use the staple gun to secure the corners with a couple staples.
6) Take the two long dowels and place them 15” away from your side boards. Secure them with nails or staples. All of your staples should be on the back of the frame. I did staples because that’s what I had on-hand. I did two staples per dowel, securing it to moulding boards.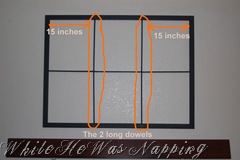
7) Take your 15” pieces and slide them into place between the dowels, making the long rectangles into small rectangles. Secure with more staples and wood glue. Fill any cracks/gaps between the moulding and dowels with wood filler.
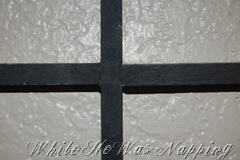
8) Drill small holes in your moulding pieces. Nail your window to the wall. Step back and admire. Ta-DA! Bask in your beautiful faux window. And welcome to my dilemma of what else to put on the wall. =)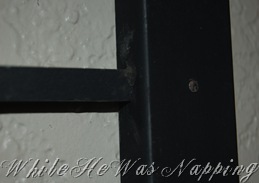
Krista
