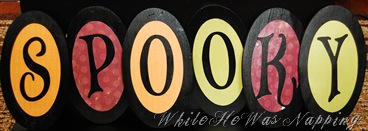
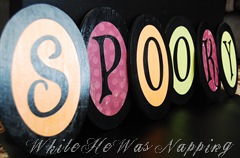
These little babies are cheap, easy and versatile. And, if you know me, you know that’s my kind of decor project. Nap time only lasts so long, right?
Here’s the How:
Supplies:
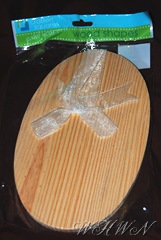
– Six wooden plaques (I got mine at Dollar Tree)
– Black spray paint
– Halloween colored scrapbook paper
– Craft cutter or Exact-O knife
– Mod Podge
1) Begin by spray painting your plaques black. Front and backsides. Let each side dry well. I did two coats on each side. My Dollar Tree plaques had ribbons attached to them. I just ripped them off.
2) Use your craft cutter to cut out the letters you want. I opted to use the negative space instead of the letters themselves. It was more colorful.
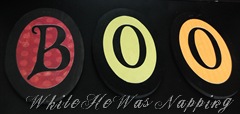
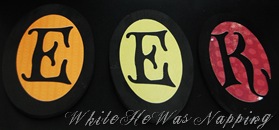
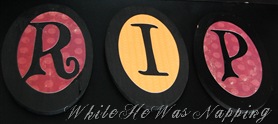
I made my plaques double-sided and can spell at least five different Halloween words with them. SPOOKY, SPIDER, EEK, BOO, RIP (I can also spell DIE, but that’s a bit dark for me…). I did have to spend some time figuring out which letters needed to go where, so I’d have all the letters I’d need. On one side of the plaques I spelled out SPOOKY. Then flip the plaques over and put these letters in this order: E,B,D,I,R, and E. E should be on the back of S, B on the back of P, and so forth.
3) I used Tacky Glue to adhere the letters to my plaques and then gave them a layer of Mod Podge to help seal everything in.
4) I used eye hooks and screwed them into the top of my plaques. They can hang either way and there isn’t any problems with the visual aesthetics. I just slip them onto nails. You could also get little easels to display them on a table top.
All done. Hang and admire. Flip them around, switch them up and keep things new all month long! And, they are super easy to store for next year.
Krista
