This post is sponsored by Jo-Ann Craft and Fabric Stores. I was provided select materials and a gift card to purchase additional materials. This post may contain links to the sponsor’s website. All content is original and all opinions are 100% truthful and my own.
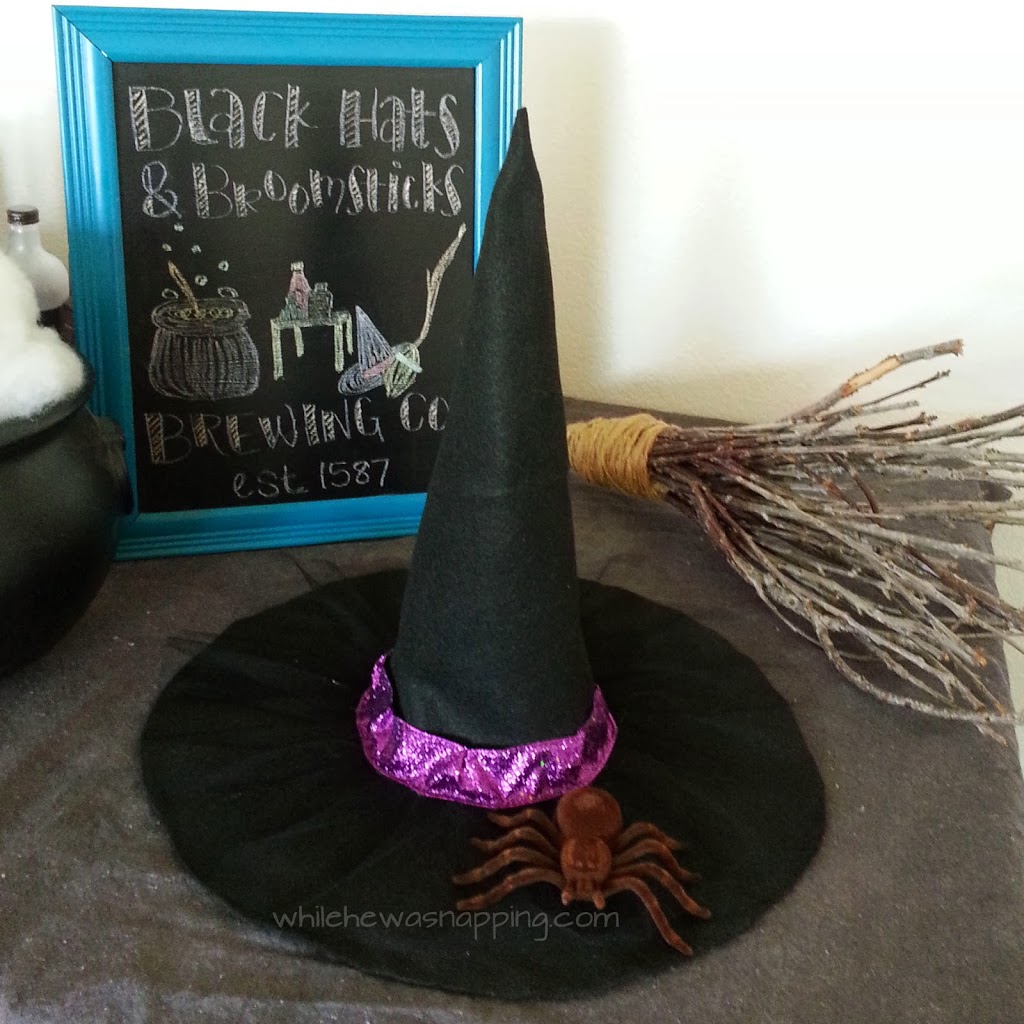
I was totally stoked to get to participate in Jo-Ann’s Celebrate the Holiday campaign. Especially with the theme #spookyspaces. I was planning to do a big project and ordered supplies online one night. Not a good idea when you’re working with a deadline. Basically, I received about 1/6 of my order, as everything else was out of stock. Then I had to wait for the charges to be refunded. Bah. It caused a bit of a headache, but serves me right for being lazy and not just going and getting the stuff I needed. So, I scaled back a bit. This ended up being the perfect project and added just the right finishing touches to some projects I already had in the works, my potion bottles for one.
– Black Felt (I bought a yard and had plenty)
– Scissors
– Chalk and string
– Flexible Measuring Tape
– Tulle
– Ribbon
– Sequins, Rhinestones or other accents
– Glue gun and glue sticks
– Stiffy Fabric Stiffener (not pictured)
– Aleene’s Stiffen Quik (not pictured)
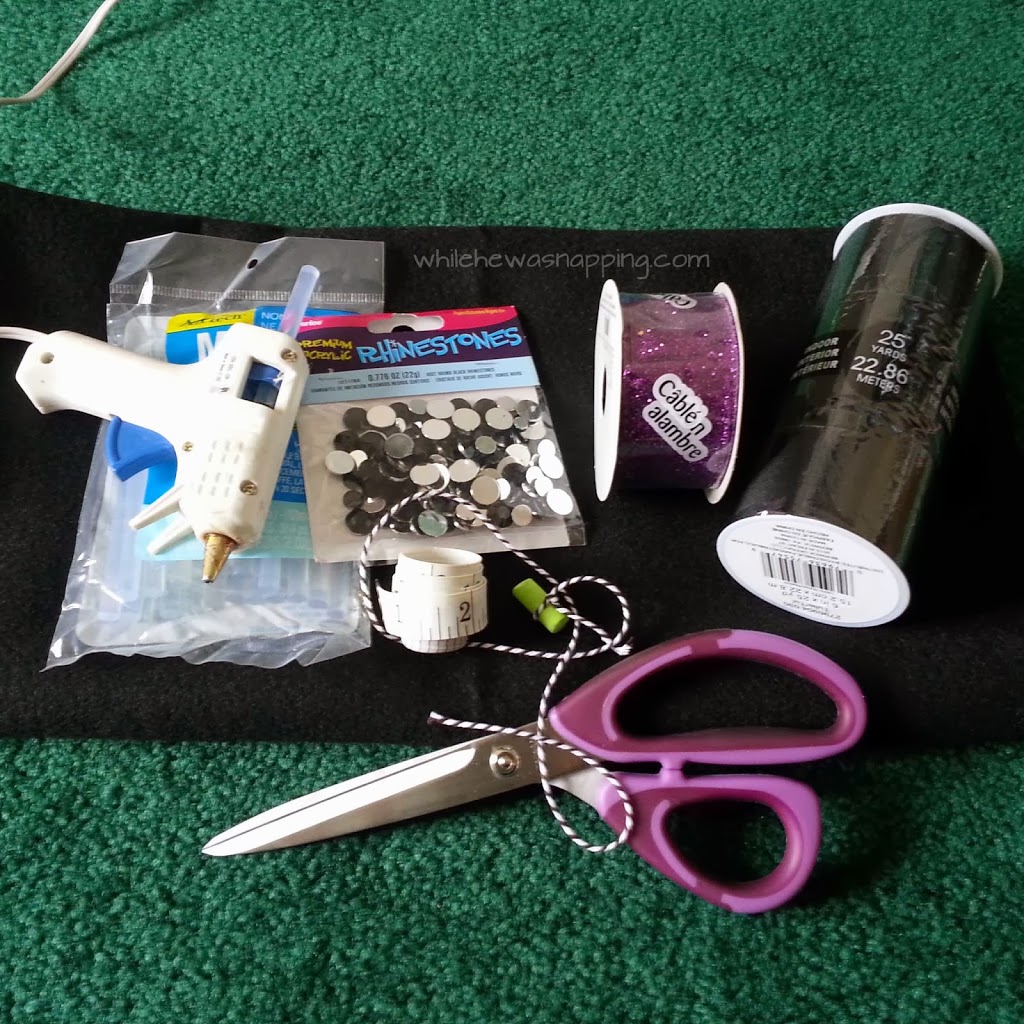
I got the felt, black rhinestones, hot glue sticks, fabric stiffener and Aleene’s Stiffen Quik at Jo-Ann. All other materials I had on hand.
Directions:
This No-Sew Witch’s Hat project is pretty easy, but it did remind me why I hate math (and I may have cursed my high school geometry teacher for saying I’d ever need this stuff… ’cause, well, here I was trying to figure out these measurements and I had to google the formulas. I also swore I’d never admit that). But, don’t worry. I’ve got it all figured out for you and it shouldn’t be too hard.
– First, using the flexible measuring tape, take the measurement of your head (or the head you are making the hat for). Mine was 21 inches. Don’t pull the tape too tight, but make it tight enough to hold a hat up.
– Grab a calculator, unless you’re really good at dividing by pi. Divide the circumference of your head (21 inches, in my case) by pi, this will give you the diameter of your head. Then, divide the diameter by 2 to get the radius. It sounds complicated, but it’s not too bad. I rounded mine down since felt is stretchy and I didn’t want it too loose. I shouldn’t have. The stiffener I used ended up making the hat too small for my head and I have to pin it in place. I’d actually suggest adding an inch.
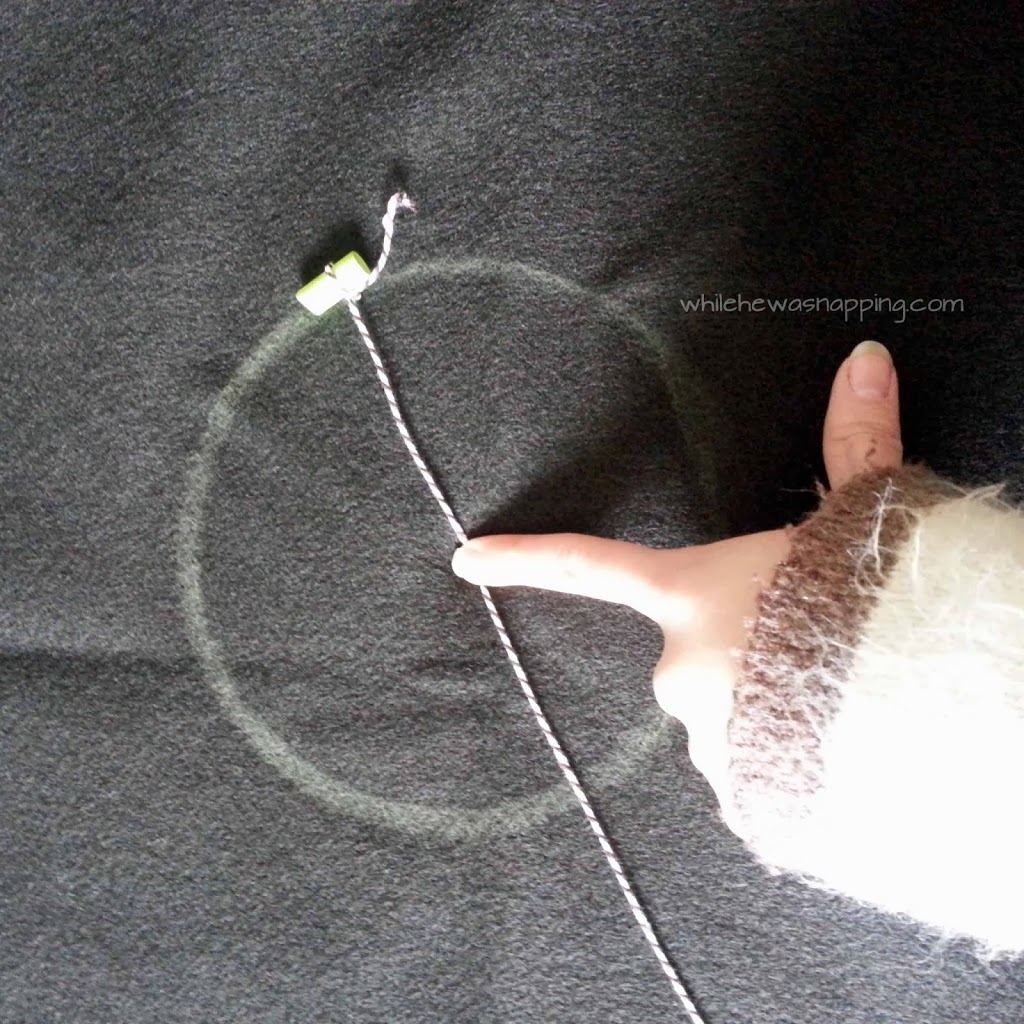
– Tie your string to your piece of chalk and cut the string to the length of your radius measurement plus four inches. I actually keep a piece of chalk tied to a string, so my string is even longer.
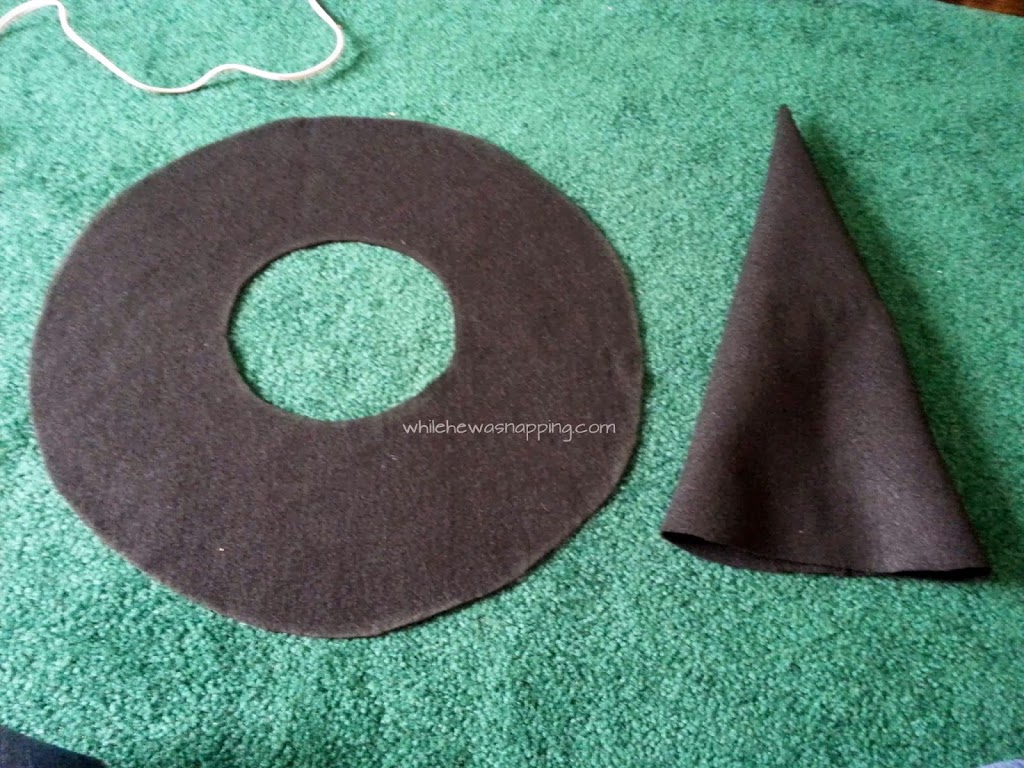
– Measure the radius length on the string and mark it or hold it. Holding one end of the string in place against the felt, use the chalk to draw a circle on the felt. Mark the center of the circle (should be where your finger was holding the string against the felt). Make sure you leave enough room between the circle and the edge of the felt for the brim of the hat. This is your small circle. You will cut this out and your head will go inside this. You will glue this part to the base of the cone (which you’ll create in a minute).
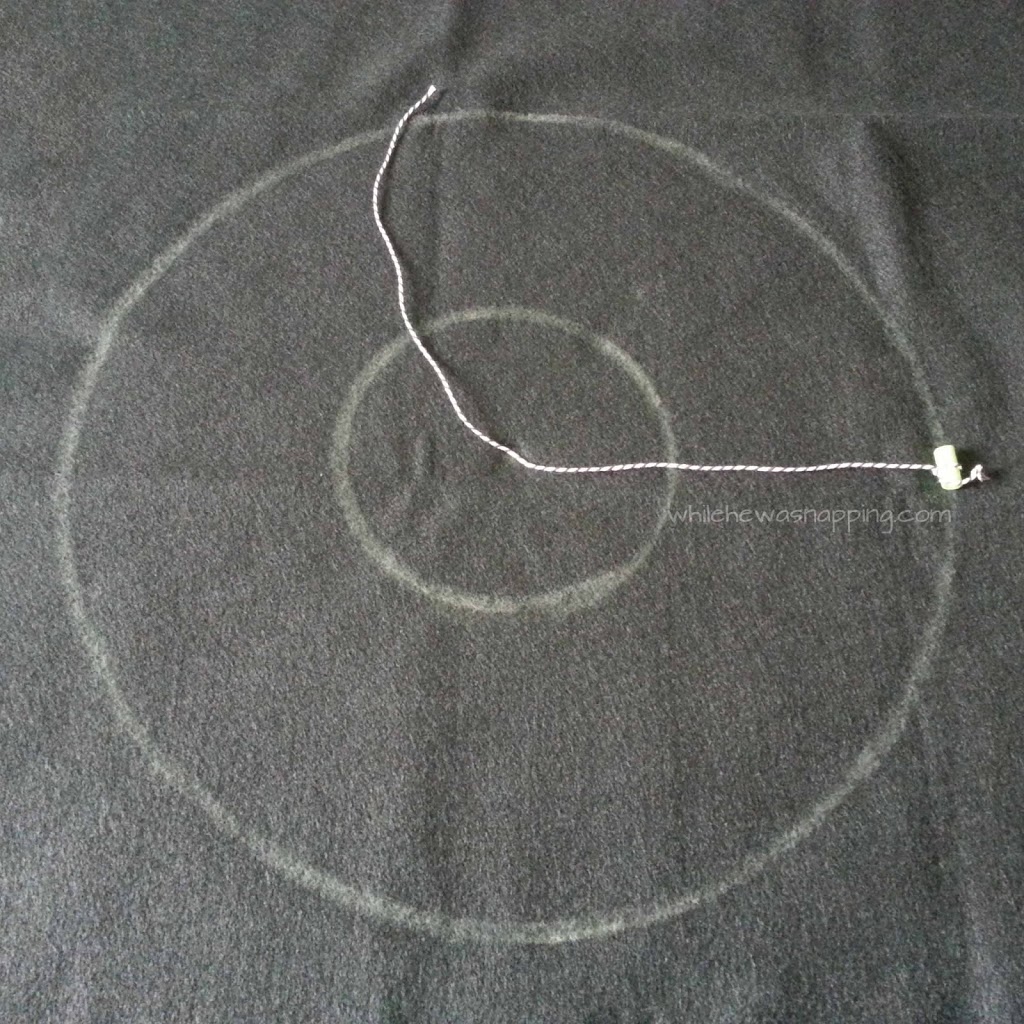
– Now, hold the end of the string against the felt on the center mark you made and draw another circle. You should have what Big J called “a tire”.
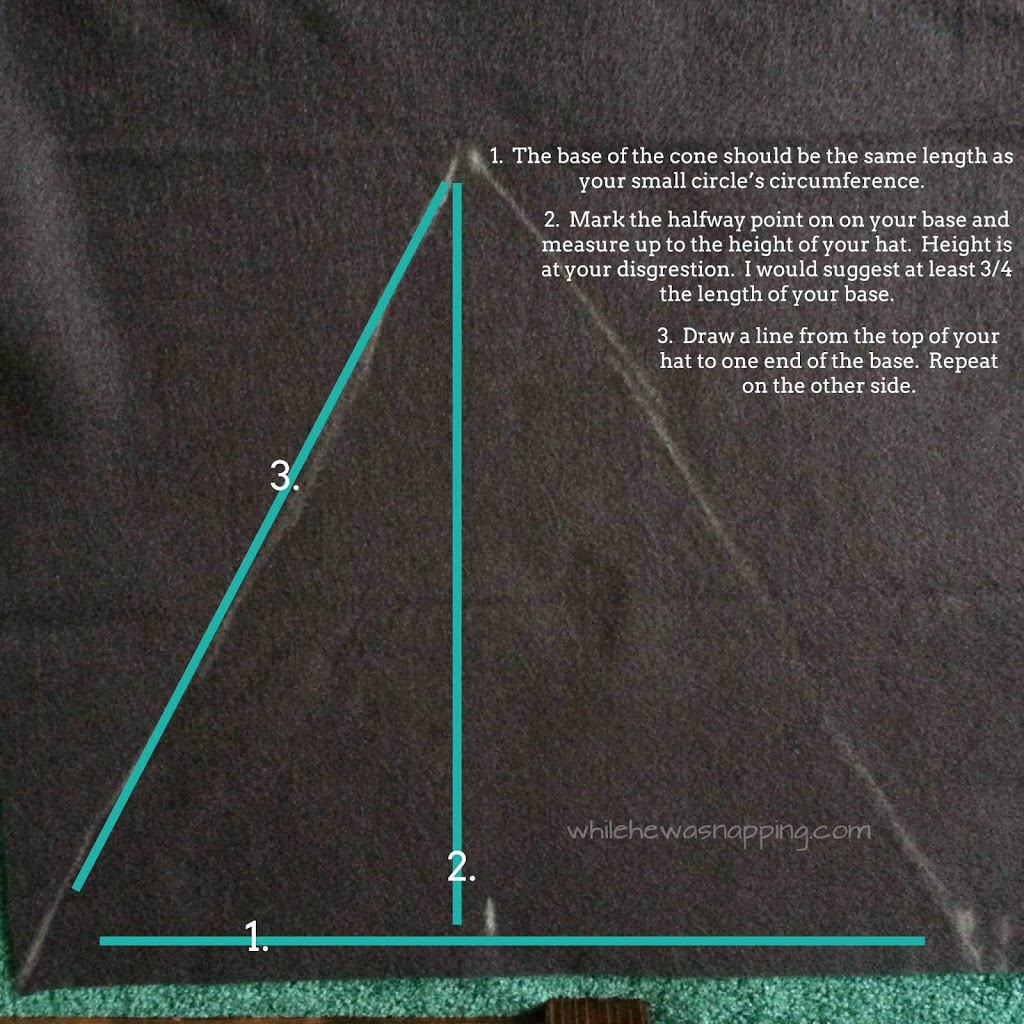
– Now, you’ll make the cone part. Make your base the same as the circumference of your head (mine was 21 inches. Decide how tall you want your hat. I suggest at least 3/4 the length of your circumference measurement (I did 17 inches tall). Measure and mark halfway on the base of your cone (10.5 inches for me) and then measure up to the height of your hat (17 inches for me). Roughly sketch in the lines to connect the top of the hat and the base.
– Cut out the base and the cone. Make sure to cut out the small circle on the base too. Snip off about 1/4 inch of the point of the cone.
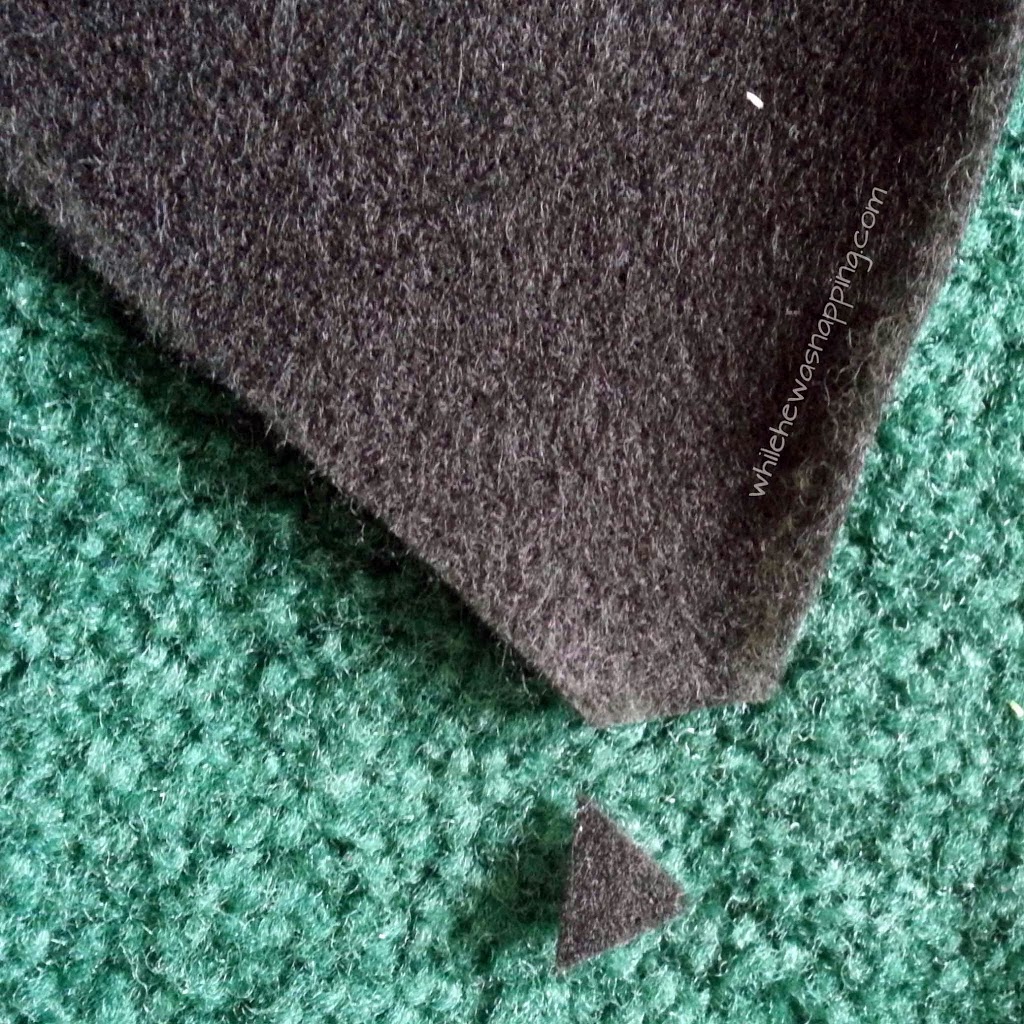
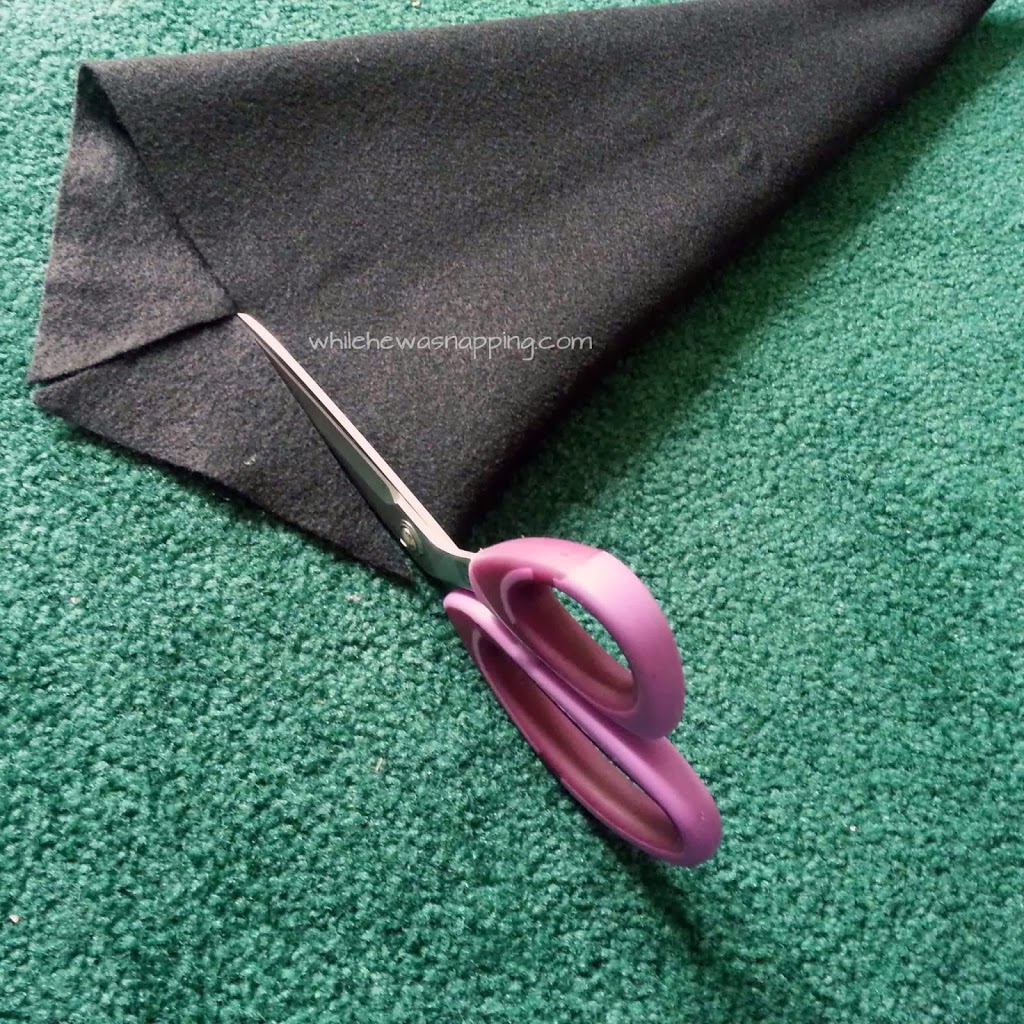
– Using your hot glue gun, glue the sides of the cone together. At the bottom, you’ll have to snip off the extra points to make a flat base on the cone.
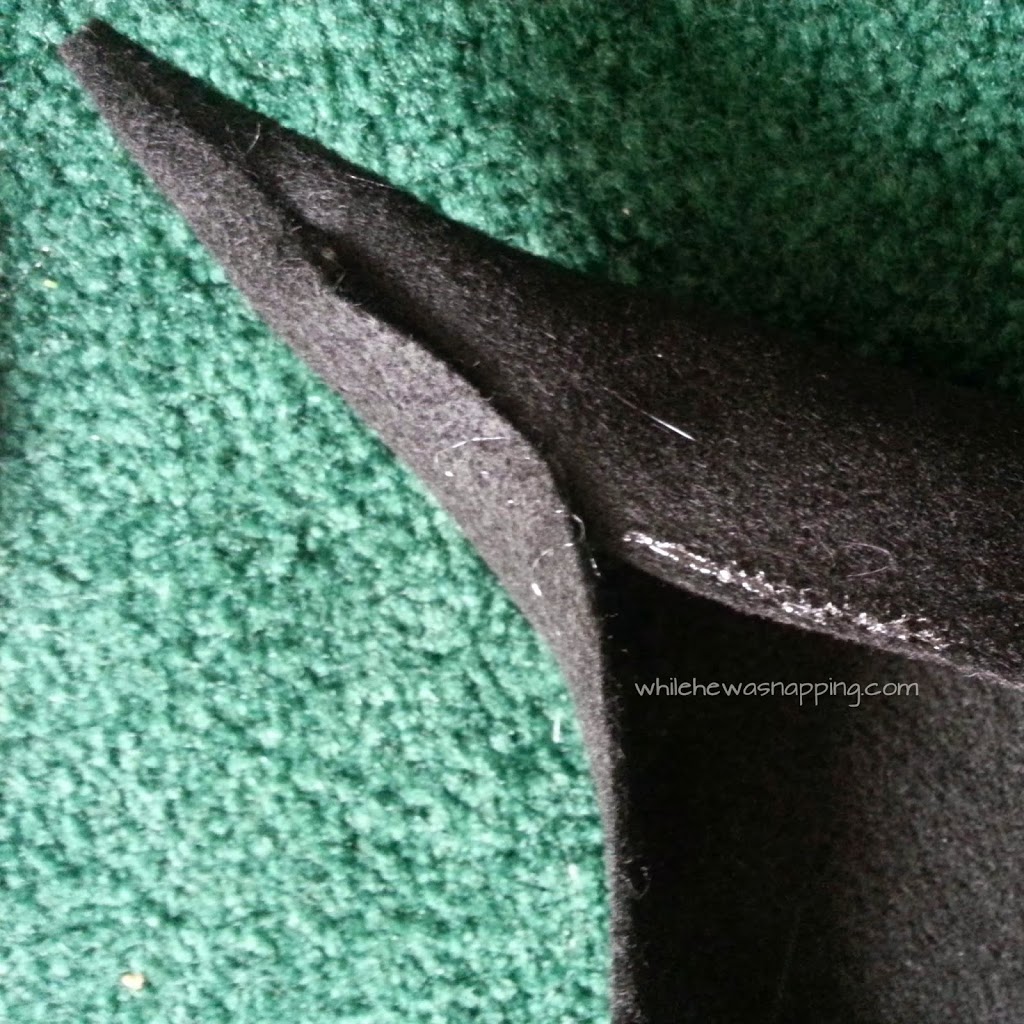
– Set the cone up on the floor (or table top) and bend the base out a little. Stretch the felt if you need to, just don’t pull too hard. Lay the base over the top of the cone. Glue the cone and base together. Be cautious not to hot glue your hat to the table (or carpet…). I may or may not have done this.
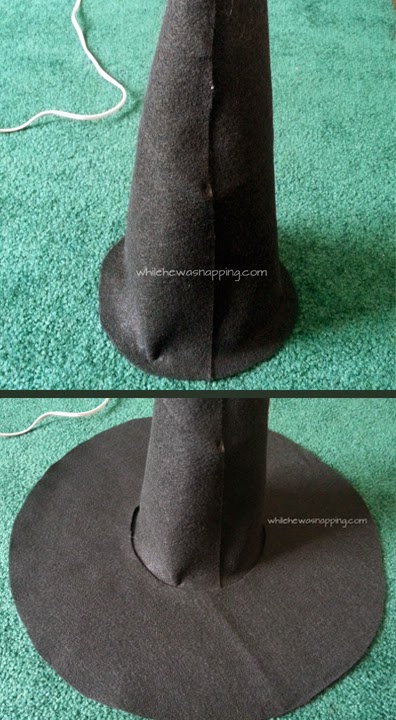
– You should now have the basic hat, but it will be pretty floppy. Lay out some wax paper or freezer paper and lay your hat on top of it. Shape it til you’re happy with it. Using the Stiffy Fabric Stiffener on the base will give the shape you need. I just poured the stiffener on the brim and used my finger to rub it into the brim until there was a nice coat all the way around. Don’t worry, it’ll dry clear.
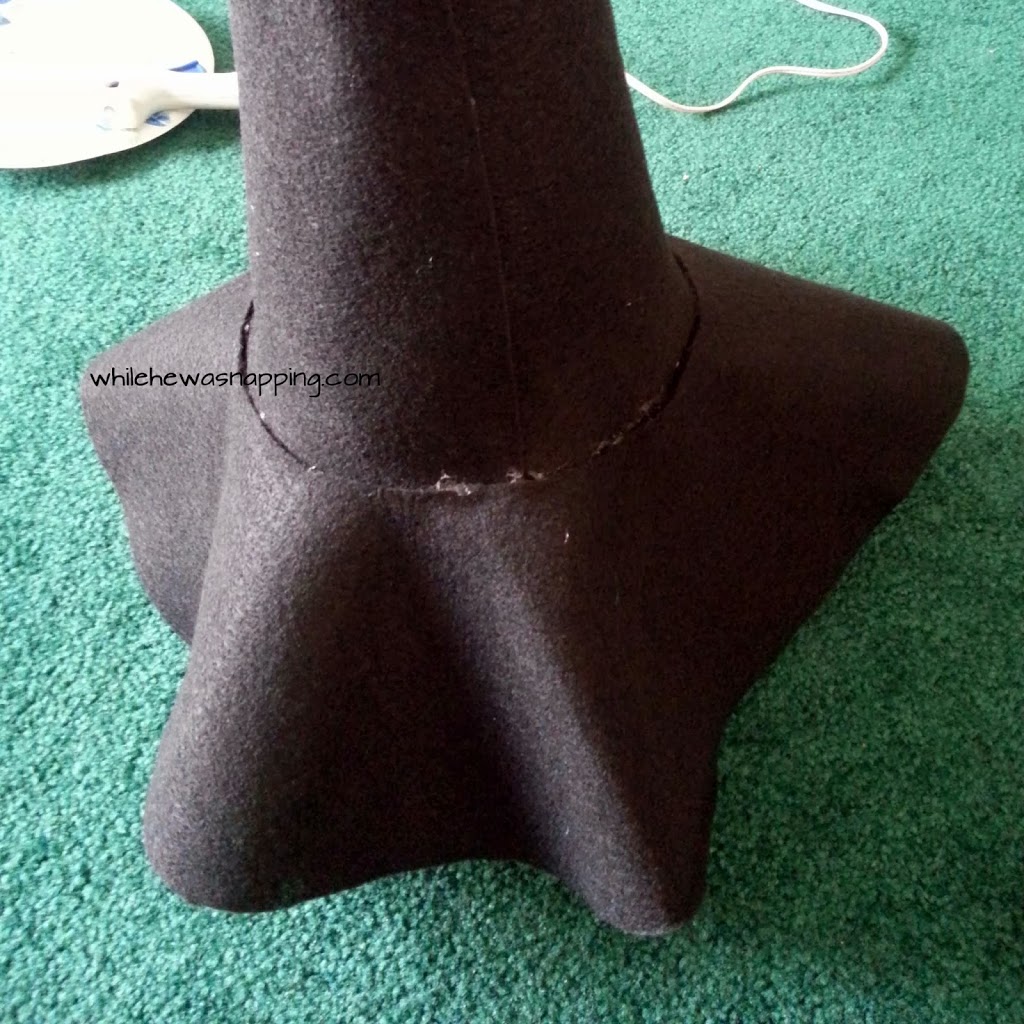
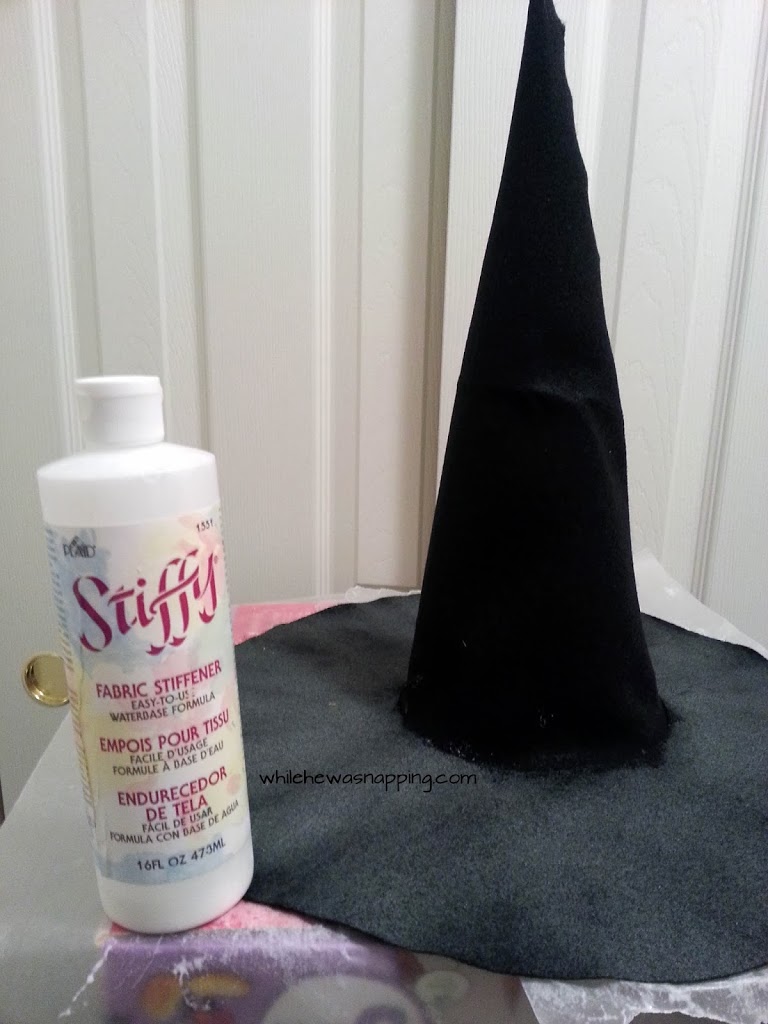
– Use Aleene’s Stiffen Quik to help shape and hold the cone. This won’t be as stiff as the brim.
– Let your No-Sew Witch’s Hat is dry completely. Mine took about 24 hours. When it’s dry, pull the paper off the bottom of the hat. Mine had a bit of discoloration from the wax paper. I just sprayed a light coat of black spray paint over the discolored parts and you’d never know.
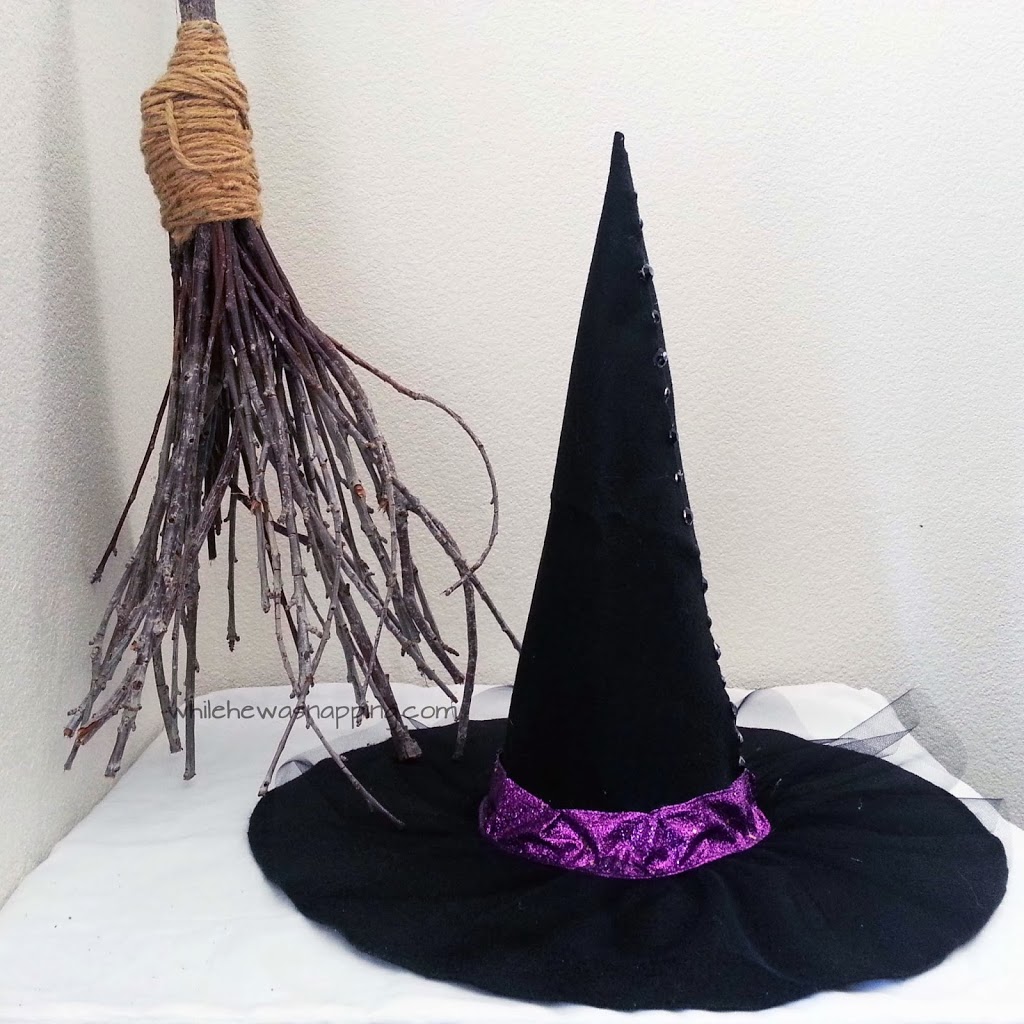
– Next, I put on my tulle. I wanted a bit of a ruffle since the felt and tulle are the same color. It needed a little girly touch, but is still pretty subtle. I started at the back of my hat (where the seam for the cone is located) and glued down a bit of tulle, folded some over and glued that down over the tulle I’d just attached to create the ruffle. I just did that all the way around the hat. Keep the tulle attached to the roll the entire way around the hat. This would look pretty neat with a colored tulle too – lime green, orange or yellow maybe.
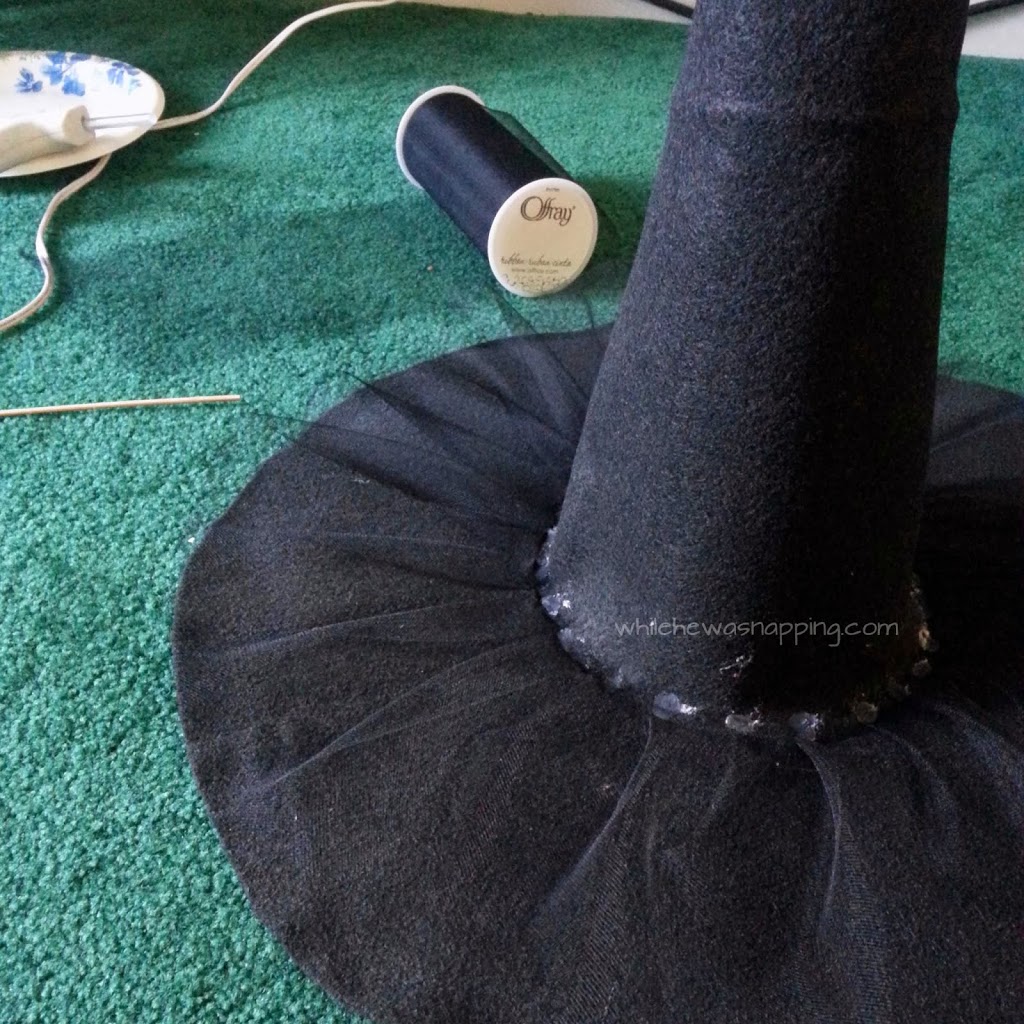
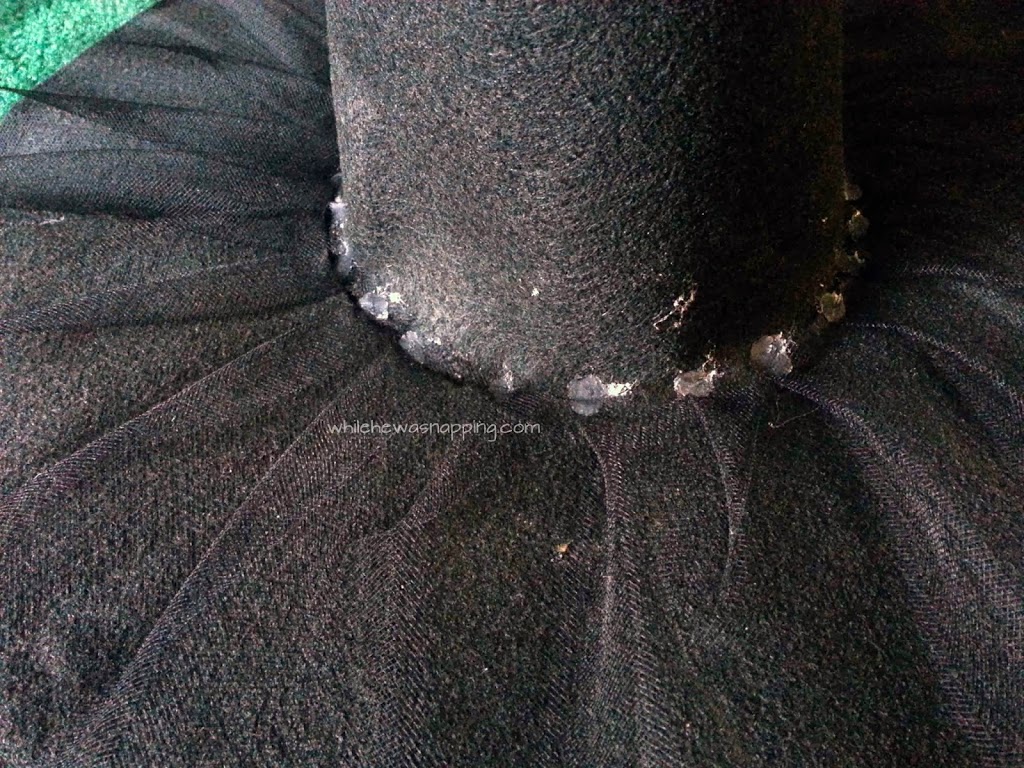
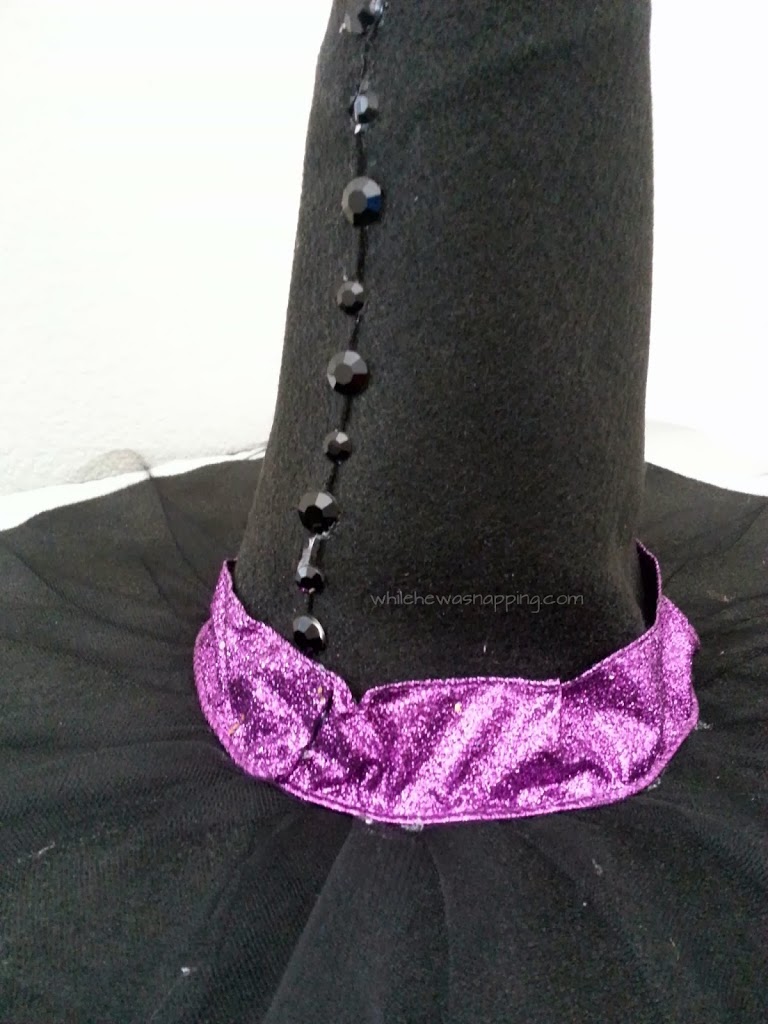
– Then it was time for the ribbon. I went a little more bold with this – glittery purple – since it’s a small detail on the No-Sew Witch’s Hat. My ribbon had wire in it, which actually worked out quite well. I glued the bottom of the ribbon to the brim of the hat and then just folded the ribbon and shaped it with the wire on the top to fit the taper of the cone. There is no glue on the top part of the ribbon.
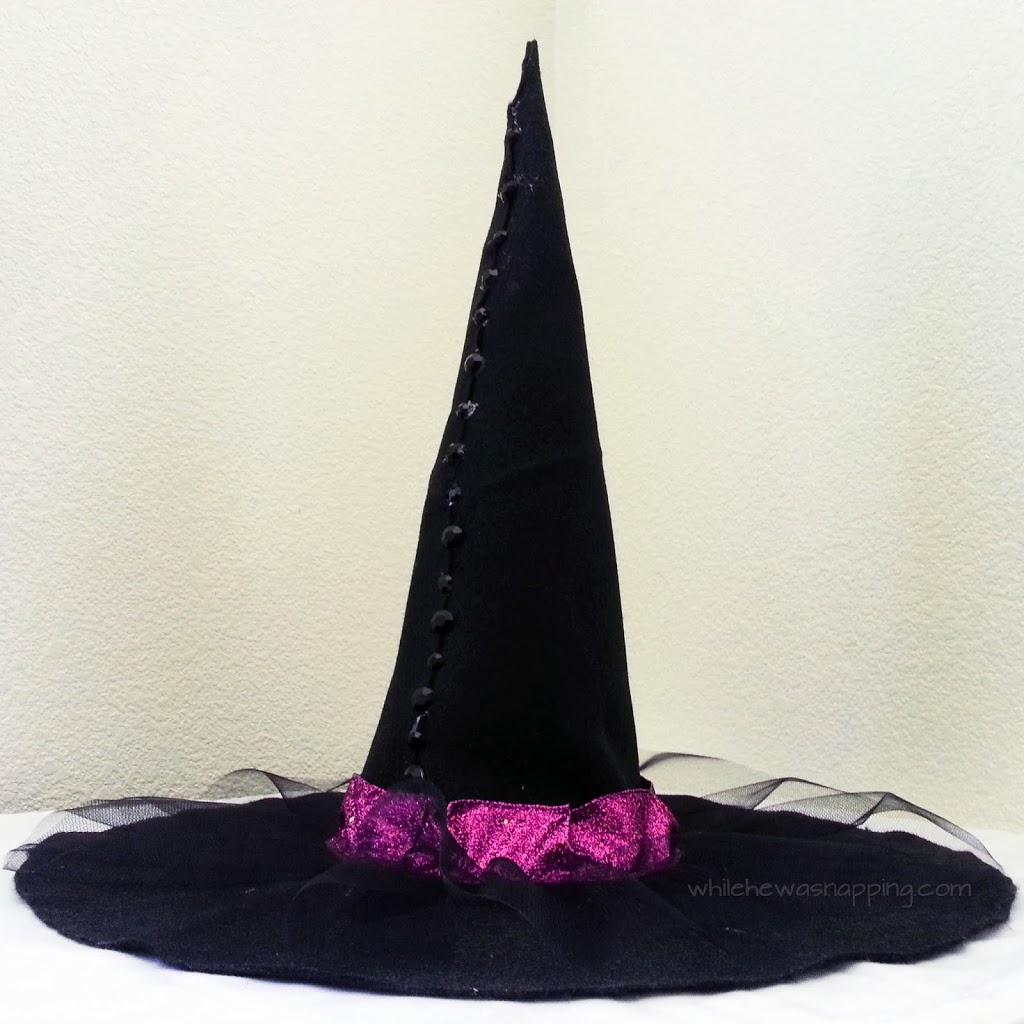
– The seam on the back of the cone was a little distracting and I kept trying to convince myself it was no big deal, but in the end I decided to camouflage it a bit. I put faux black rhinestones on the seam. If I were to do it again, I would put the rhinestones right next to each other and hide the seam all together, rather than just disguise it a bit.
That’s it, you’ve got yourself a No-Sew Witch’s Hat. It sounds complicated and like a long process, but really the longest parts are waiting for the stiffener to dry (and trying to do all that math, in my case. I always over-think that stuff and make it more complicated than it should be). Oh, and waiting for nap time to to roll around so you can finish up the next step… apparently boys like rolls of tulle and baggies of rhinestones too. They like to see how far they can roll the tulle down the hallway and how many rhinestones will fit in their mouth…
If you have any crafty-pants projects you’re planning, grab the coupon below for 50% off at Jo-Ann and save yourself some moolah this Halloween! Also, check out more awesome Halloween crafting ideas at Jo-Ann’s Celebrate the Season site. There are some really cool projects… hint, hint. Go see for yourself!


