Christina is back again and has a fun way to add some holiday cheer to the exterior of your home. I bet these would look great inside too. Here’s Christina with the details:
____________________________________________
Season’s Greetings! Hello blog ‘neighbors’ I’m Christina from the SWEET HAUTE Blog…here again with a fun and wonderful tutorial just in time for Christmas decorating. I am so happy to be here to share some fun and also beautiful DIY decorations that I made with very inexpensive supplies and all you will need is some ‘time’ to put them together and a little bit of elbow room depending on how many you will be making. This craft is also perfect to spend some quality time with the kids.
DIY Outdoor Christmas Wreaths
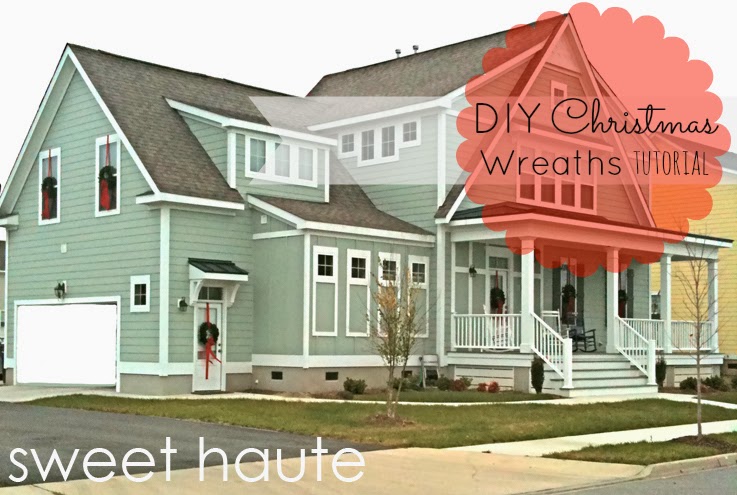
Here’s a picture with only some of the wreaths up, it got dark early so I needed to finish the next day. I added a few more up on the second level and then on the four cute small windows on the lower level. Yes, I forgot to shut the garage so I tried to make it look shut by adding some white paint. Decide on how many windows you want to do, we have 50+ windows so we only did 10 large and 4 smalls wreaths.
Supplies:
Wreaths
– Large (20 inch shown)
– Small (10 inch shown)
Red Bows
-Large (30 inch shown)
Red Ribbon
Hot Glue Gun
Staple Gun
Step 1:
Acquire your supplies. I measured my windows and decided that I wanted 20 inch wreath in the center of each window. I found mine at Michael’s and they were about $3.00 each. Find yourself a coupon and it’s even a sweeter deal. My bows I got on ebay for cheap (off season) and they were about 30 inches from top the bottom. That’s what you see hanging from my counter top. Then I added another center ‘piece of ribbon’ to make it fuller looking, with a hot glue gun. That’s why they’re all stacked and ready to assemble. The red ribbon used for the top ‘sash’ portion, I got at Garden Ridge but it was on sale. My small wreaths not shown here, were 10 inches and I found them at Dollar Tree, and also the smaller bows I used on them…and my porch banister etc. (seen in the last picture on this post).
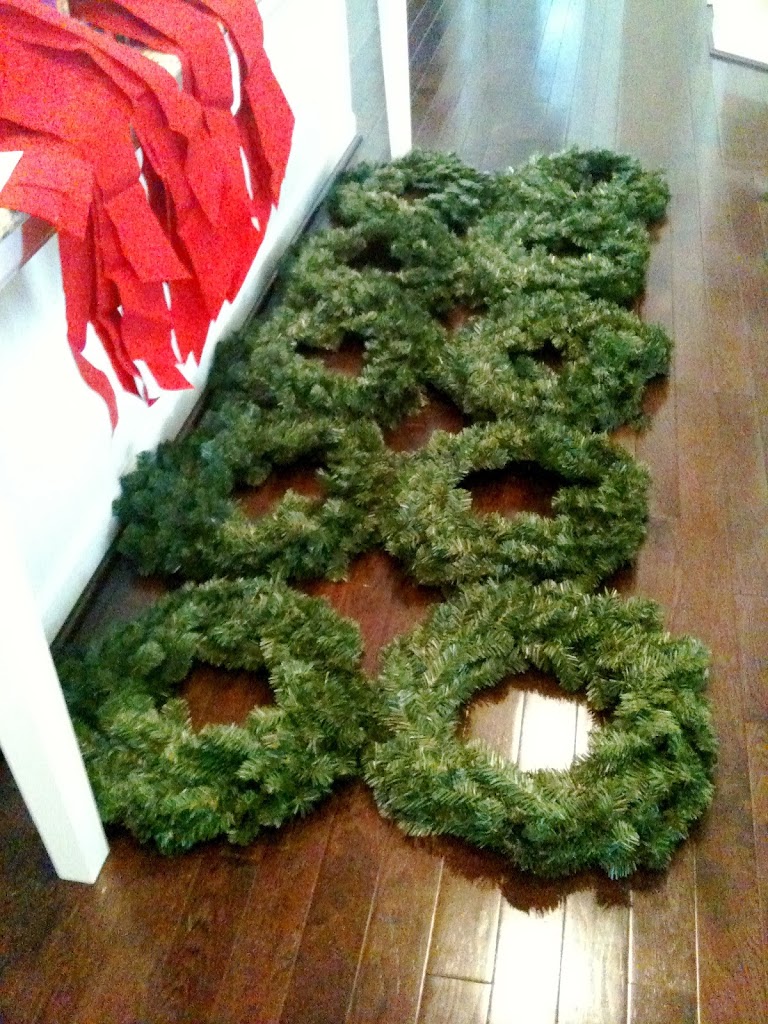
Make room, they can be a little bulky.
This is the size of faux velvet red ribbon you’ll need, 2 1/2 inches by 20 yards. I got mine online when it was on sale. But it says regular price is about $3.99 plus tax.
Step 2:
Cut your top ribbon ‘sashes’, made from the ribbon above. I cut mine 30 inches each, but it will differ for your size of windows so measure and test it out before hand.
Step 3:
Hot glue your sashes onto the wreath by making a small ‘loop’ shape (soft velvet side out) and gluing a small section to adhere it to the ribbon. Try not to use too much ribbon, about 1-2 inches of ribbon to ribbon glued….if you need more be sure to add it to the slack in the measurement of each ribbon cut to compensate.
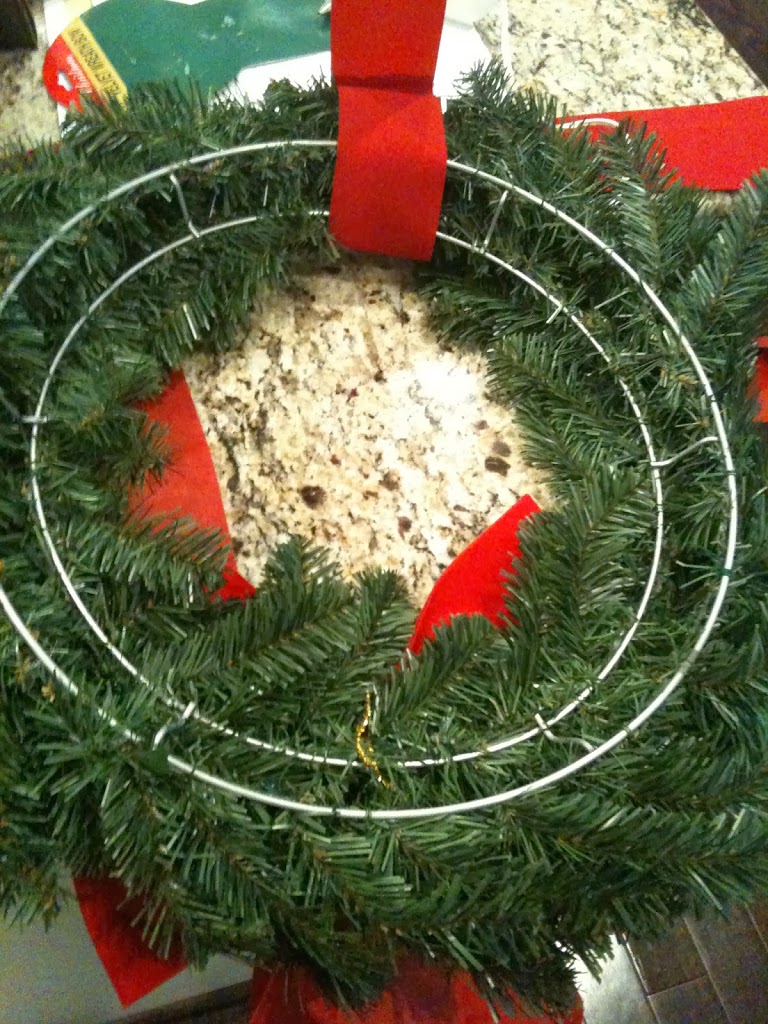
WARNING!: the glue is extremely hot through the ribbon so children should not help with this step. I even got burned a little because some got on my nail bed, and I had that delayed pain reaction…OUCH!!!! LOL;)
Step 4:
Add your large red bows! Remember…..to fluff each bow, fluff each wreath before hanging. And try not to smash down the fluff when handling and hanging them up. Hahaha:)
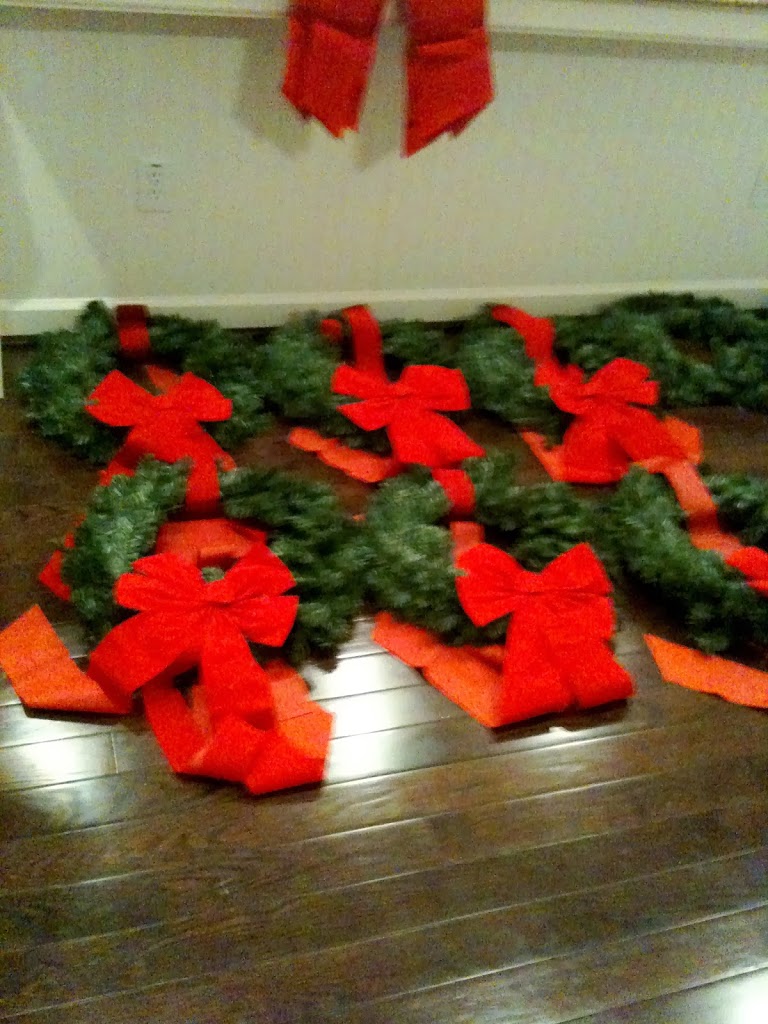
My bad, I know it’s blurry but you get the picture….fluffy and beautiful…..and repeat (a million times) my fingers were definitely sore, couldn’t even take focused pictures!!!
Step 5:
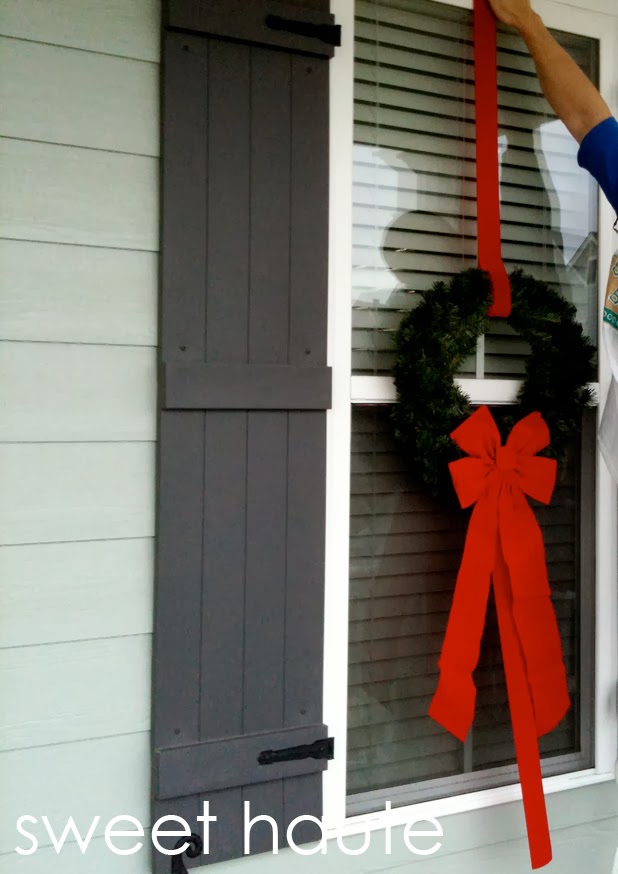
Finally, hang them outdoors and make your exterior window Merry and Bright with Christmas Cheery decor! First, staple the top of the ‘sash’ ribbon to the top of each window. Next, this is where the extra center piece of ribbon came in handy as well…..I took the extra ‘center piece o’ribbon’ that I had hot glued to the center of each large bow and tucked it into the bottom of my windows and then shut it into the window and locked each window. This actually helps on the windy, rainy days and keeps the wreaths in place.

This is an action shot, but that middle longer ribbon would then be tucked into the open windows and locked into place when closed.
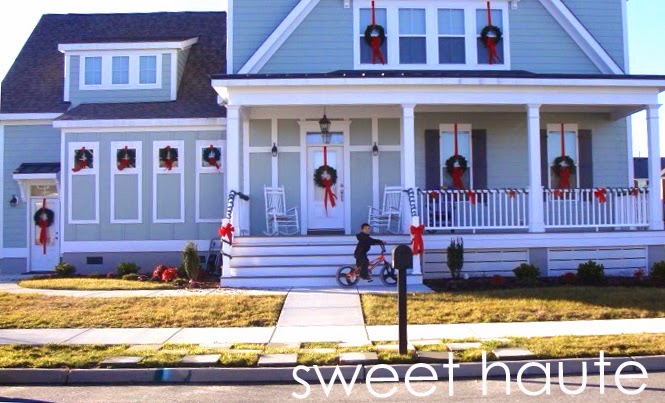
Here’s the view from the front, though not a high quality image, or good lighting…, yet you get the idea of how darling they came out. Our son wanted to be in the picture too. In this image you can see the smaller 10 inch wreaths on the for smaller windows…so cute! I chose not to do all the window on the top level, instead I centered the 2 above between the ones on the lower porch. I’ve gotten so MANY compliments, too and including my children and husband who say something almost everyday on how cheery the house looks when coming home. Home sweet home!
I chose to do this decor because it was energy and cost efficient. Everything used was under $5 each, but if you buy ready made (artificial) wreaths they will be much more $20+ depending on the size. Real natural wreaths are about $7+ depending on where you purchase them, which can get pricey and to only have them dry out and ‘die’ after the season is through. I’m happy about the result and will continue this decor by freshening the hot glue or switching out the faded red ribbon or bows.
Do you decorate your home’s exterior with DIY crafts? If so, what kind?
~Be Sweet
Christina
Sweetest Haute

____________________________________________
I love the way those turned out! And not a terribly expensive project, especially if you store them for next year too! Great job, Christina, thanks for sharing! Check out more great content from Christina on Sweet Haute.
