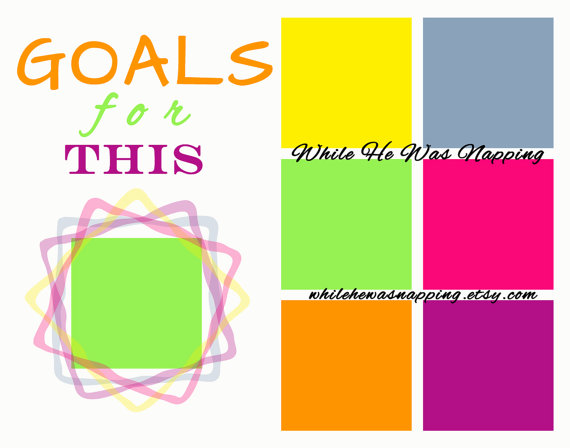
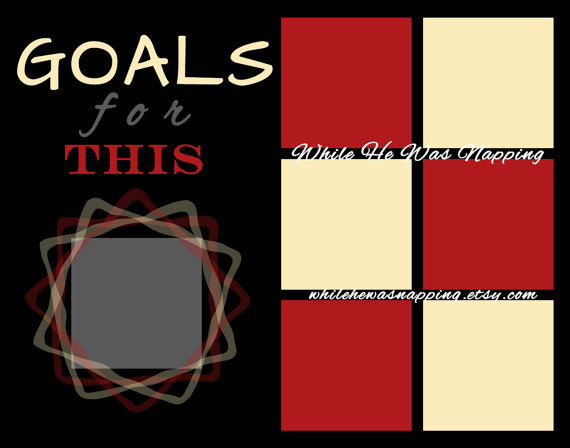
I ran into this idea over at Cornflower Blue Studio and knew it was the perfect organizer for me. Visually appealing, easy to change and update, and personalizable! If you’ve been around here much, you know I love one-of-a-kind and unique. And I was always the child who doodled, so this was PERFECT!
POST IT NOTE GOAL TRACKER

Materials:
– Poster board
– Sharpies or other markers
– Post-It Notes
– Ruler
– Pencil
– Scissors
Directions:
– Measure 11×14″ out of your poster board with your ruler and pencil (or buy it that size – usually you can find smaller packs of poster board with the large poster board pieces). Use the scissors to cut it out. Set aside the extra board.
– Measure out six squares (or however many you want). Post Its are 3 inches by 3 inches if you use the standard size. I actually bought a pack of Post Its with five colors – and five separate pads – so I just moved the pads around until I found a layout I liked.
– Then I made space for my text. I opted to make the time frame a post it too, so I can change it as I need. Sometimes it’s easier to take things a day at a time and sometimes I need a big picture reminder.
– I used my pencil to draft my design and then I broke out the permanent markers. Mine were some off-brand knock offs and were metallic. They were fun, but I had to make sure they were really dry or they’d smudge. I just went to town with the markers.
– While my poster board dried, I cut out a smaller piece of poster board from my extra. I didn’t do anything to it, and it actually hangs behind the goal tracker. I put any of the Post Its I might use again on it and then reuse them until the sticky is no longer… sticky. Just to save a little $$$. That’s totally optional.
I just free-handed everything but you could use scrapbook embellishments, stickers, die-cuts, or whatever else your little heart desires. I do have printable versions available for sale in my Etsy shop. However, you will have to get it printed at Costco or Kinko’s or wherever you prefer because it’s larger than most of us can print at home (11×14″). After you print it all you will need is some Post It notes. You could also frame the print and use a dry or wet erase marker on the glass. Even more budget-friendly than the Post Its.


I am totally loving this. It’s pretty and it’s fun to use. Easy, versatile, personalized and useful! LOVE IT!
If you’d like to get more While He Was Napping, you can find me here:


