While He Was Napping

momma gets stuff done

  • Home
  • About
  • Archive
  • Do It Yourself
    • Crafts
      • No Sew
      • Painting
      • Paper Crafts
      • Repurpose Projects
      • Vinyl
      • Washi Tape
      • Kid’s Crafts
      • Fonts
    • Sewing
    • Decorate
      • Home Decor
      • Holiday Decor
    • Celebrate
      • DIY Gifts
      • DIY Your Party
  • Recipes
    • Beverages
    • Appetizer
      • Bread
      • Other Appetizers
    • Snacks
    • Main Dish
      • Meat
        • Chicken
        • Beef
        • Pork
        • Seafood
      • Vegetarian
      • Slow Cooker
      • 30 Minute Meals
    • Dips & Sauces
    • Salads
    • Pasta
    • Soup
    • Dessert
      • Cookies
      • Brownies
      • Cupcakes and Cake
      • Box Mix Recipes
      • Other Sweet Treats
    • Breakfast Food
      • Pancakes
      • Waffles
      • Muffins
      • Other Breakfast Food
  • Family
    • Babies
      • Pregnancy
      • Newborns
      • The 1st Year
    • Toddlers
    • Preschoolers
    • Kindergartners
    • 6-8 Year Olds
    • The Grown Ups
      • Date Night
      • Romantic Gifts
    • Self Care
  • For the Home
    • Cleaning
    • Organizing
    • Emergency Preparedness
  • Travel
    • Travel Tricks & Tips
    • Traveling with Kids
  • Tech & Gadgets
    • Must-Have Apps
    • Techy Home Appliances
    • Gadgets & Electronics
    • Blogging Tips
  • Printables
    • Posters
      • Quote Printables
      • Subway Art Printables
    • Printable Organizers
    • Printable Journals
    • Learning Printables & Worksheets
    • LDS Printables
  • Holidays
    • New Year’s
    • Valentine’s Day
    • St. Patrick’s Day
    • Easter
    • Cinco de Mayo
    • Mother’s Day
    • Father’s Day
    • 4th of July
    • Back to School
    • Halloween
    • Thanksgiving
    • Christmas
    • Holiday & Seasonal Printables
You are here: Home / Bundles of Baby: Self-Binding Strip Quilt

February 15, 2012 by Krista

Bundles of Baby: Self-Binding Strip Quilt

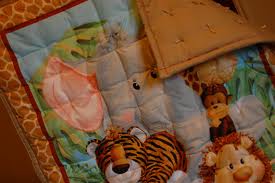
I set the goal for myself that I would make each of my children a blanket before they were born.  So far, so good.  Little Monkey got this Safari Quilt and it was one of my first projects I put up on this blog.  And, that translates to: the tutorial on it is less than impressive.  So, I used the same binding method on this new little baby’s blanket as I did on Little Monkey’s quilt and figured this was as good a time as any to re-visit that post.  This blanket was my first strip quilt and, let me say, easy peasy!  I spent more time cleaning out my sewing machine because my thread kept tangling than I did on the actual quilt ( I’d never cleaned my sewing machine before… I got the machine for my 16th birthday… probably a miracle it still worked at all.)!  There will definitely be more of these types of quilts and blankets in my future.

Little Monkey’s Quilt with a Double Roll Binding
 Strip Quilt with Double Roll Binding
Here’s the How:
Supplies:
– Coordinating fabrics.  I used four different cotton blend fabrics.  I cut mine to 12″ wide, but you can make them wider or skinnier if you want.
– Coordinating thread
– Backing fabric.  How much will depend on how big you make your blanket.  I chose a minky brown and used a little less than a yard.

– Ruler
– Fabric Marker (I actually use chalk)
– Scissors

Directions:
1.  Wash your fabric to prevent shrinkage after you sew your blanket together.

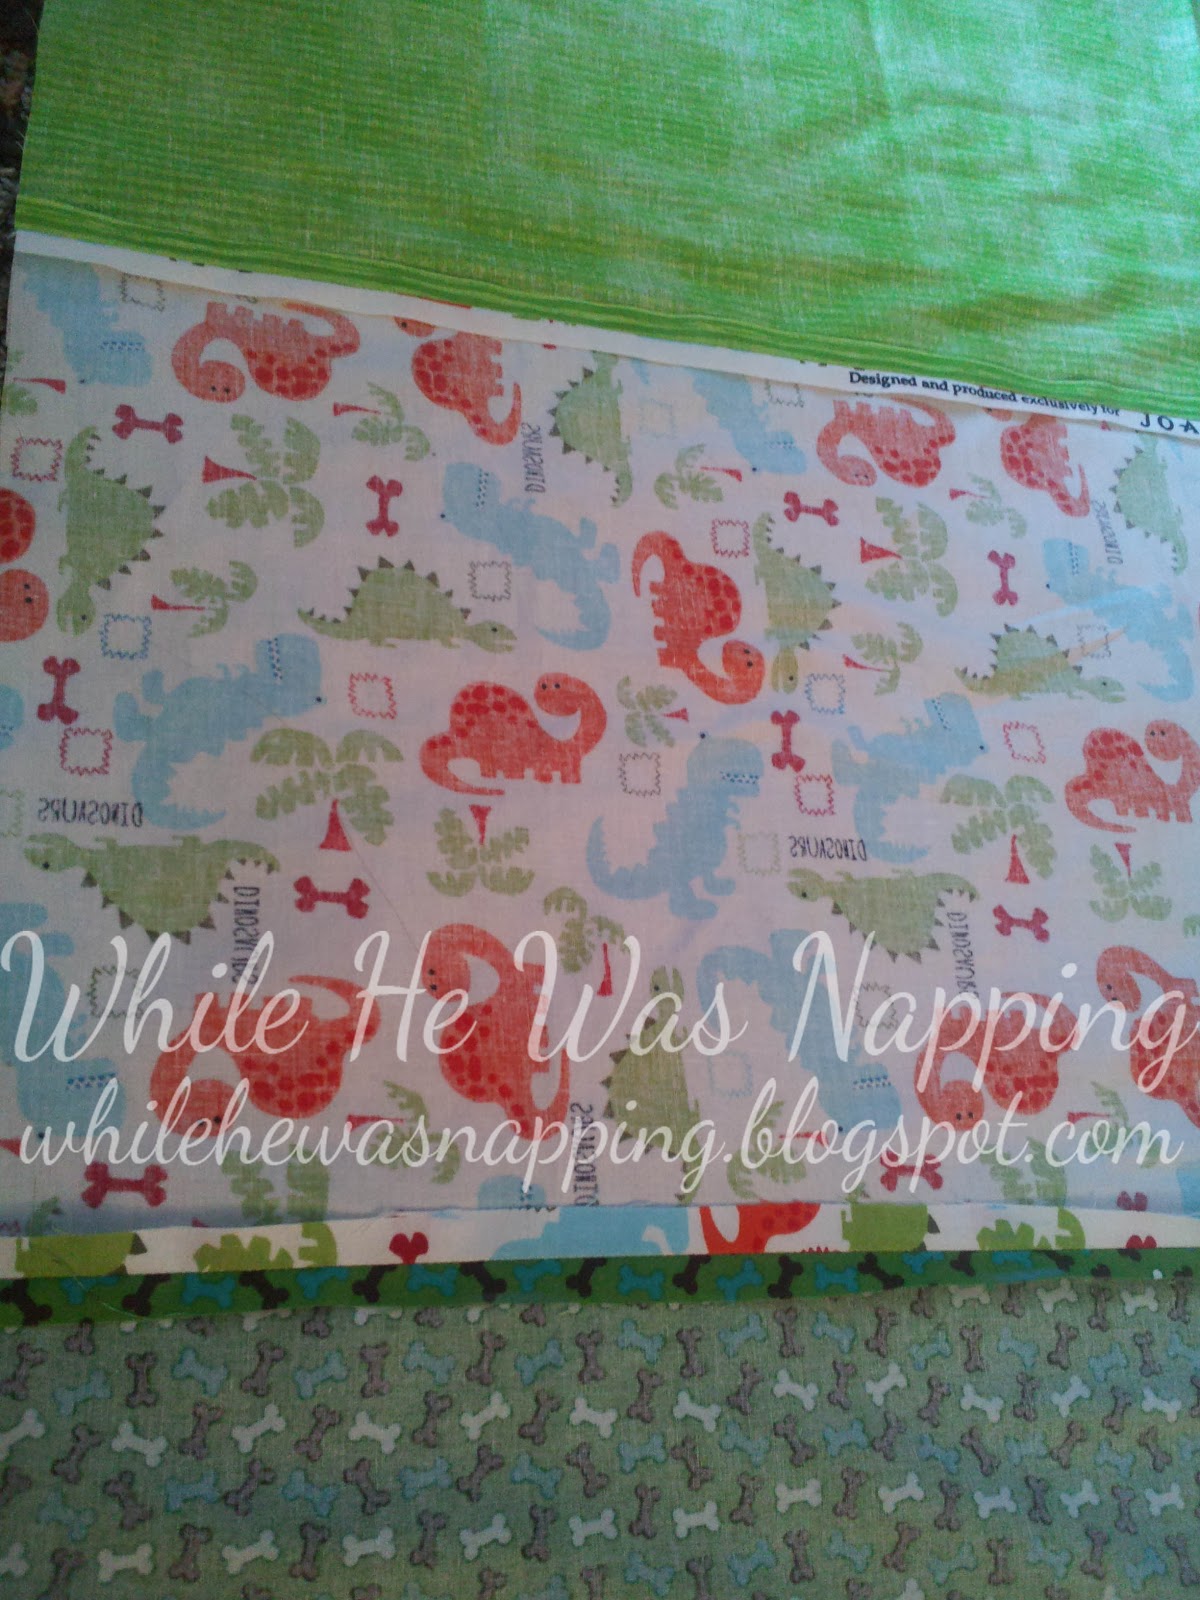
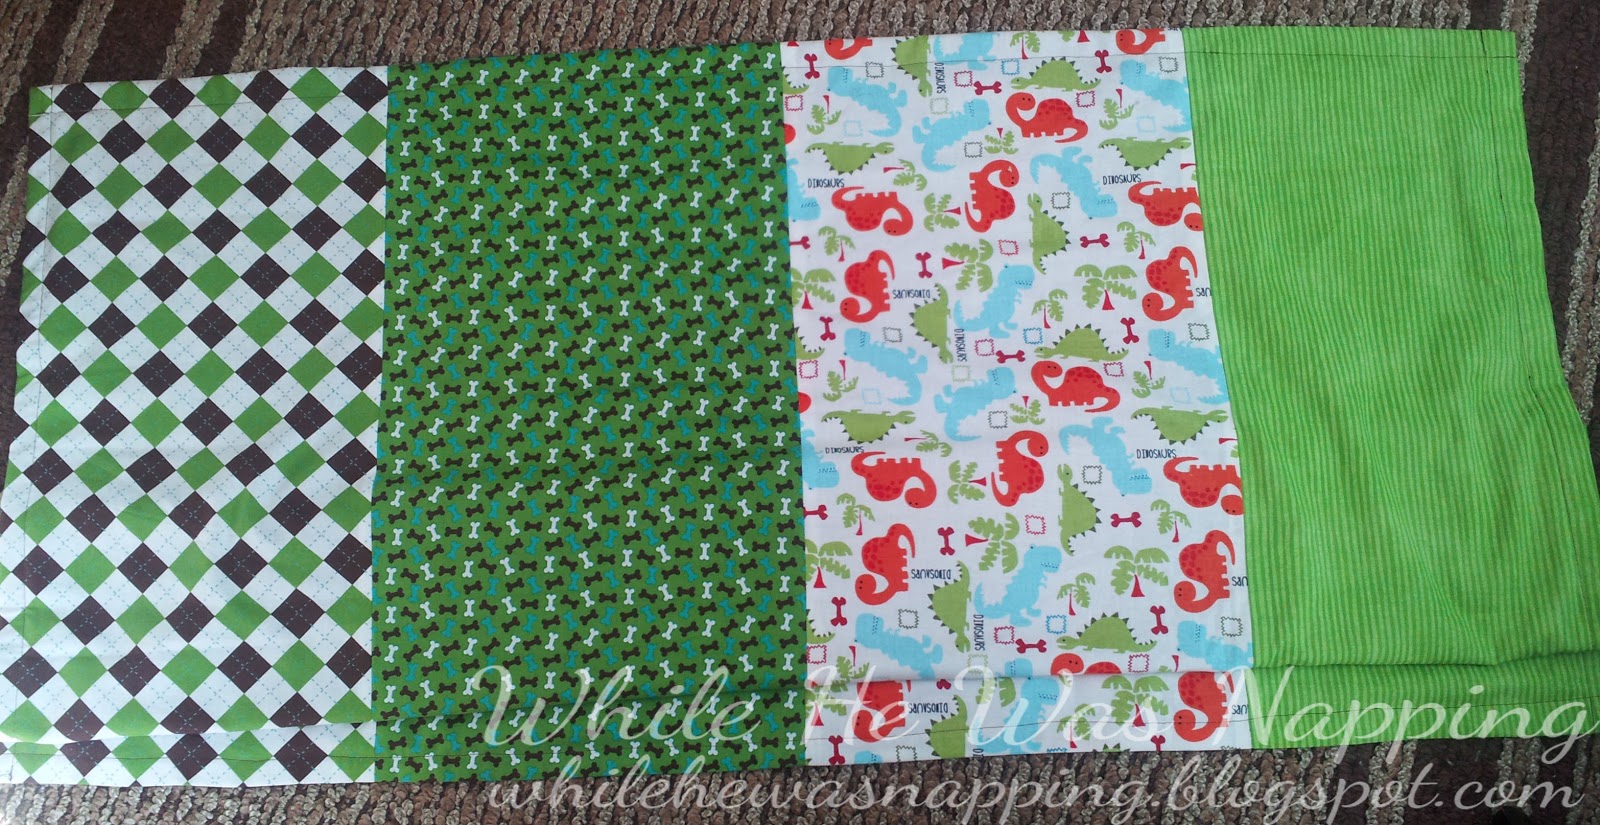
2.  Measure and cut each fabric to your desired width.  My strips are 12 inches wide.

3.  Pin the long sides of the fabric right sides together and sew a straight stitch so you get one long rectangular piece.  Iron down your seams.

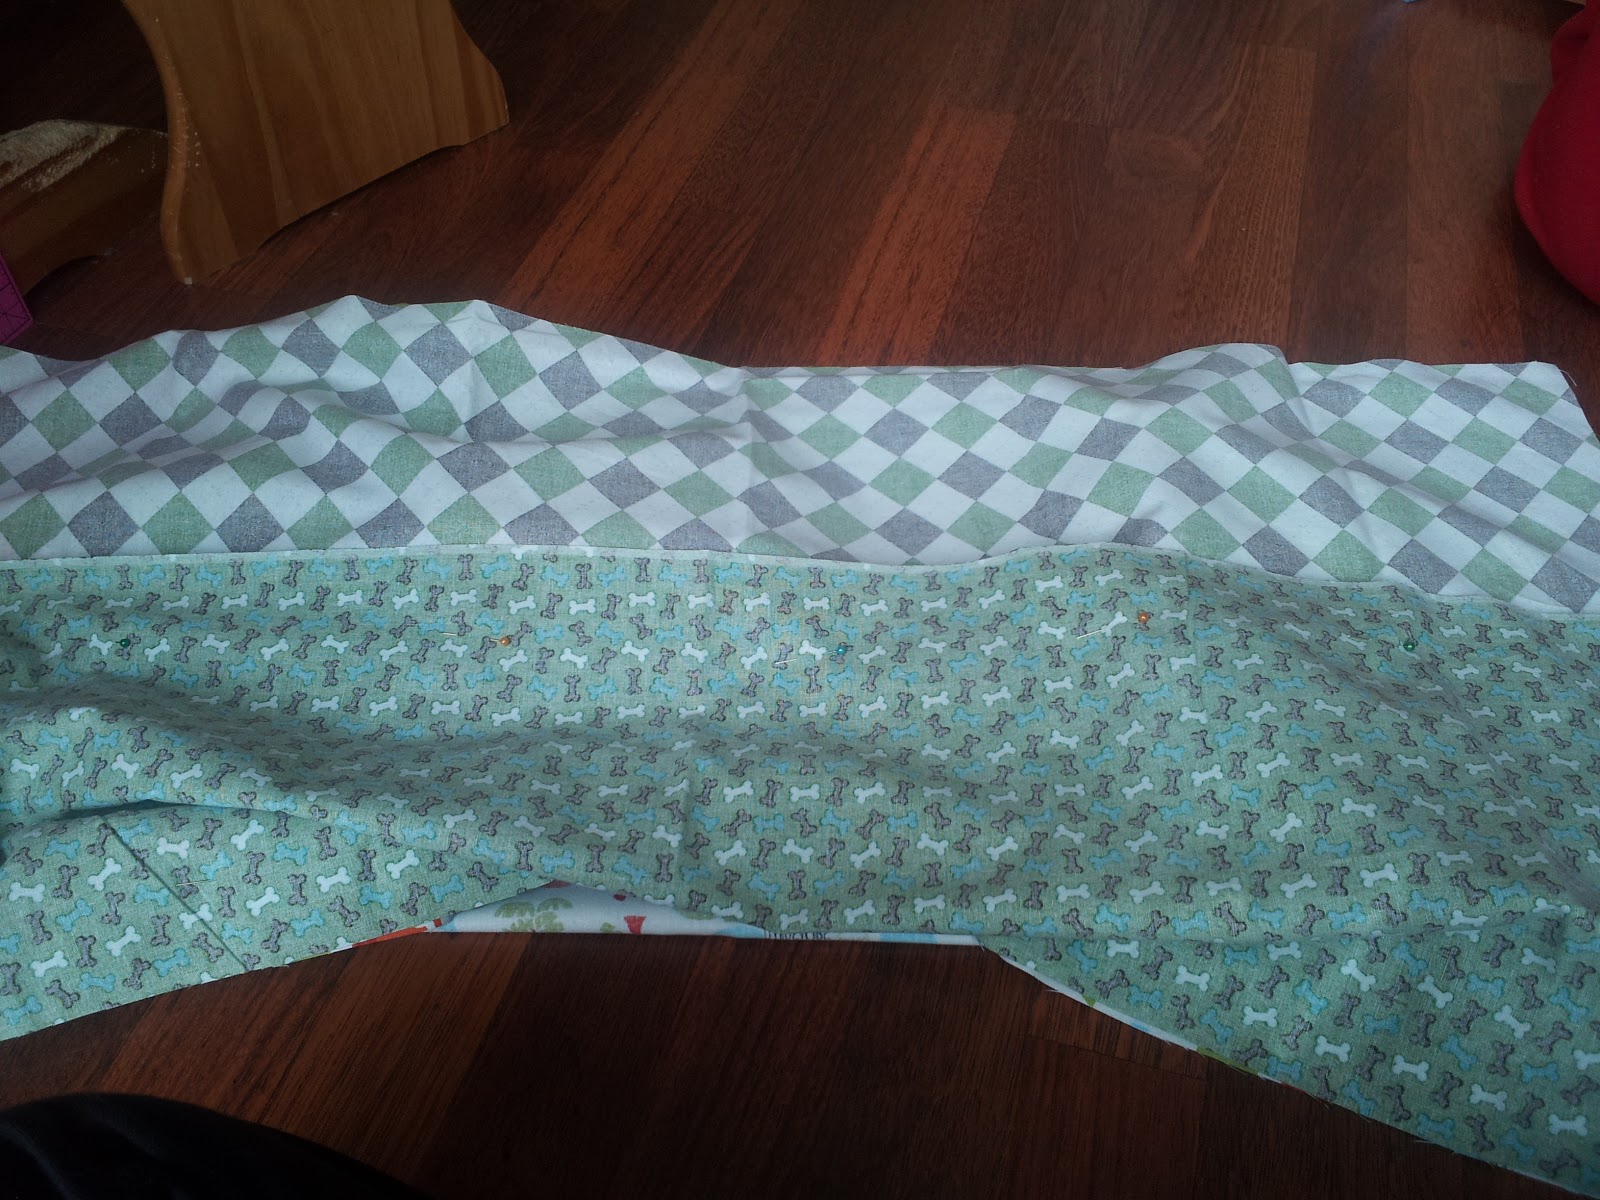
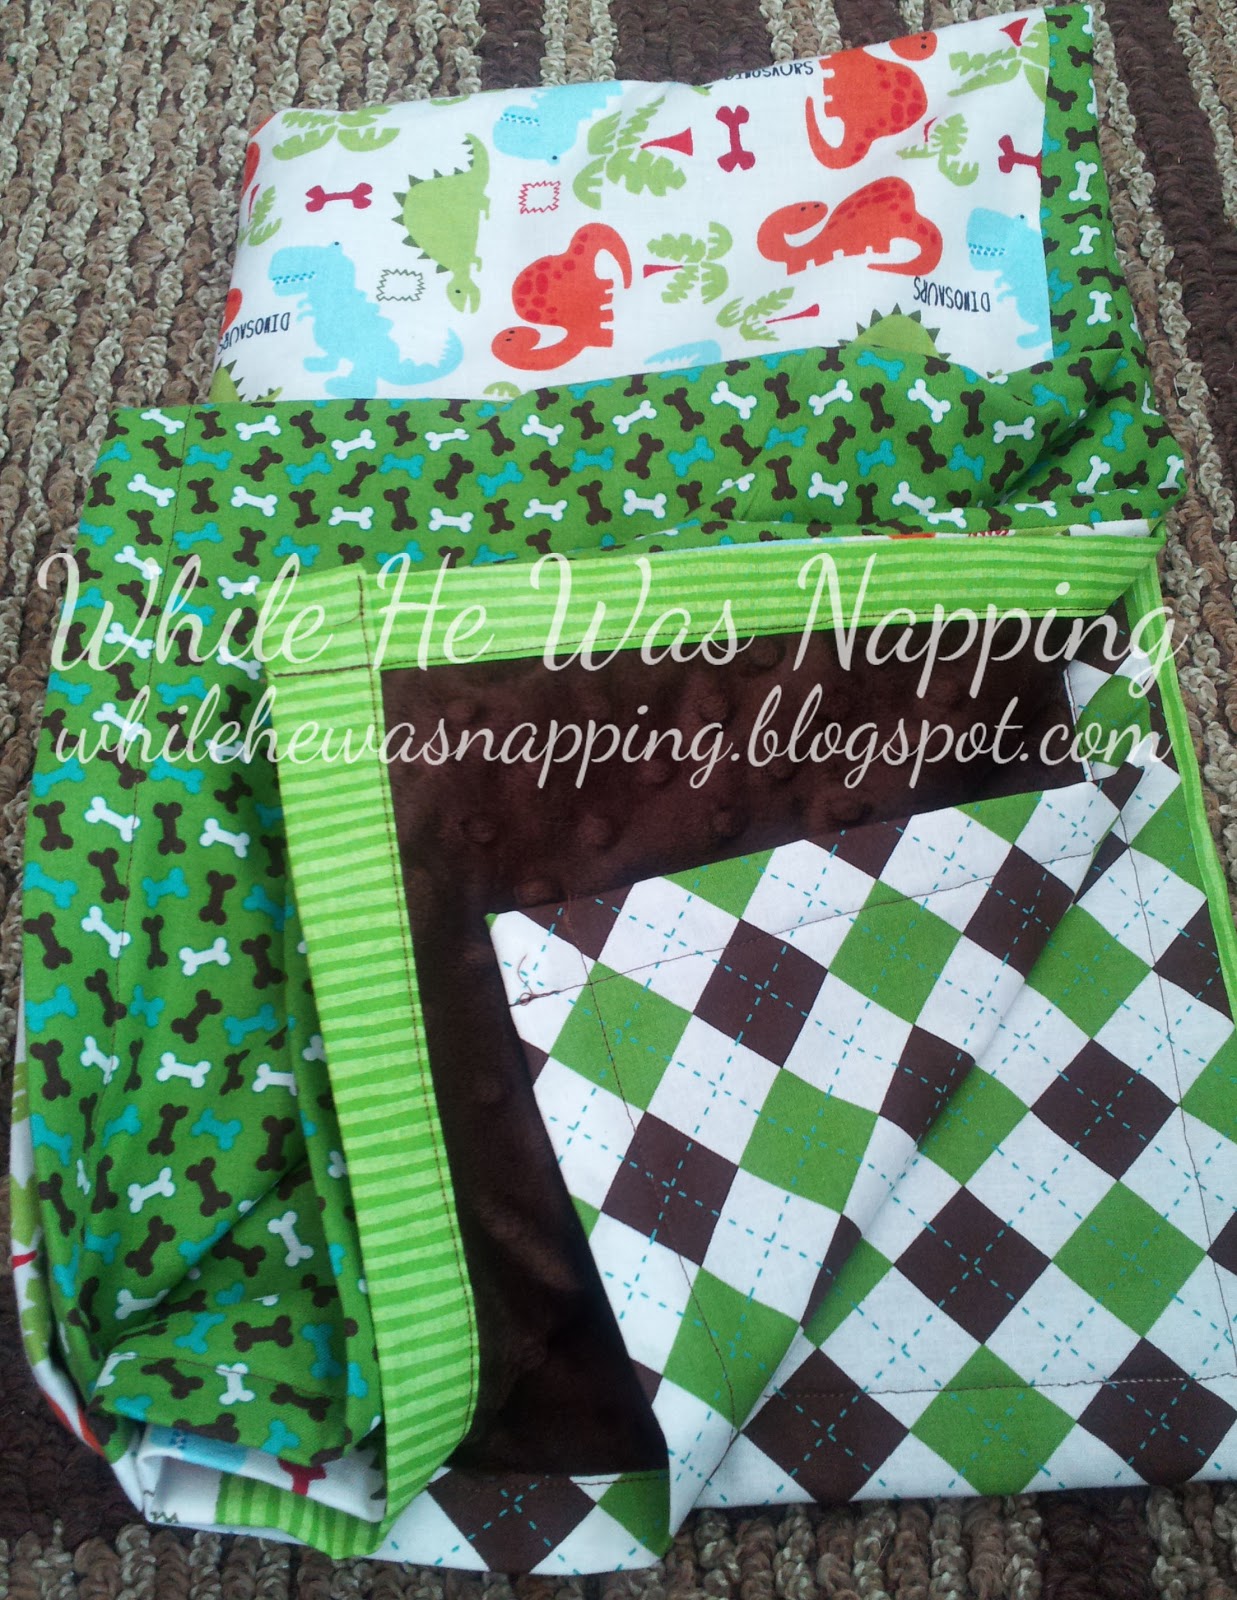
4.  Lay the strips of fabric piece face down on the floor.  Position your backing fabric on top.  Wrong sides should be touching.  The backing fabric will need to be smaller than your strips of fabric piece.  You may have to cut it down.  My minky backing piece was a remnant and I ended up having just enough.

5.  Do a double roll on your hem with your strip fabric.  Catch the backing fabric in your second roll so it will be inside the hem.

The first roll should have the edges of the two fabrics touching.
 The second roll should roll down over the top of the backing fabric.
Pin your rolls down.  Make sure you pin through all layers of fabric.
It can help to iron each roll so things will stay in place better as you sew.
 6.  Sew a straight stitch along each edge to finish your blanket.  I really like this method because it hems your fabric and binds the blanket all at the same time.  It’s easy, quick and looks great.  Unless your thread catches and you don’t notice it.  Ask me how I know that…

I didn’t do any kind of quilting on this blanket.  I may have to go back and do that.  The back of the minky is pretty slick and I may need to do at least a few straight seams to help the blanket keep it’s shape.  If I do, I’ll update this.  You may want to go ahead and do that so you don’t have to re-visit this project again…  Just a though.

I'm Krista. Ringleader here on While He Was Napping, wife to my handsome Mr. Right & momma to my THREE energetic boys, Big J (9), Little J (6) & Little N (4). We FINALLY added a beautiful little girl to our family last December.

I’m knee-deep in Tonka trucks & Thomas trains. I survive our crazy days with Vanilla Coke, Sonic slushies, sweet snuggles and little giggles. When I tuck them in tight & kiss them good night, I get a little time to create & just be me.


It all happened
while (s)he was napping
Want More of My Story?

Privacy Policy

While He Was Napping respects your privacy and is committed to keeping any personal information collected on this website confidential. To find out what information we collect and how it is used or what options you have regarding your information, see our full privacy policy here. Creative Commons License The website found at whilehewasnapping.com and all subdomainsauthored and published by Krista is licensed under a Creative Commons Attribution-NonCommercial-NoDerivs 3.0 Unported License.

Pretty Chic Theme By: Pretty Darn Cute Design