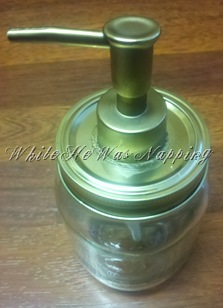
If you follow my Pinterest Boards, you know I’m obsessed with these little babies. I love them! Vintage, functional, and just all around lovely! So, I’ve been scouring thrift stores for just the right soap dispenser top. Of course, it came with the bottle too, but I’m not sure what to do with that yet. For now, it’s sitting on my counter…
Here’s the How:
1) Supplies:
1 pint size glass jar (you could totally up cycle some other jar you already have too…)
1 soap dispenser top (the part you pump)
drill and drill bits
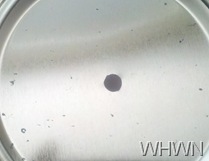
2) This was soo easy I almost didn’t take pictures. Good thing I hit a snag, huh? Ok, first start with a small drill bit (I used a 3/32 bit) and drill a hole in the center of the jar lid or the seal, if you’re using a canning jar.
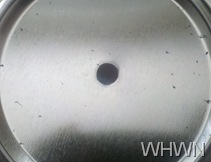
3) Gradually increase the size of hole by using a little larger drill bit. I used a 9/64 bit and then a 13/64 bit, followed by my 1/4 bit.
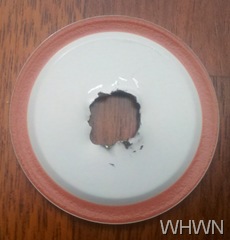
And then, I hit my snag. I didn’t have any larger bits than 1/4” and my husband had the tool box with the big bits in it. So… I took my little bit again and drilled small holes all the way around the diameter of my circle. The hole has to be large enough for the soap pump and straw to fit inside. It wasn’t pretty, but it worked and you can’t see it with the soap dispenser assembled. If I’d had the right sized bits, this would have taken like ten minutes (instead of half an hour).
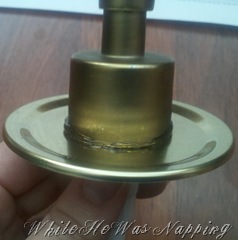
4) After I got my hole drilled big enough, I put the soap pumper through the hole and used LocTite glue to secure it to the canning jar seal. Let that dry well and ta-da! All finished.
Krista


