This past weekend we decided that we needed to have a party. Because well, sometimes, you just need to have a party! My boys absolutely adore Big Hero 6 and it came out on video a couple weeks ago. And we love movies. So… we had ourselves a little (or maybe not so little) party! It was a total blast and everyone had so much fun. We started off with some science experiments and activities, followed that up with a light dinner and then topped the night off with a popcorn bar and a viewing of Big Hero 6 on our “Big Screen”. So, stick around this week for all the details on our fun party.
Let’s start off with the party games. We had two games, but I’ll start with Go-Go’s Disc Toss. Our guests ranged in age from Baby N who just turned one to our friend’s second grader. We had 10 kids and their parents at our soiree. The games were enjoyed by all, even though the younger kids didn’t completely understand the rules or play by them. But that’s okay, we’re in it for the fun! The adults even took a few throws.
BIG HERO 6 PARTY GAMES
GO-GO’s DISC TOSS
Materials:
– Yellow Paper Plates
– Black Sharpie Marker
– Bowl (or something else round that you can trace your black line onto your plates with.)
– Red Copy Paper or Card Stock
– 3-inch Circle Punch
– Red Masking Tape
– Glue stick, tape or hot glue

Directions:
GAME SET UP –
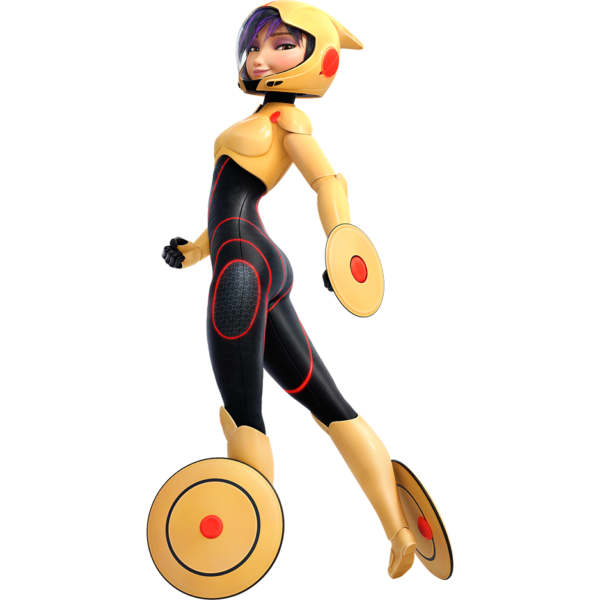
– Create the discs. First, punch out circles from the red copy paper or trace them and then cut them out with scissors. Use the sharpie and the bowl to trace a black line around the edge of the plate. Glue the red circles into the middle of the plate. Just eyeball it, it doesn’t have to be perfect. You can see the image I used to re-create the discs from below. Mine look more like the discs on her feet than the ones on her hands, because they looked easier to replicate.
– Create the game board/playing field. Call it whatever you want. We opted to do this inside (we are still pinching pennies so we can landscape our backyard, fingers crossed for this spring, but sending a bunch of kids out to romp through all the weeds and goat heads sounded like a less-than-great idea). Using the masking tape (which I found in the paint department of Wal-Mart, by the way), I taped out a board on the carpet. We often use masking tape to create roads, so this was pretty familiar and it’s really easy and only takes about 15 minutes to set up. Taping out the numbers in each space took the longest. I just did a big rectangle and then taped off sections and added a triangle in the last section. That’s it. You’re ready to play.

PLAYING THE GAME –
– One at a time, players stand at a pre-determined distance from the board. I marked this with a piece of tape. They then throw their “discs” and are awarded with the points their disc lands on. You can opt to make rules that the highest/lowest points are awarded for discs that land on two scores. You can also make the rule that discs have to be completely on the game board to be awarded points. We went with awarding the highest points and didn’t make the last rule. Our guests were pretty little and I wanted them to have fun. Honestly, we didn’t even keep score really. And they all loved it.

Masking tape: $3 (but I only used maybe a quarter of the roll)
Yellow plates: 20 for $0.97
Red copy paper: $1.34 for 20 (or so) sheets (I only used one piece of paper)
Sharpie and glue: on hand.
TOTAL: Barely over $5 out of pocket and I didn’t use all the supplies so I have those leftover next time we play (or for something else entirely). Totally worth it.
Check out the HIT of the party that cost me a whopping $3! The kids LOVED this!


