This post is sponsored by Jo-Ann Fabric & Craft Stores. I was provided with compensation for my supplies and time. Regardless of compensation, all content contained in this post is 100% original, honest and mine.
March is National Craft Month! Yippee! And Jo-Ann can help out with all your spring crafting needs by offering you a fabulous coupon and some amazing ideas on their Spring Crafting inspiration site. This year, there are some super fun trends that are creeping into the season’s decor and crafting fashions. Pantone’s amazing color of the year is a gorgeous radiant orchid, and who can choose between the florals and geometric patterns that are all the rage? However, my favorite trend right now is, without a doubt, nautical!
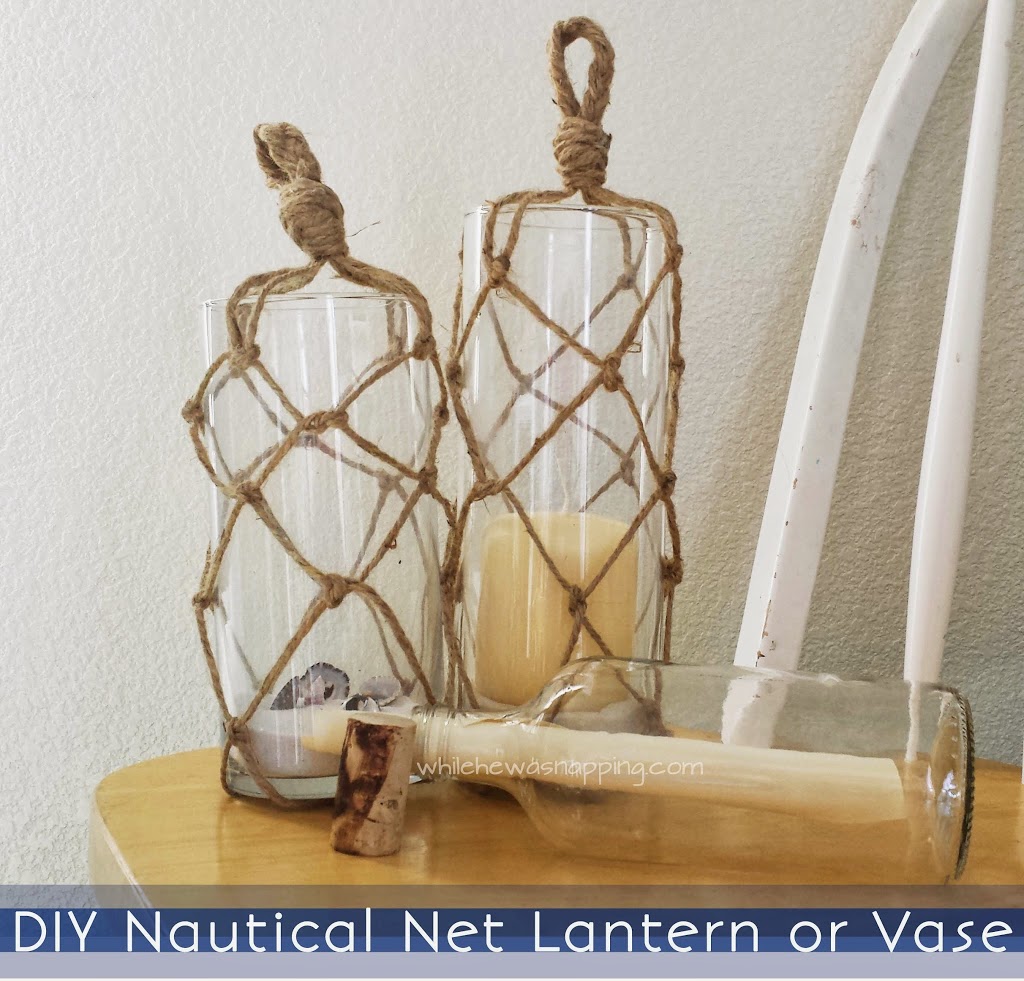
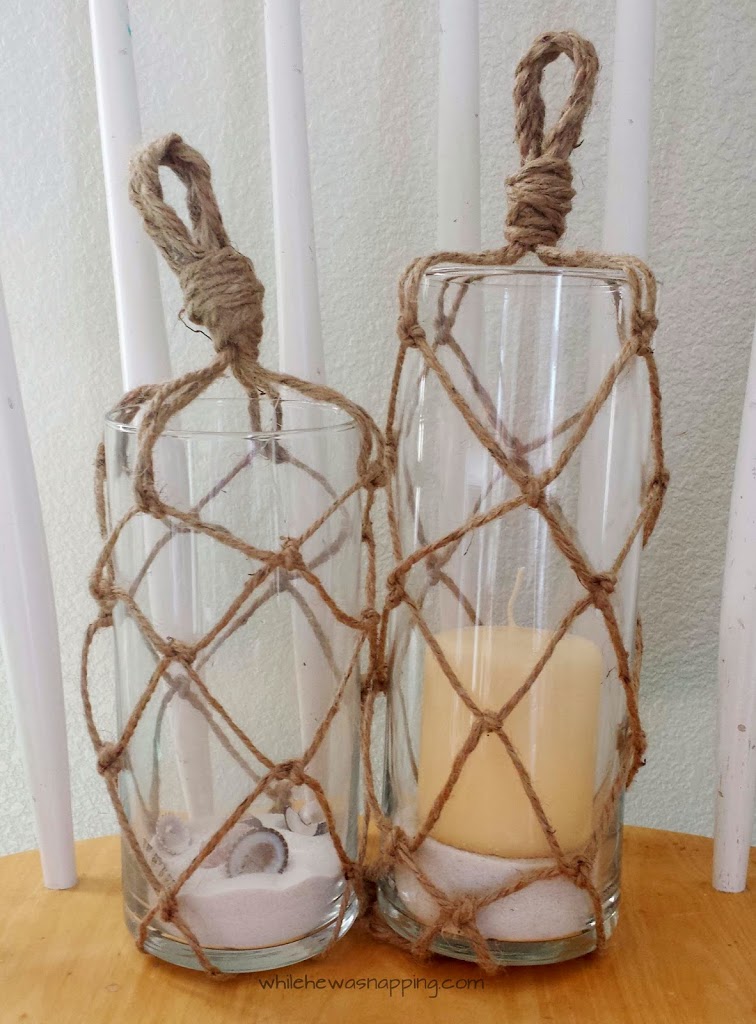
When I was invited to participate with Jo-Ann in the National Craft Month celebration and found out the themes for this craft challenge, I knew I wanted to do something nautical. I have always loved the sea, even as a young girl. I miss the time in my life when things were laid back and carefree enough that I could make a trip to the ocean half a dozen times a year. And then I had kids… and somewhere in all that I seem to have traded beach trips for dirty diapers. So, this was the perfect opportunity to bring some of the tranquil sea to my home decor with these Nautical Net Lanterns.
– Glass Vases
– Jute Twine
– Scissors
– Hot Glue Gun & Glue Sticks
– Decorative Sand (or sand from a beach trip)
– Decorative Shells (or shells from a beach trip)
Directions:
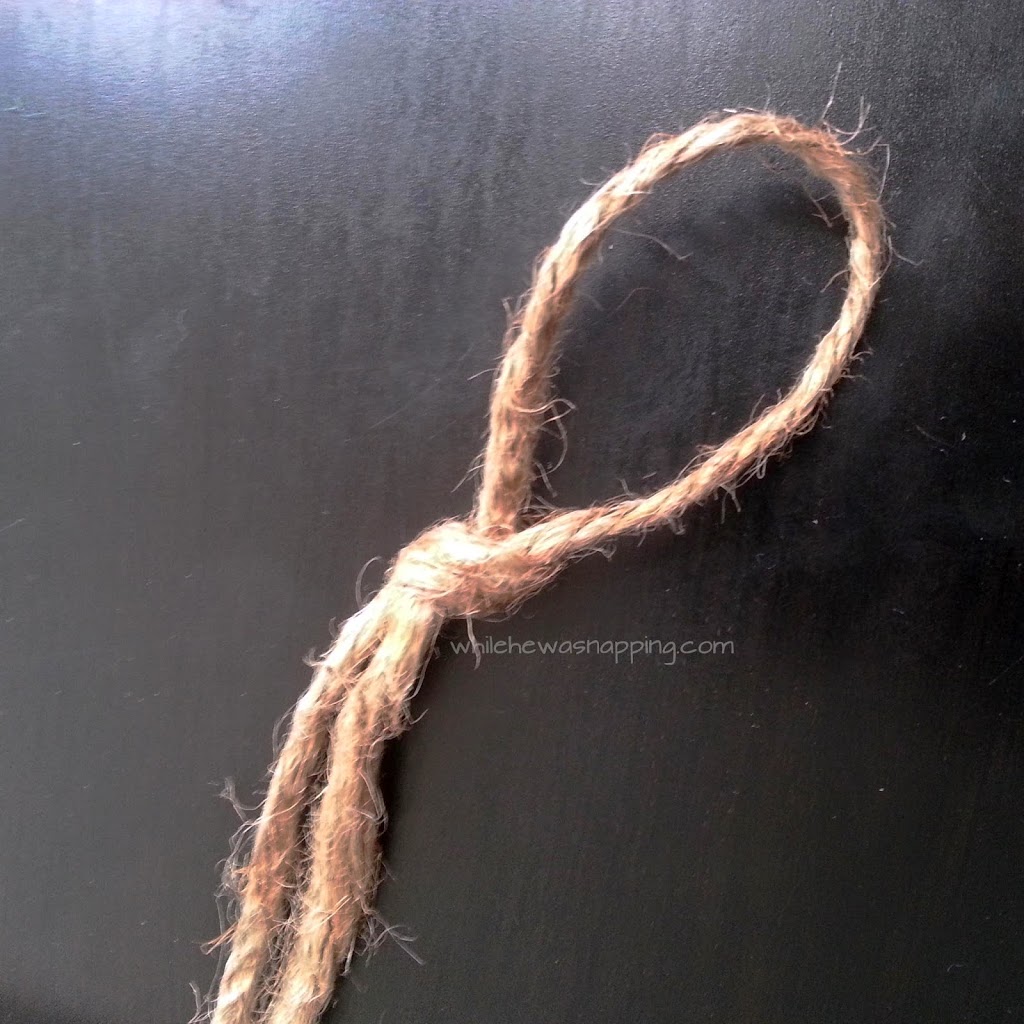
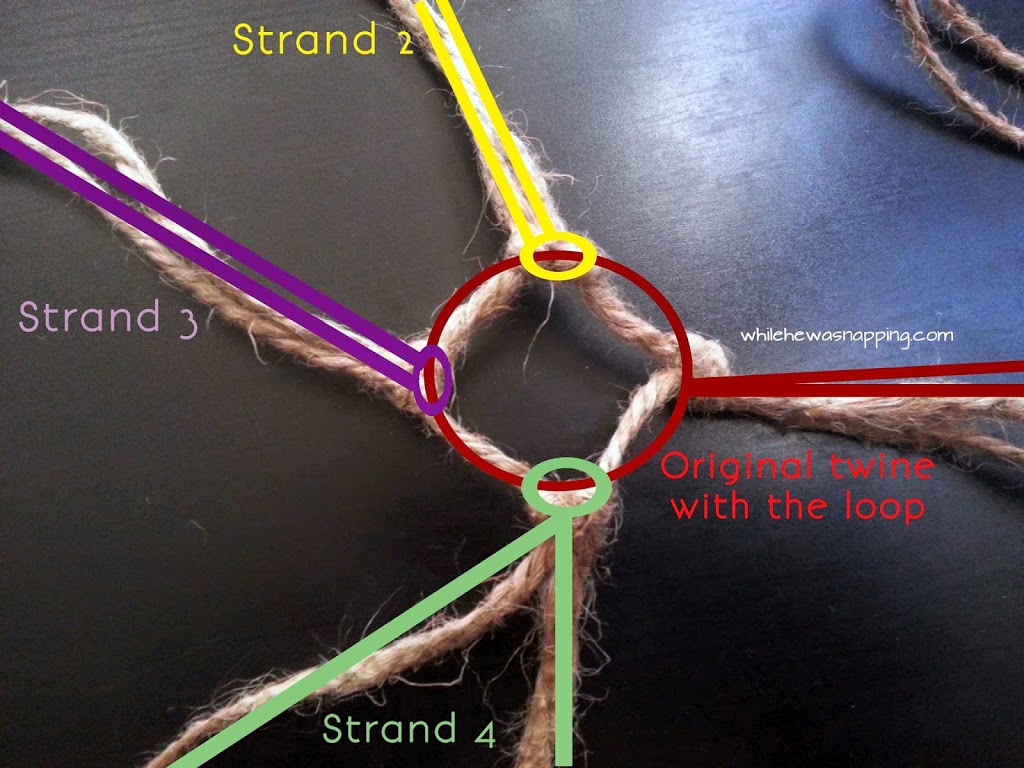
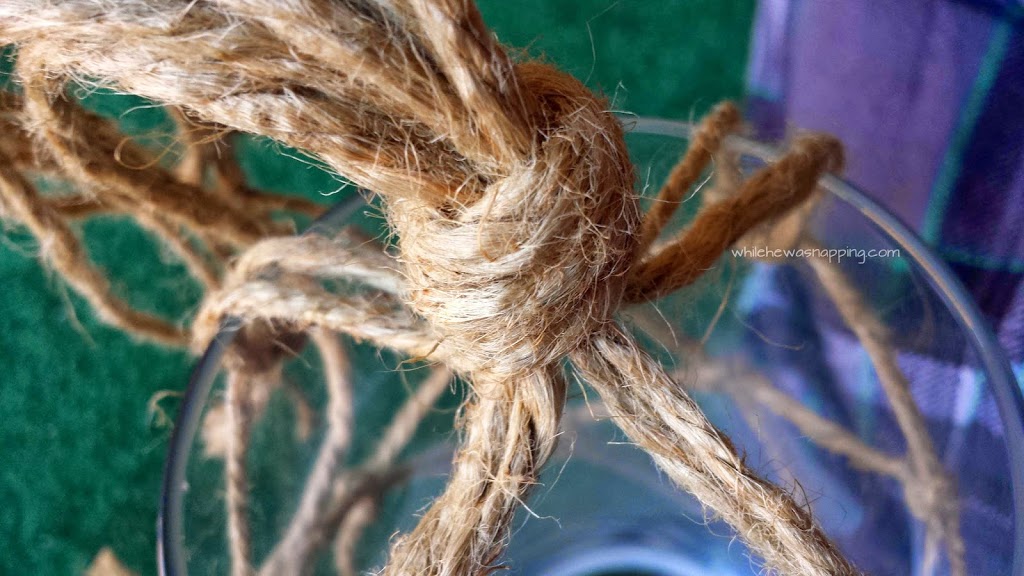
– Pull off a length of twine approximately two and a half times as long as your vase is tall. For example, I used a vase that was 18 inches tall, so my first length of twine was about 45 inches long (18+18+9=45). Cut the twine and tie a loop knot in the middle as seen in the photo below. Set this piece aside for now.
– Cut off three more pieces of twine, each approximately 3 inches shorter than your first piece of twine (43″ in my case).
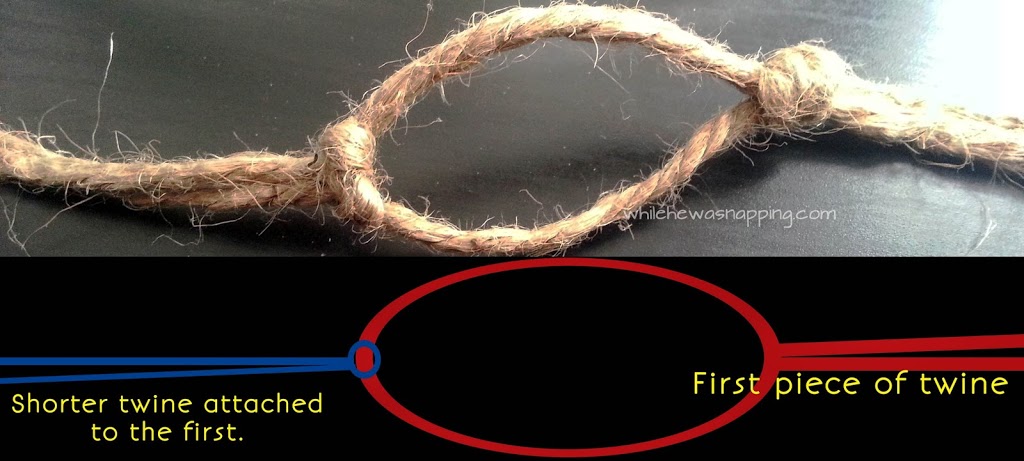
– Attach each of the pieces of twine to the loop you created in the first piece of twine in the previous step. Do this by folding a length of twine in half and holding the ends together. Wrap the doubled piece of twine around the loop and stick the ends through the center hole and pull tight.
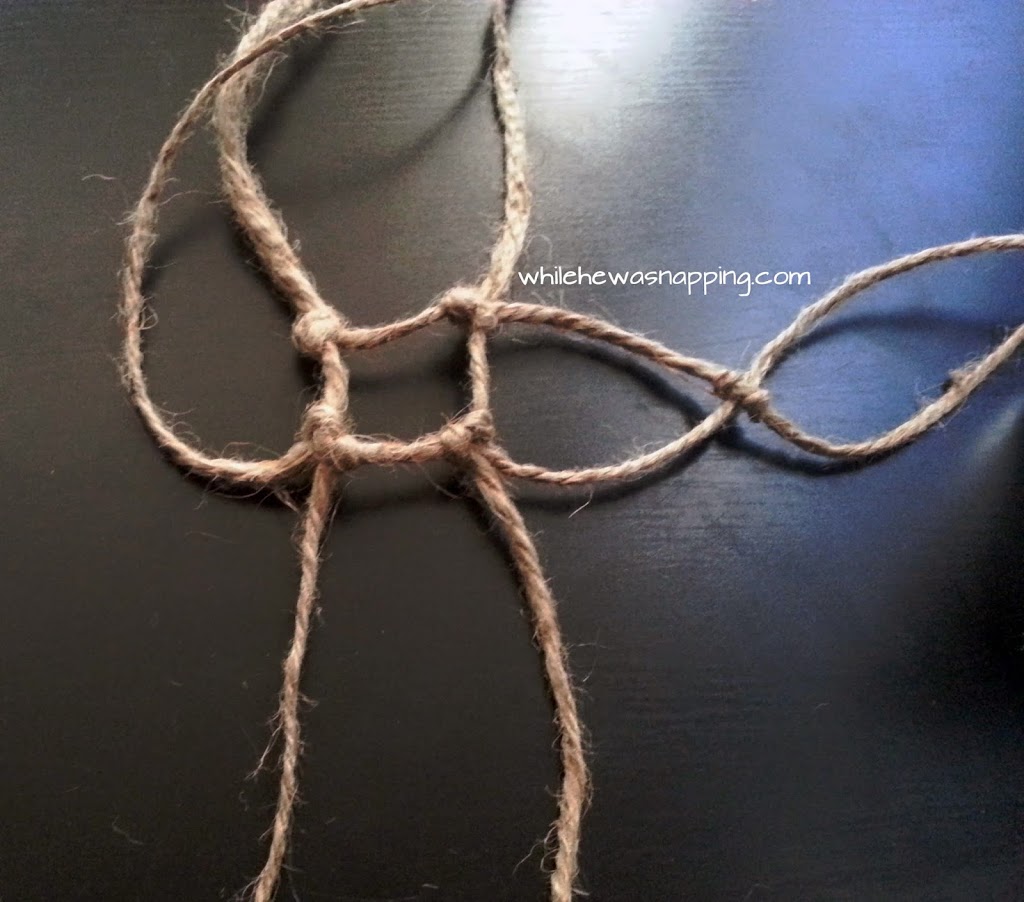
– Repeat with the remaining two strands of twine until your loop looks more like a box with two strings coming off each corner.
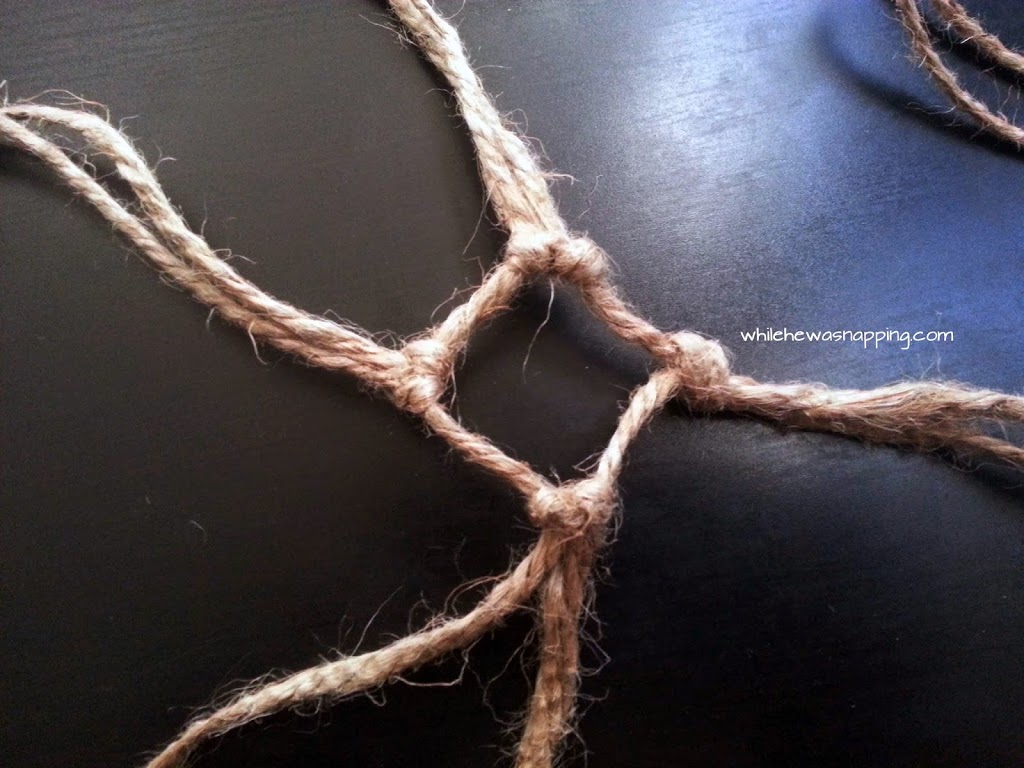
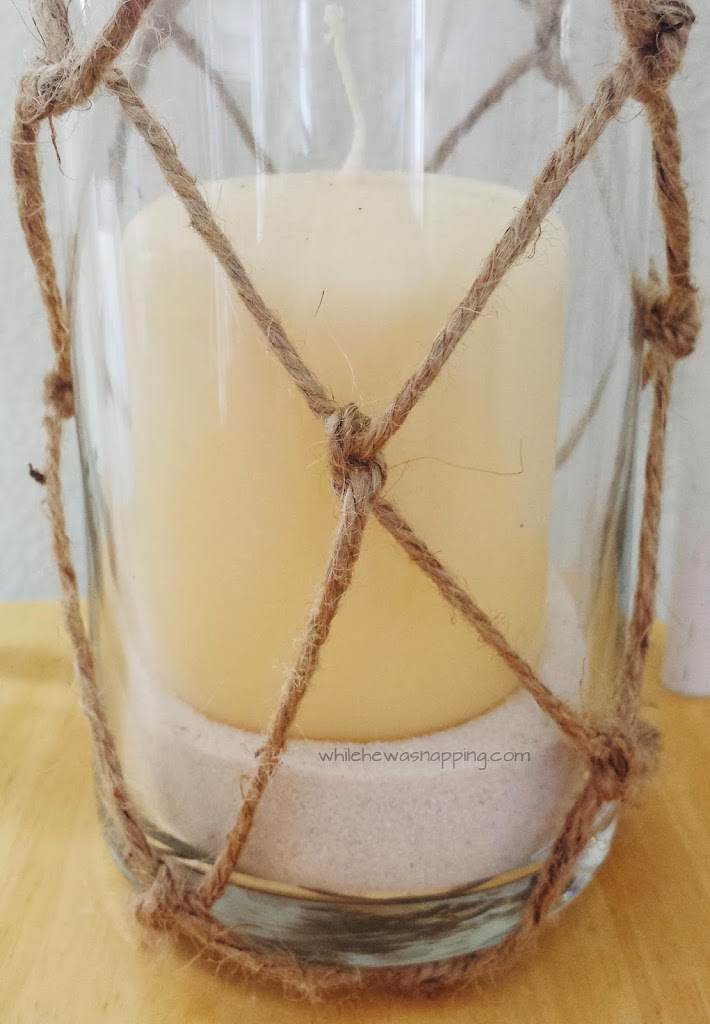
– Take one strand of twine from one corner and a second strand from an adjacent corner. Tie a simple square knot in the two strings so it creates a little leaf-shape with the twine.
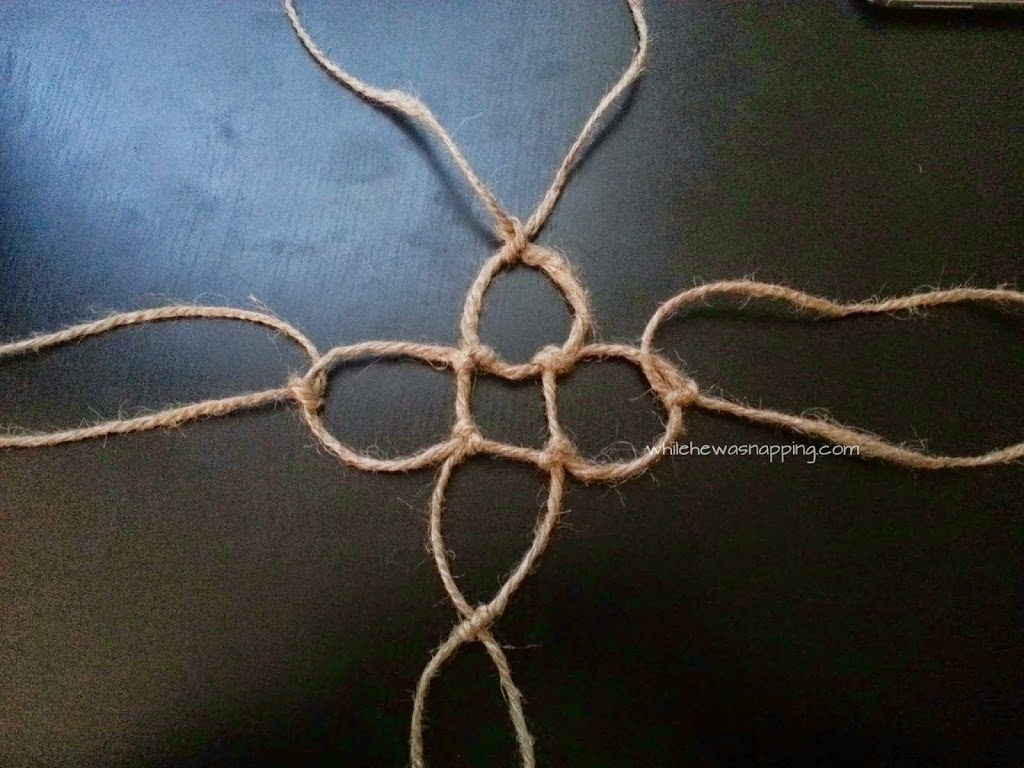
– Repeat the previous step with the remaining strings of twine. Depending on the base of your vase, you should be able to tie the bottom of your netting in only one or two layers. It will look similar to this when you complete the first layer.
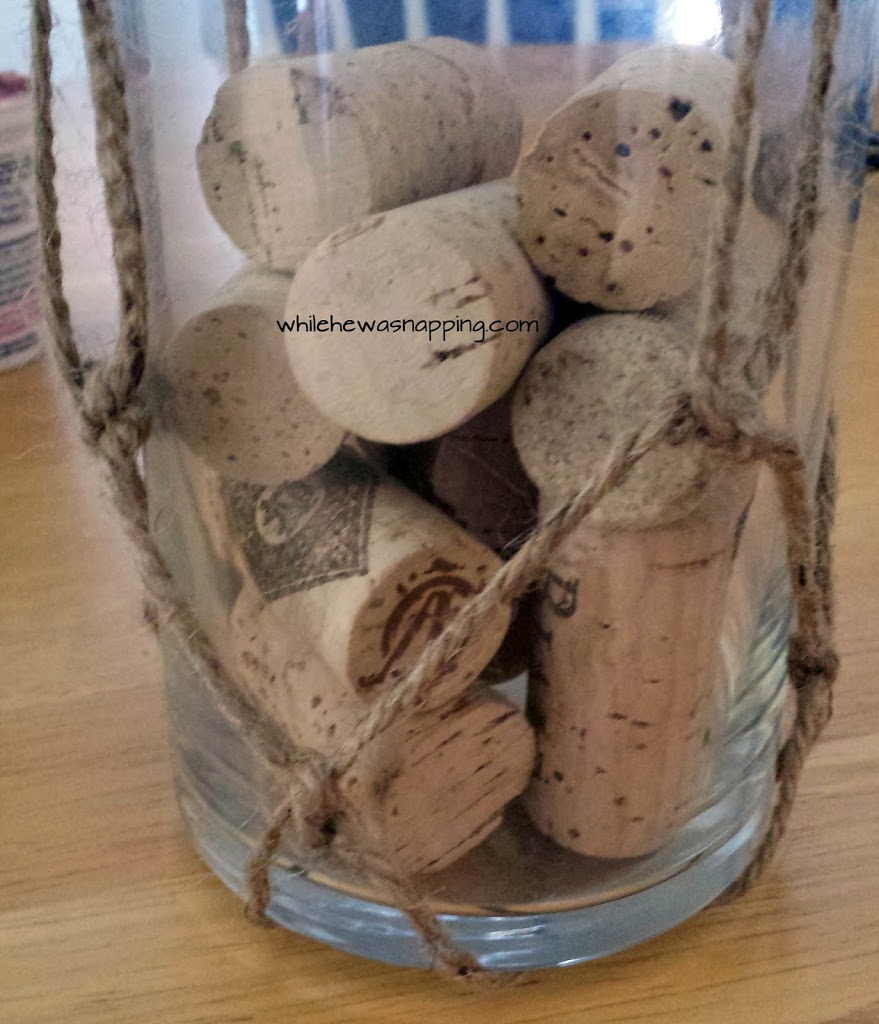
– At this point, you know everything you need to know to construct the net. You just repeat the last two steps until you’ve tied a net tall enough to hold your vase. I suggest placing your vase inside the net after you’ve completed the first row or two of knots. It will help shape your net more evenly if you can see where the knots lay on the vase. It will also help keep your strings from becoming a messy jumbled up nest.
– When you get to the top of your vase, gather the strings over the top and twist them together to form a handle. I did a modified braid (that, to be honest, I don’t know how I did it) on one of my vases and my husband pulled out his impressive weaving skills for the other. Weave the strings together however you prefer and then fold it back to create a loop. I then took some extra twine and wrapped it around the base and ends of the weaving. Secure the twine with hot glue. **If you have large fillers for your nautical net lanterns, put them inside the vases before you tie the strings together.**
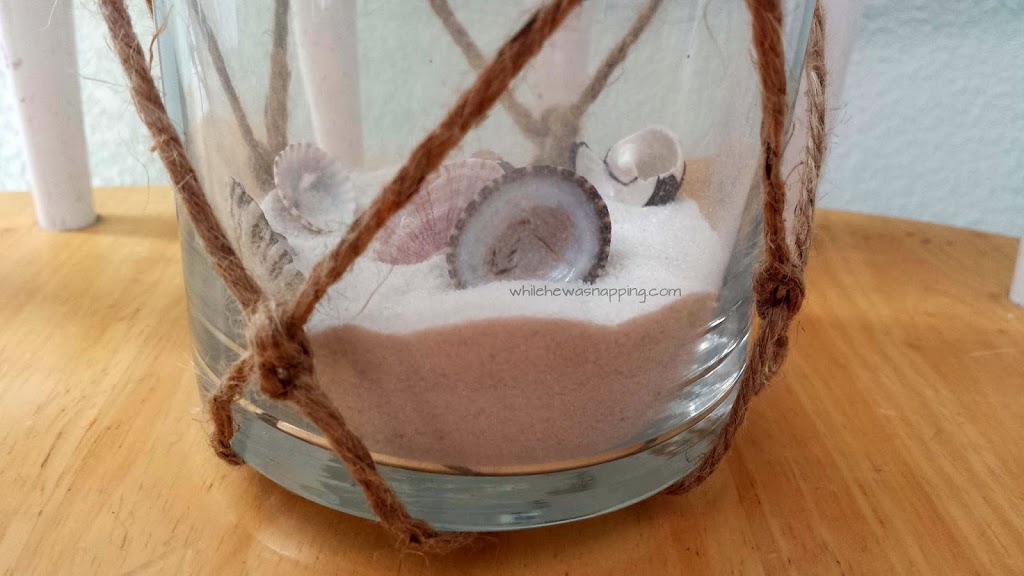
– Fill your vases with the sand and sea shells. I also used a candle I had at home in one of the vases. These would be a fun place to show off some of your beach treasures from trips and vacations – sea shells, sand, driftwood, and the like.
– Display your Nautical Net Lanterns on tabletops or by hanging. If your vases have flat bottoms, they might not sit level on a table top with the knots, but I was able to get mine to stand up fairly well. I would feel comfortable using them as table centerpieces or on a bookshelf, but I probably wouldn’t display them on an entry table or somewhere that often gets bumped or has the potential of getting knocked over. If you do stand them on a tabletop, be sure to pull the strings tight when you tie them together on the top of the vase so the net will be tight on the vase. {You might also consider upcycling old jars for this project.}
Can you feel the ocean breeze and smell the salt? Can you feel the sand between your toes? Or the rocking of the waves under your feet? Maybe not quite, but it’s the closest I’ve come to the sea in a while and I can’t wait to enjoy these Nautical Net Lanterns in our master bathroom!
Don’t forget your coupon! Now head out for your own supplies to make a fabulous set of Nautical Net Lantern for your home… or wedding or beach house or anywhere you could use a little seaside tranquility.
