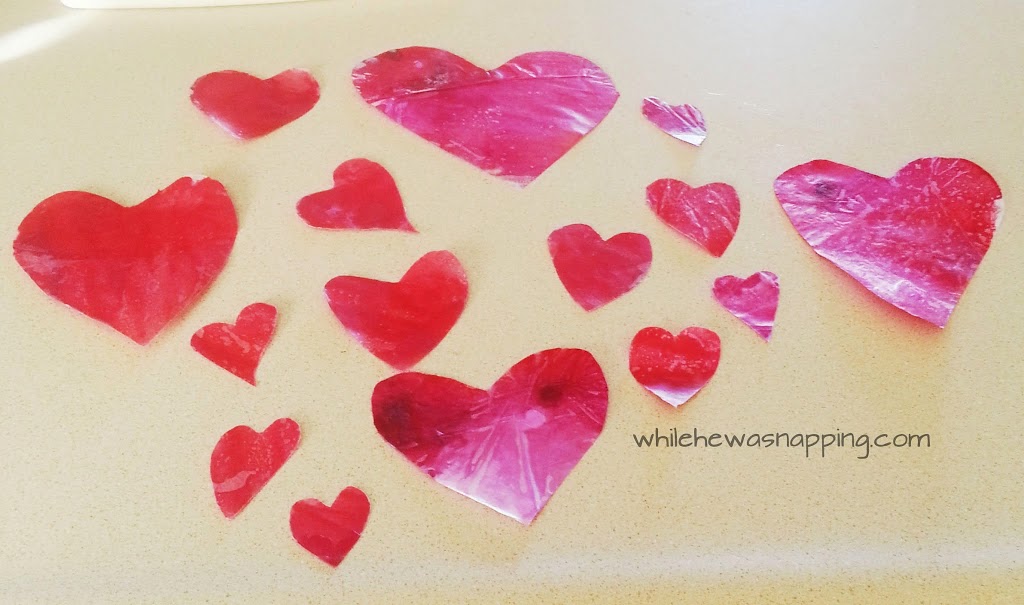
So, last Fall I posted about our ‘Stained Glass’ Leaves the boys and I made. We used the same technique to make these. When you stumble on a good thing, add it to your arsenal. I love the way these look in my kitchen window and that my boys tell everyone who visits “we made that”!
Materials:
– Wax Paper
– Crayons
– Iron
– Scissors
– Thread or Fishing Line
– Hole Punch
– Knife
– Old towel, paper towels, newspaper or something else to protect your work surface and your iron.
Directions:
– Make the ‘stained glass’ like we did back in the Fall. Refer to THIS POST for those directions. The less wax between the sheets of wax paper, the better. You just want the colors, not a solid sheet of crayon wax.
– After you’ve melted the crayons to your wax paper, let it cool.
– Use the scissors to cut heart shapes out of the wax paper sheet. Cut various sizes, fat hearts, skinny hearts, tall hearts, and small hearts. The more color variation you can get in each heart, the neater they will look. If your kids are coordinated enough, let them help cut hearts (or let them use your heart paper punch if you have one large enough).
– Use the hole punch to make holes in the hearts. I used a 1/16″ punch. For vertical garlands, you’ll need a hole at the top and bottom of each heart, except the last heart on the string. It just needs a top hole. If you do horizontal garlands, your holes will be on each side. Let the kiddos help string the hearts.
– Cut a length of thread and string each heart onto the garland. You can use a small piece of Scotch tape to secure the hearts in place if you’re worried about them sliding. Some of my heavier hearts (the ones with thicker wax in them) hung funny, so I just taped over the holes and the top and bottom to hold them right side up.
– Repeat for multiple strings of hearts. Secure in a sunny window. I just used a small piece of tape. Enjoy!


