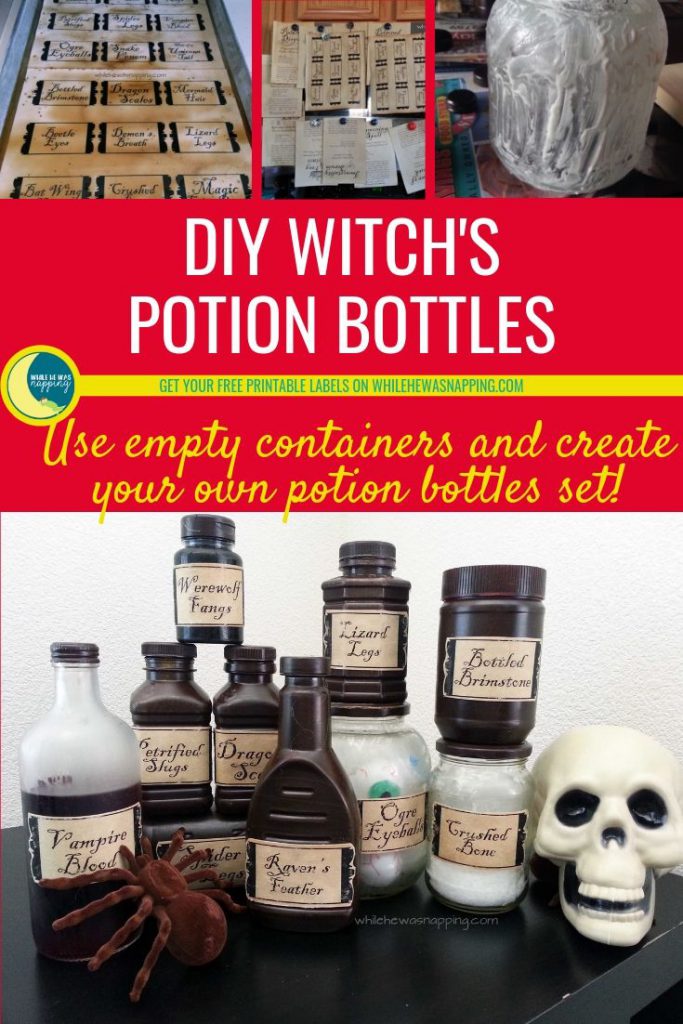
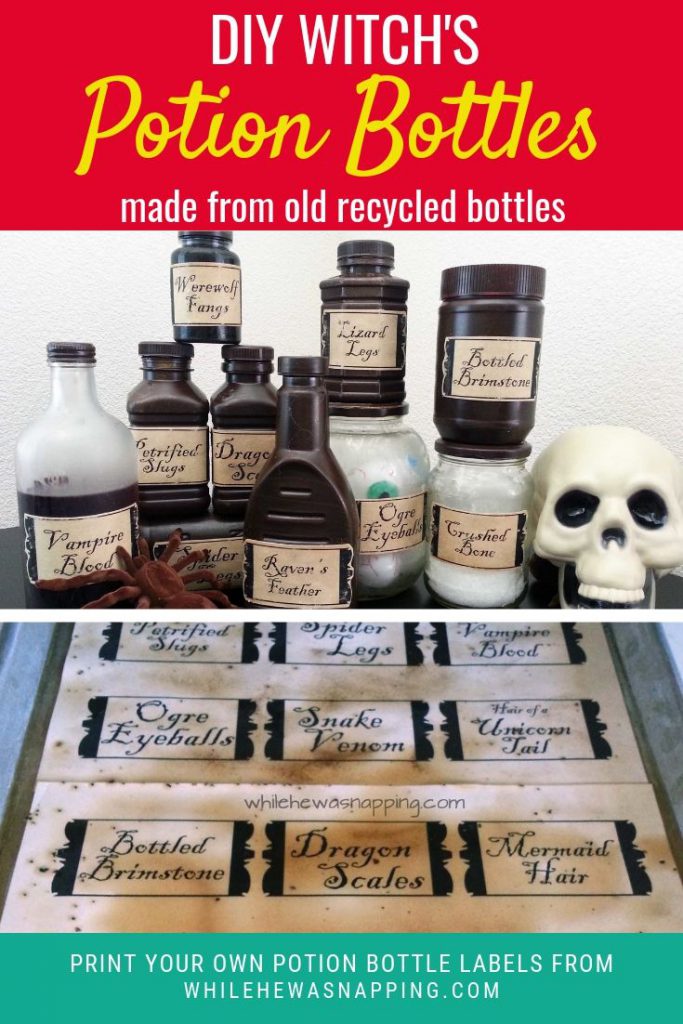
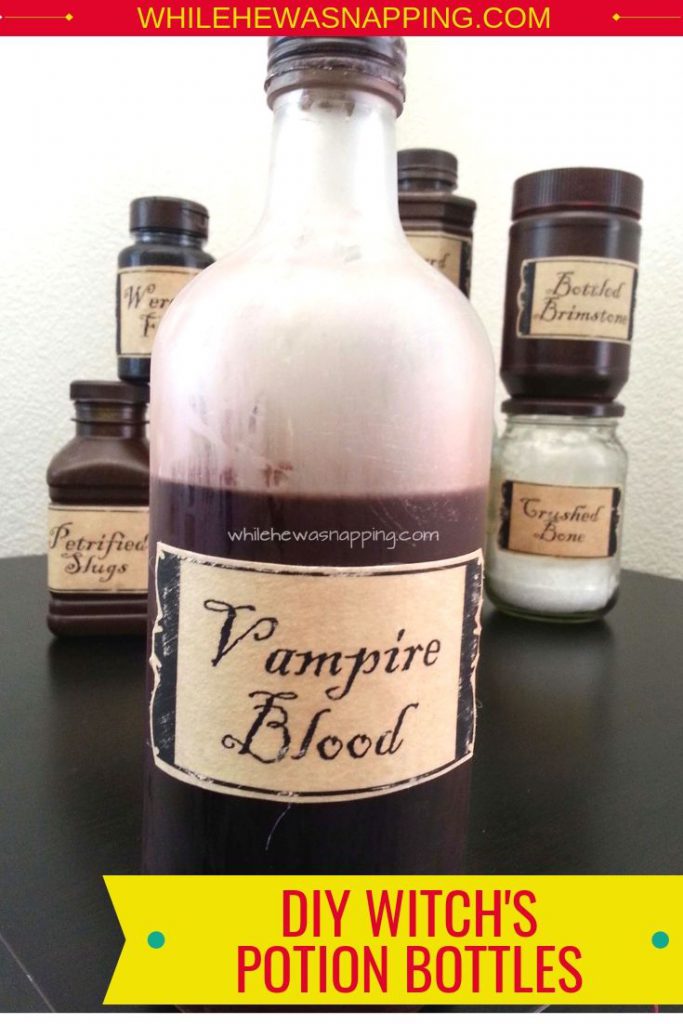
These fun and easy Potion Bottles are the perfect addition to your DIY Halloween Decor! It’s the perfect spooky decor project to upcycle all your empty bottles and there are even printable potion bottle labels for you to download that will make this Halloween craft even easier! Bring out all the spooks and step up your Halloween Witch Decor with a great set of DIY potion bottles for all your witchy decorating.

Materials:
– Various bottles and containers (I will go through the ones I used in just a bit)
– Matte brown spray paint
– Sandpaper
– Glue gun & glue sticks
– Coffee grounds
– Shallow pans/baking sheets & a small pot
– Oven & Stove
Directions
THE BOTTLES:
– Wash your containers and bottles. Scrape all the labels and goo off. I washed mine in the dishwasher and then soaked the bottles that still had labels or glue on them in hot water for about 20 minutes. The hot water soak will loosen the glue on the labels. Peel off the glue and labels. I had a few that were particularly stubborn (those Swedes know how to attach a label! One of the bottles I used was from IKEA…) and I used a Goo-Gone-soaked paper towel on them to get them clean.
– Use the spray paint and paint your bottles. I did this with the majority of my bottles, but there were three glass bottles I left. I’ll go over that process in a moment. I started off with the idea to do a mod podge stain on them, but it was taking FOREVER to get the shade I wanted. So, I canned that idea and just settled on the spray paint. If you want a lighter finish on the bottles, stand back a little further than usual when you paint them. That way, you’ll just “dust” them, instead of a full-on layer of paint. I was painting these on my kitchen island one stormy day and didn’t have a lot of space to play with so they ended up a little darker than I had first planned on making them. Make sure you paint the lids too. Let dry thoroughly.
– Lightly sand the bottles to give them an aged appearance. Be careful not to sand off too much paint. This bottle was an old vitamin bottle, so I didn’t paint it. But, you can get the idea of the texturing you’re after.

For the glass bottles, I wanted to age them and started off sanding them with sand paper. I’m an impatient crafter and after about five minutes of practically immeasurable progress I ditched the sandpaper and grabbed my bottle of glass etching cream from the cupboard. It worked fabulously. The hardest part was trying to apply the paste randomly. Dang OCD tendencies. Let bottles and cream stand 5-10 minutes… or until you remember you’re in the middle of a project. Rinse and wipe dry with a paper towel. Don’t forget to paint the lids for these bottles.


THE LABELS:
– Print off the DIY Witch’s Potion Bottles labels or make your own. I used a laser printer to keep the ink from smearing. I didn’t try it with an inkjet, so I don’t know how smeared they’d end up. It might look like great aging, I really don’t know. Also I printed mine on card stock. Worked like a charm, none of them ripped.
– Preheat the oven to 200F (90C).
– On the stove heat about two (2) cups of water with a quarter (1/4) cup of coffee grounds. I hate the smell of coffee, so this was the worst part for me. Heat to warm, but not so warm you can’t touch it. I had my hands in this up to my palms.
– Okay, now decide if you want to cut your labels apart before you stain them or after. I did it after. But, you might get some neater staining on the edges if you cut them apart before. In a shallow pan, lay down your sheets of (or the cut apart) labels and use a small cup to pour the coffee over the paper. Push the paper down against the pan to help it soak up the liquid. Let stand 3-5 minutes or so. The longer it stands the darker the labels will be. Drain excess coffee back into the pot.

– Put the labels and the baking tray in the oven for 5-10 minutes. If you cut the labels apart before you stained them, it’ll be closer to five. If you didn’t cut them apart, it’ll be closer to 10. When the paper is dry enough you can handle it without it tearing, take the tray out of the oven and carefully pick up the paper. Holding the paper so that it is hanging over the pan, use a paper towel and gently dab it off. This will remove any coffee grounds and extra liquid. Hang to dry if possible. (You can leave the paper in the oven longer and it will dry out faster. Keep an eye out though. Paper is flammable…)


– Once your labels are dry, cut them apart if you haven’t already, and use the glue gun to attach them to the bottles. I found that gluing in stages worked the best. And get as close to the edges as you can with the glue. I started in the middle and put glue on that, then stuck it to the bottle. Then I’d glue each end one at a time.

– Then I took sandpaper and lightly sanded the labels to age them. Don’t go too crazy. You’ll rip your stain off or tear the paper. Lightly, my friends, is key.
Once the labels are on the jars, you can fill them. Most of mine are actually empty. Easier to store that way. And less hazardous if my boys decide they need to play “potions” while I’m hiding in, er… uhm, using… the bathroom.

If you’re interested, below is a list of the bottles and jars I used in my DIY Witch’s Potion Bottles, as well as a list of filler ideas. The blank fillers were ones that have labels, but I don’t have actual filler ideas. Sorry. Enjoy! Happy Potion-Making!


