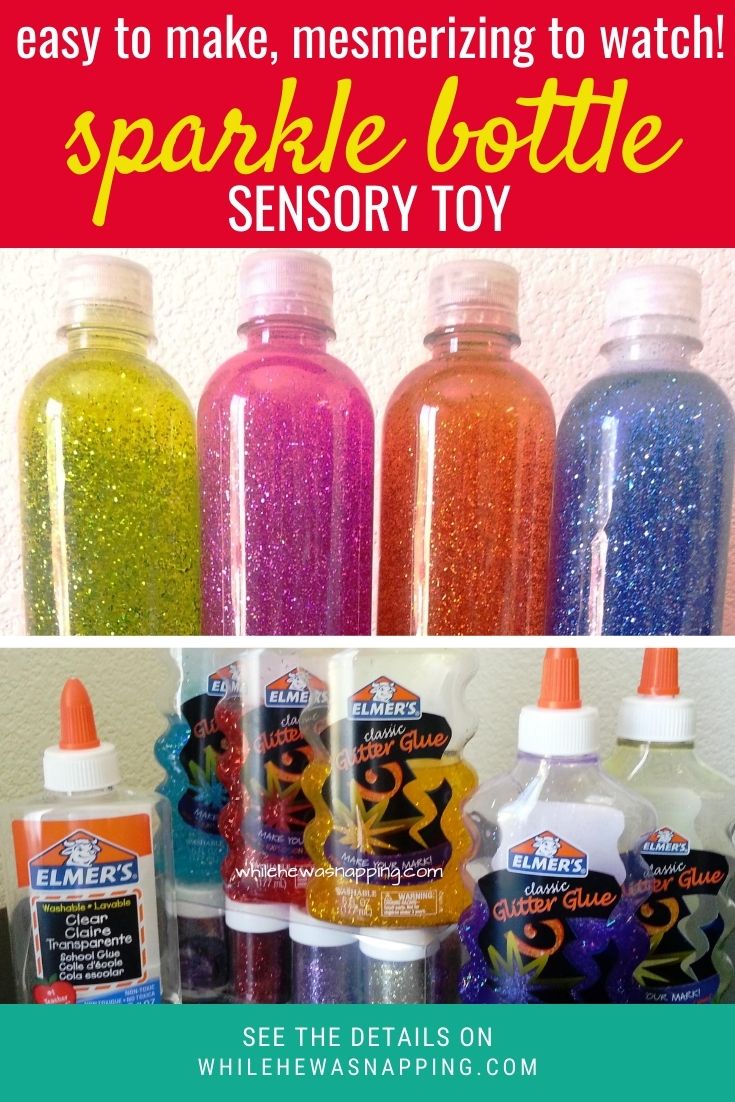
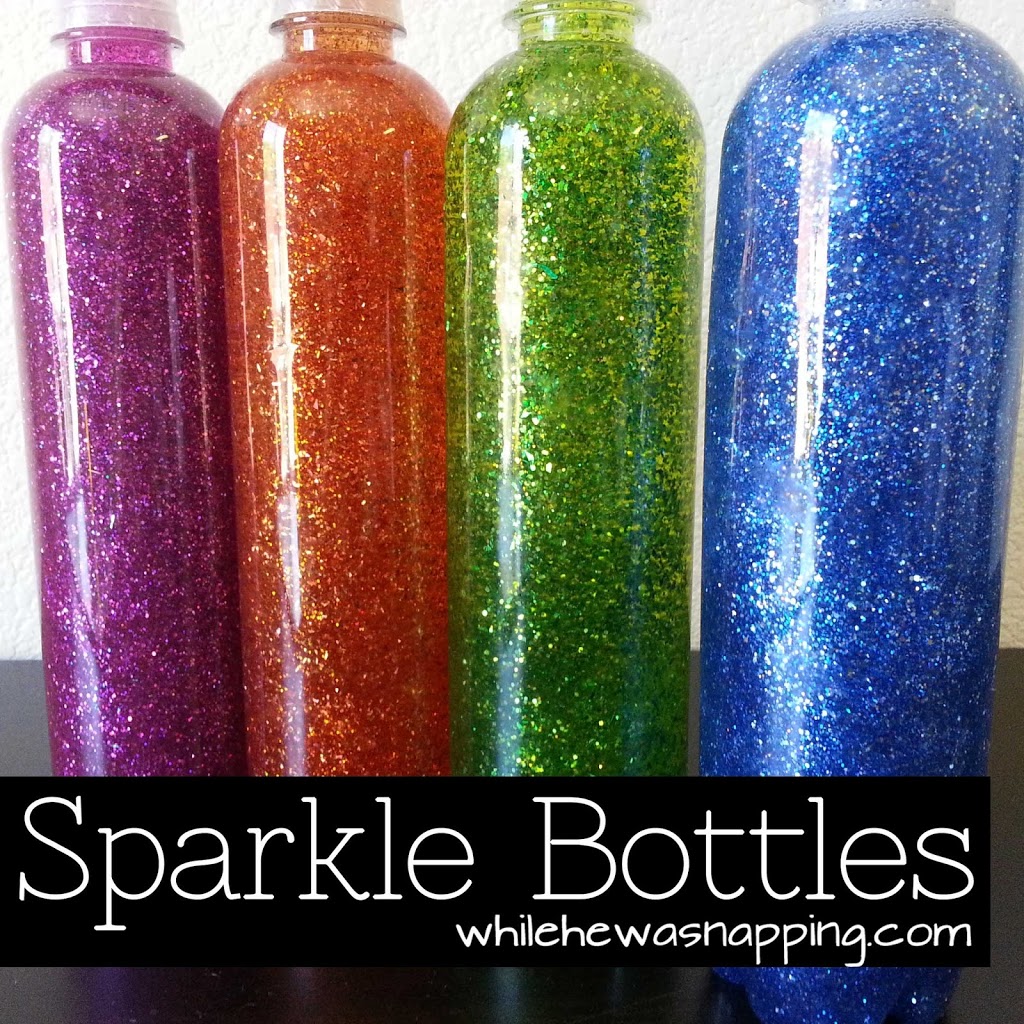
These Sparkle Bottles were actually part of our Travel Kits, which you can find in the {Kids on the Road} Series, we took on our insanely long (and waaay too close together) road trips we took in 2013. But, they are still awesome and we still have one of them nearly a decade later.

WHY SPARKLE BOTTLES?
I found the original idea at My Crazy Blessed Life, and Johanna called them “calm down bottles” and used them with the idea of helping her little girls calm down after a tantrum. There was the added bonus of a built-in time out timer.
That wasn’t my goal with them originally, though they have been used as such since I first made these. In the beginning, I just wanted a distraction for my poor children who were strapped down in car seats for hours and hours on end. Since then, I’ve found they work well as timers or calm down distractions for my kids. Sometimes. Sometimes not. But, they aren’t consistent depending on the temperature; so, while they are pretty, they aren’t functional as precision timing devices.
HOW TO MAKE A SPARKLE BOTTLE
I wasn’t able to find the exact ingredients Johanna used so I had to improvise. I actually found some other materials that I opted to use instead of what Johanna did. And it still turned out great – and was even a little cheaper. So, here’s how I made my Sparkle Bottles.


Materials:
Directions:
1. Clean any labels or sticky glue off your bottles.
2. Heat the water. It doesn’t have to boil, but it should be steaming. You want it to be hot enough to melt the glue, but not hot enough to melt your container.
3. Pour approximately a 1/4 cup of glitter glue into the bottom of the bottle.
4. Add approximately 2 Tbsp of Clear School Glue to the bottle.
5. Fill the bottle about 2/3 to 3/4 of the way full with the hot water.
6. Tighten the caps back onto the bottles and shake until the glues and water are thoroughly mixed.
7. Remove the cap and pour in as much glitter as desired.
8. Fill the remainder of the bottle with either glue or water. If you want the glitter to fall faster, put in more water. For slower falling glitter, put in more glue. The clear glue is thinner than the glitter glue. Glitter glue will make your glitter fall more slowly than the clear glue. If you’re trying to make a timer, I suggest the clear glue. It doesn’t change the
9. Make sure the glue and water is well mixed.
10. Put super glue in the threads of the cap and tighten it down.
11. Shake and enjoy!

HELPFUL HINTS AND TIPS FOR MAKING YOUR SPARKLE BOTTLES
- Where did you get your supplies?
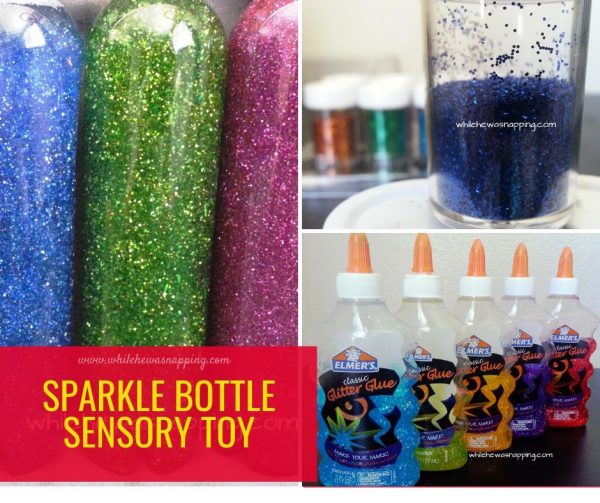
I bought all the materials at Walmart and Target. Target had a couple different glitter glue colors than Walmart. But you can find them in the craft/office supplies department of just about any general retail store, as well as on amazon.
- The clear glue was at Wal-Mart in the art supply section with the crayons and markers. You might find it in the back to school section this time of year too. I used nearly a full bottle of it in my four Sparkle Bottles.

- How did you keep the cost lower?
The Elmer’s Clear School Glue was about half the price as the Aleene’s Clear Tacky Glue and I didn’t have any problems with it. I would do that again if I make more of these. - How much of each glue did you put in each bottle?
I tried the quantities in Johanna’s tutorial with my first bottle and that was WAAAY too much glue for the Elmer’s brands. Our green bottle takes about 30 minutes to settle. Yeah, thirty. We use that as the quiet time timer for Big J when I’m trying to trick him into taking a nap… If you use the quantities listed above you’ll get about a 5 minute timer, if you’re using the bottles to keep time. Of course, the exact time will depend on whether you fill the last 1/4 of the bottle with glue or water. Play with it. - What kind of glitter is best?
DON’T use super fine glitter. I tried this. All that created was a major goopy clump. It was not pretty. I poured it out and started over. It was that bad. You want chunky glitters. Check out the photo for an idea of what size glitter I preferred. Slightly larger worked out too, like from the dollar store. I got my favorite set of 12 bottles of glitter at Wal-Mart for about $7.
- How do you get the colors?
It mostly comes from the colored glitter glue. I DID NOT add any kind of separate coloring agent. The glitter will also lend to the color if you stick to color families. - Can I mix and match colors?
Of course. You can do whatever you want, it’s your project. I do recommend sticking to complementary colors to find the best mixes. This takes a little trial and error to figure out quantities, but it’s not rocket science so don’t stress over it. Mixing and matching allows you to make some cool colors. Our orange bottle is actually red and yellow glitter glue with a bit of orange glitter. Don’t be afraid to play with the colors! - These are HUGE! Can you make them smaller?
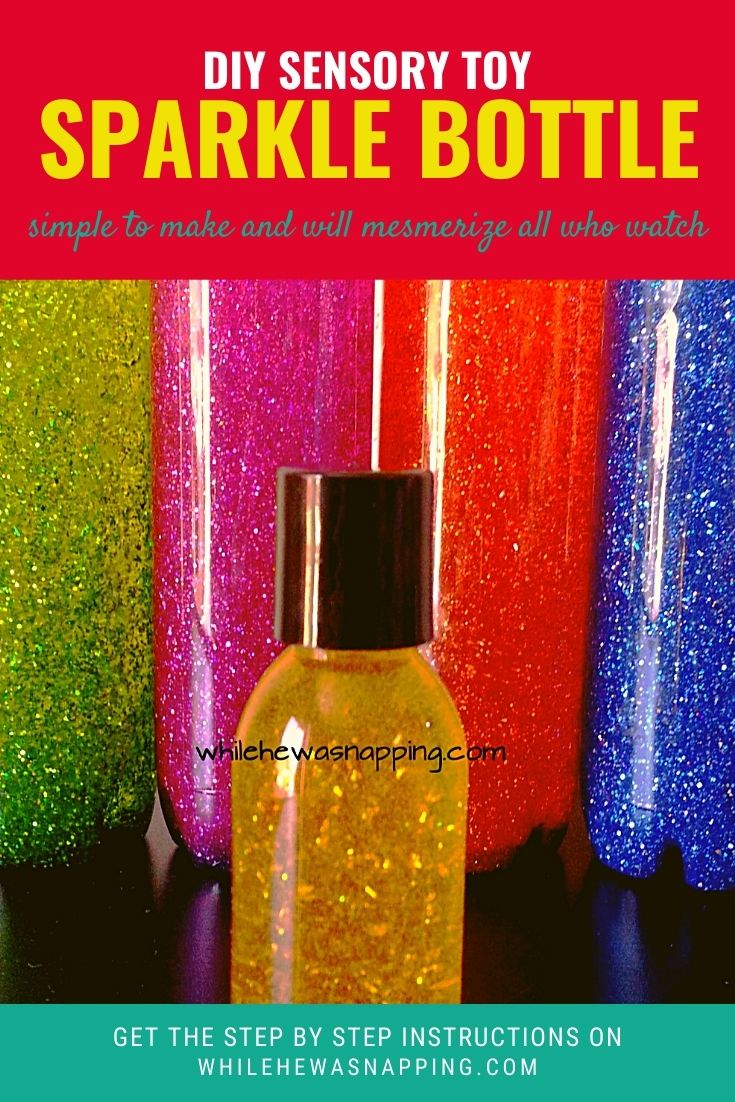
YES! One of my best ideas from this project came in the form of a mini Sparkle Bottle. The big bottles were a little too heavy for my small kids to really hang on to well. So, I made mini ones with travel sized cosmetics bottles – the kind you can get pass TSA. He loves it and I love that it can go in the diaper bag without taking up a ton of space – or weighing 400 pounds!


