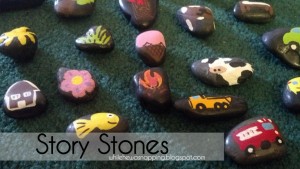
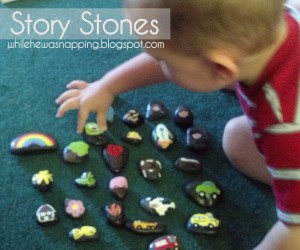
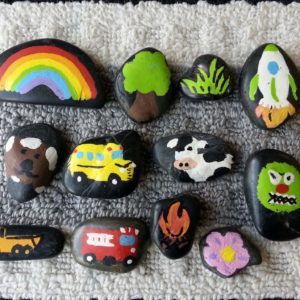
I first heard of story stones over on Paint on the Ceiling (sounds like my house…). I loved the idea and that it encourages using your imagination and sequencing in the form of story telling. We love stories at our house. Whether it’s reading books or just making them up. When I found story stones, I knew this would be a perfect addition to our story times.
Materials:
– Stones
– Acrylic Paint
– Permanent Markers
– Fine Tip Paint Pens
– Clear Spray Paint
Directions:
– Gather your stones. You can use ones you gather from your yard, walks, the park, ect. I had a couple packs of river stones from the Dollar Tree I’d picked up for a different project I never did (I hope I’m not the only one that does that…) and used them for our story stones. If you use stones you gather, wash them well and let them dry completely.
– Decide what you want on your stones and get to painting. We have a dump truck, firetruck, fish, house, grass, cow, car, ice cream cone, sunshine, fire, hot air balloon, Mom, Dad, girl, boy, bed, spaceship, and boat to name a few. Whatever you want. We have more transportation and bug themed rocks than someone with all girls may have. My little ones tend to gravitate toward those subjects more and it’s easier to get them to tell more in-depth stories if they are subjects they know more about. It doesn’t matter if your paintings are great. As long as your kids can tell what the pictures are, you are good to go. I’m definitely no artist and we still have a blast.
– Let your stones dry thoroughly. Coat with 2-3 thin layers of clear spray paint to help keep the images from chipping or peeling. Let dry.
– We keep ours in a muslin bag. It’s easy to clean up and keeps everything corralled. Because the rocks were clean to begin with, there’s no worry about dirt. If you washed yours well, you shouldn’t have any issues either.


