I first saw this idea a while back at A Girl and A Glue Gun. I’ve blogstalked her for a long time. She has since made several different versions and has inspired mommas all over blogland to try their hand at it. I have been waiting for Little Monkey to get to the age where he’d appreciate, and actually play with, this rather than seeing how long it takes to destroy it. I wouldn’t put it passed him to think, “Hey Mom, let’s see how strong felt really is!” as he rips the road off. And I’m not about to try to sew it all. Sorry, don’t have that time or patience. That little scenario has held me back in making Little Monkey’s mat. But, a friend’s little boy just had a birthday, so I took the opportunity to practice by making him one. Cute, right? Well, like I said – not my original idea – but this is one of those projects that you can customize for your child or even for each individual child. That’s one of the reasons I love the idea.
Here’s the How:
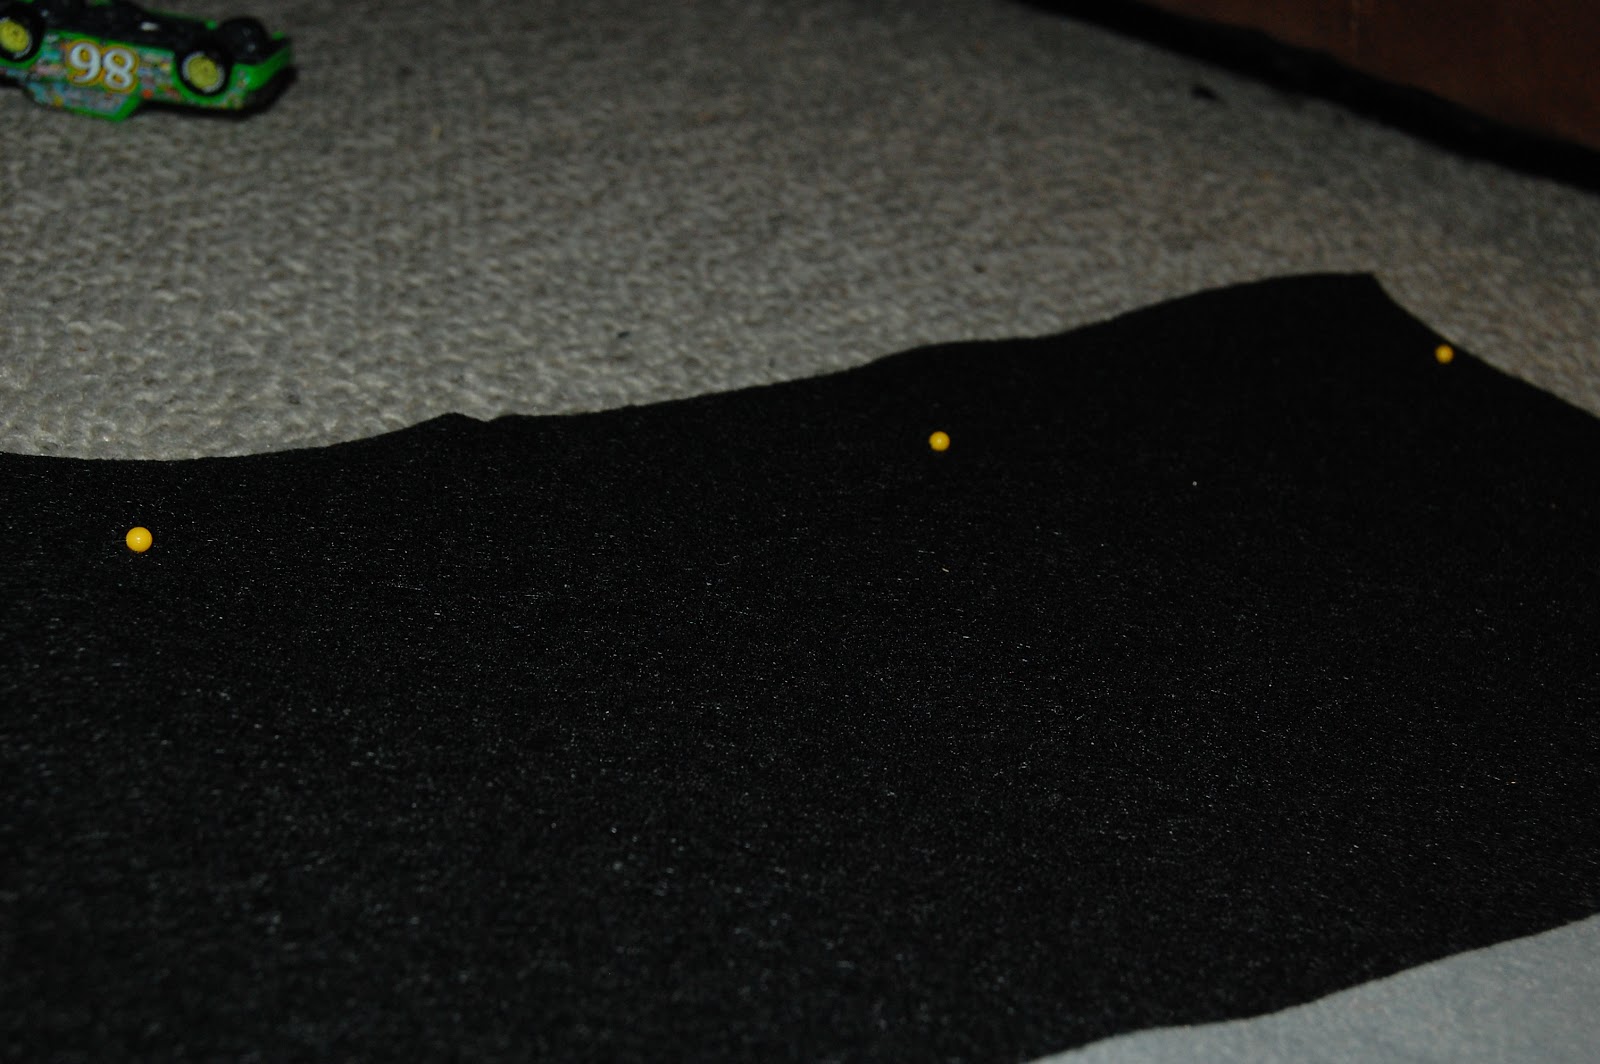
1) First, you will need two large sheets of felt, one black (for the road) and one of your color choice. (I bought mine in a package at Michael’s for $2) You can use smaller sheets of black for your road, but I thought a single, large sheet would be easier than trying to piece it all together. You will also need an assortment of felt (usually between $.15-$.30 for a 8.5×11” sheet), a glue gun and glue sticks, scissors, yellow puffy paint and any other embellishing items you might want.
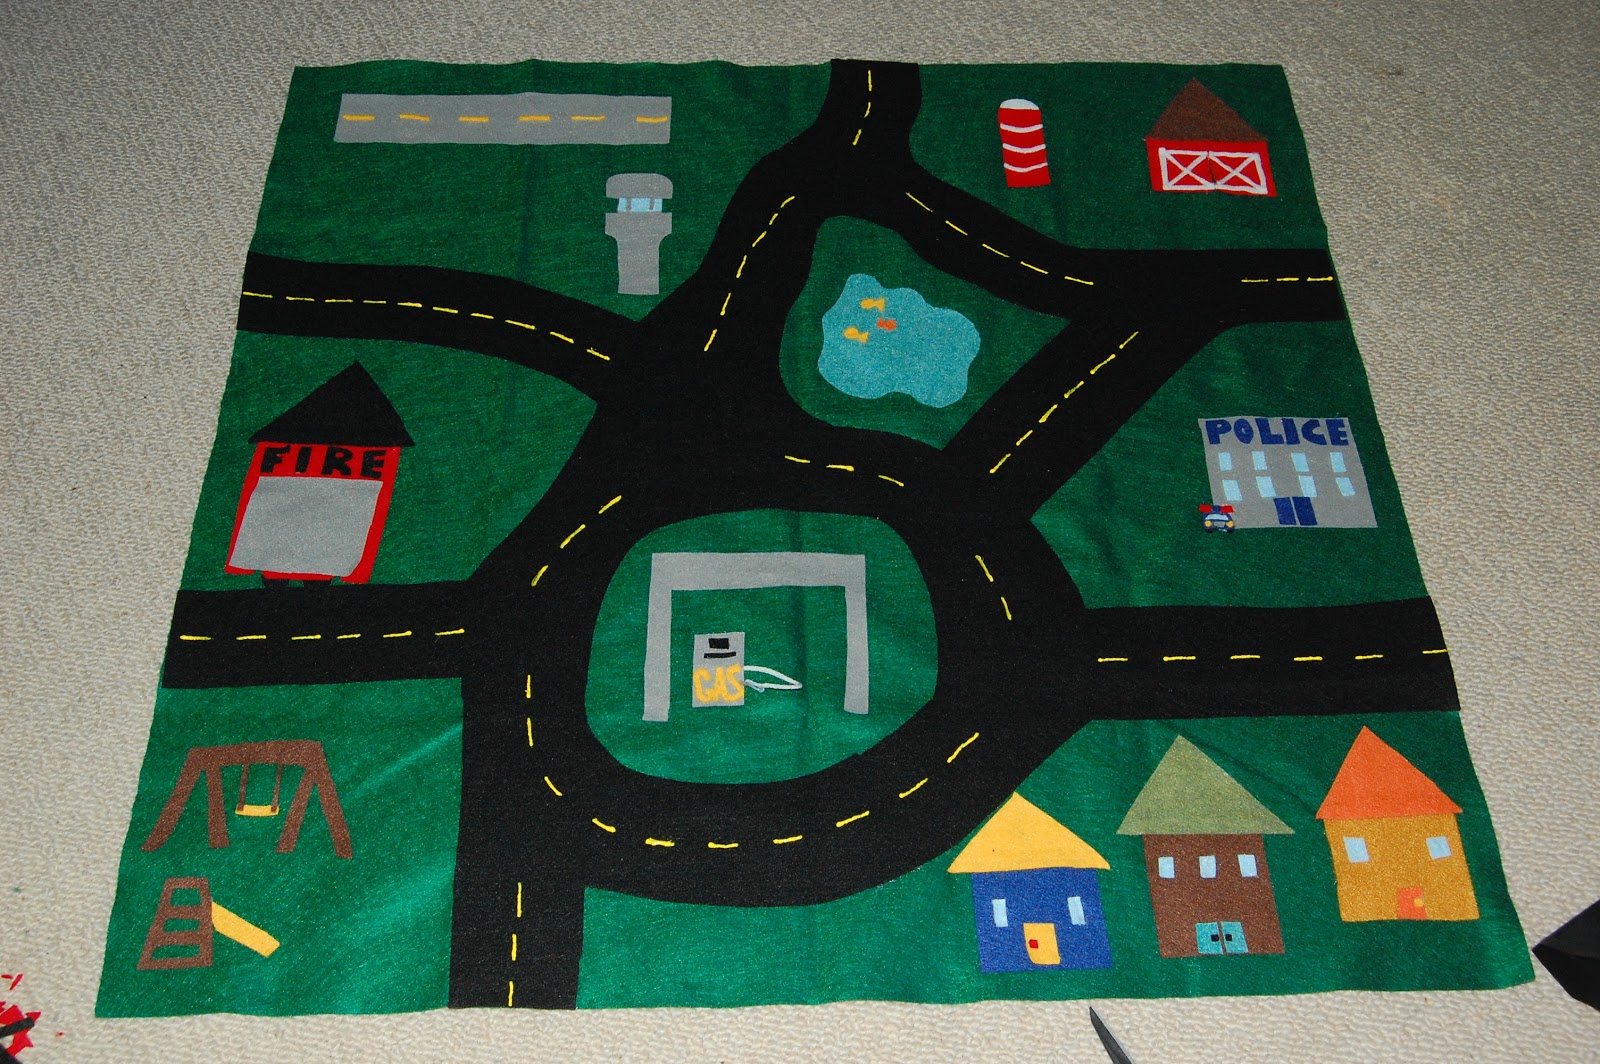
2) I started off by laying my black felt sheet on top of my green one and pinning it down to hold it in place. Then I began constructing the different places I wanted on my mat. I did a park, houses, gas station, police station, fire station, a pond, a farm and an airport. “Constructing” the town took the most time, by far. But, I enjoyed making it all up.
3) I then placed all my town pieces on my pinned mats, in the reverse layout of what I wanted the final project to look like. I used a piece of chalk to draw out a road. I cut the road out.
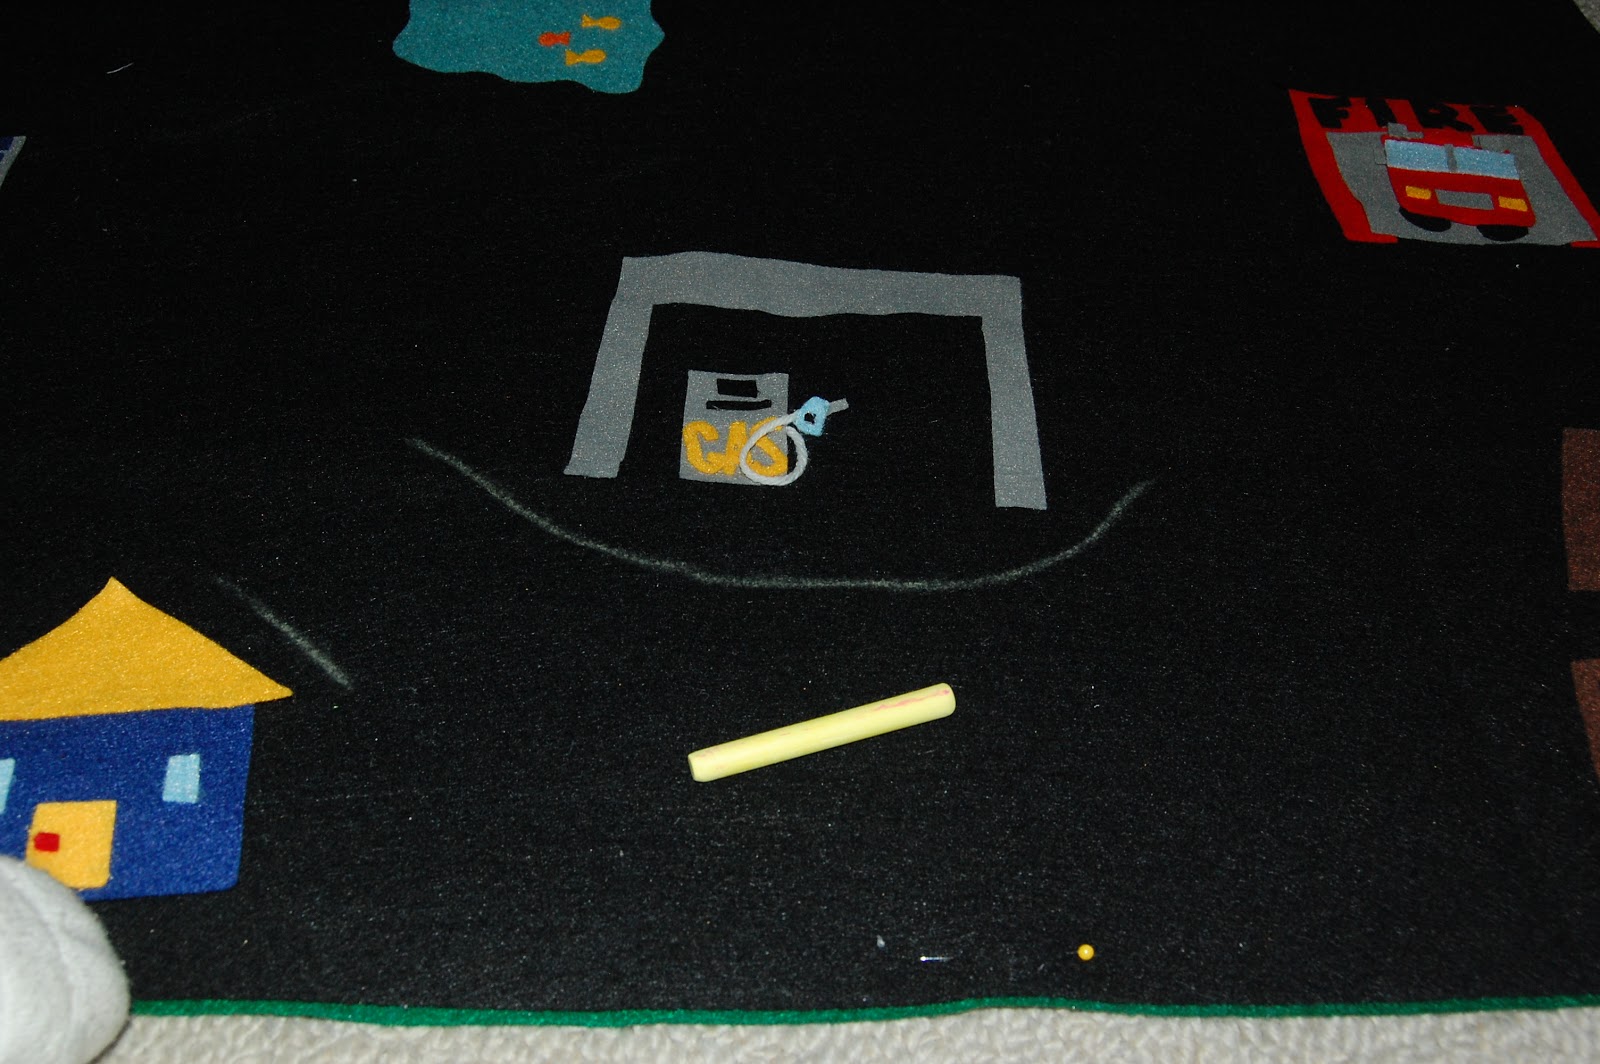
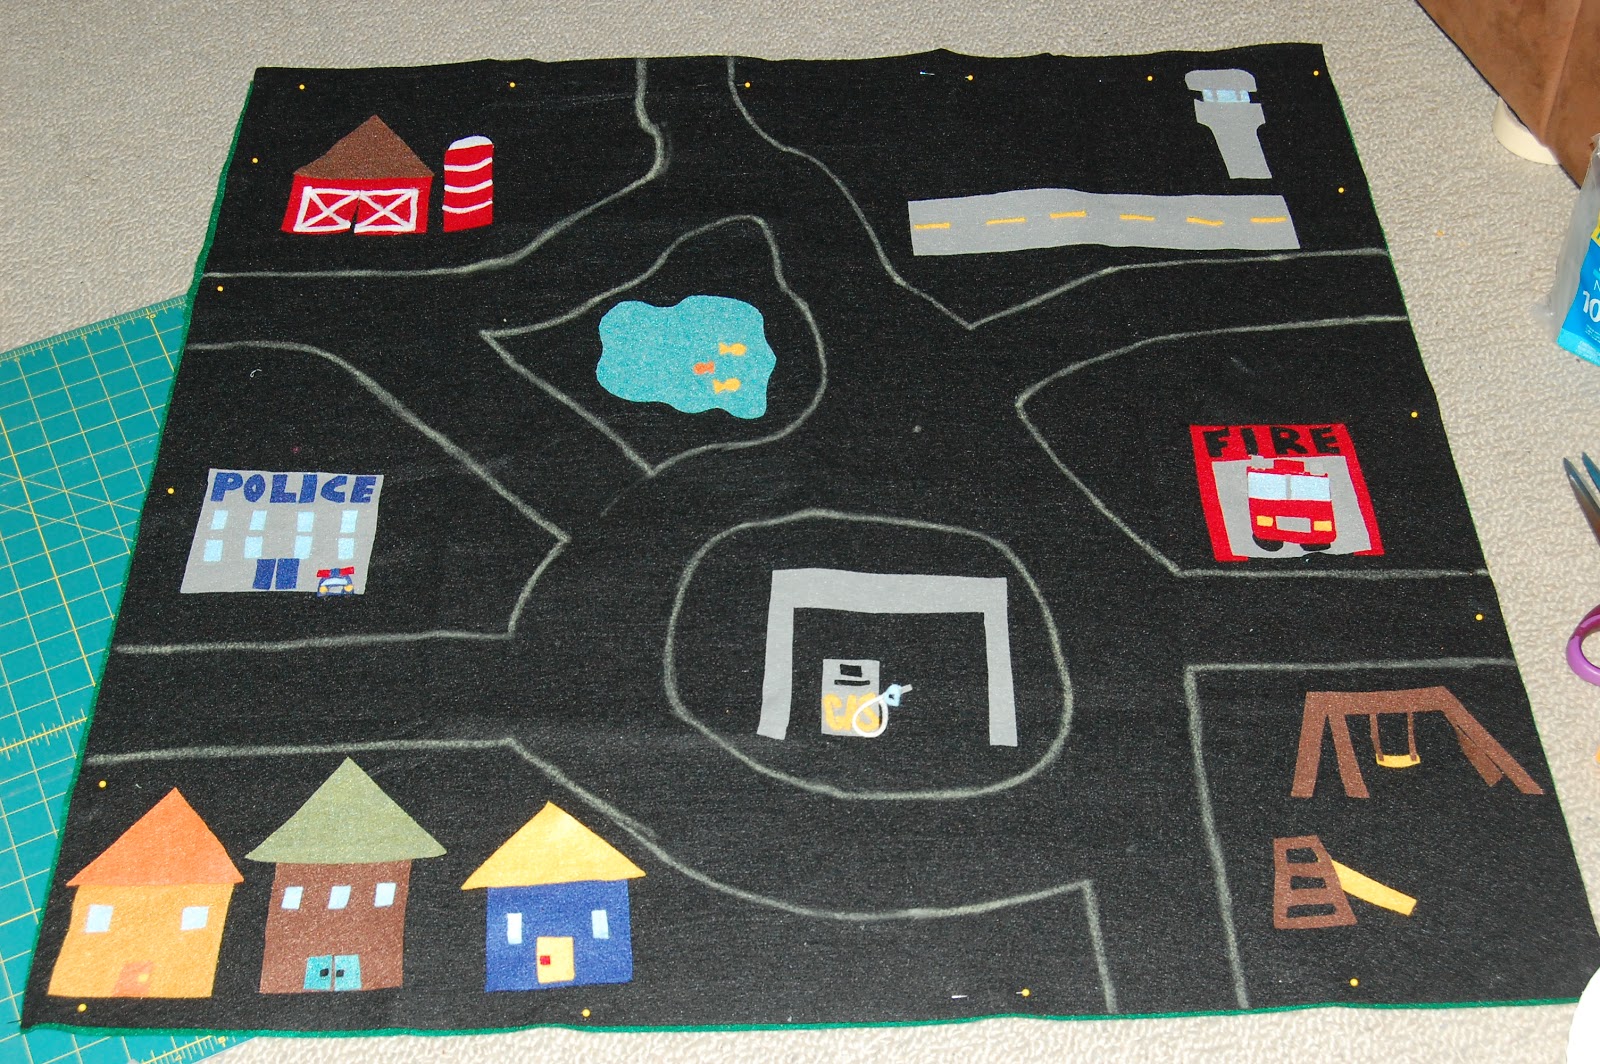

4) Then I flipped everything: the road I turned over so you couldn’t see the chalk marks and the town pieces I moved to the opposite side of the mat.
5) Then comes the fun part: glue everything down. I used far less glue than I thought I would, but It still ended up being a fair amount. There were a few things I didn’t secure down: the door on the fire station lifts up, the swing at the park isn’t secured, and the barn doors open.

6) After it’s all glued down, grab some cars and test it out. Once you know that it’s a great little play mat, put your little ones down for a nap. Then, when the possibility of someone stepping on or playing with your mat has decreased, grab your yellow puffy paint. Paint lines on your roads. I also added stop signs to some of the roads.
The only thing I had to buy was the big felt ($4) and the Puffy paint ($1). I had everything else on hand. $5 for a totally awesome gift? I’m a very happy camper.
So, go make your own play mat and check out the different versions of Kimbo’s at A Girl and a Glue Gun. She also has a post with shout outs to versions other mommas have made! It’s pretty awesome and a great resource. Go create!
Krista![]()
